What is Device Enrollment?
Device enrollment is the process of registering Apple devices into a Mobile Device Management (MDM) platform, enabling you to manage and configure them remotely. With Kandji, you can enroll devices through Automated Device Enrollment for a seamless, zero-touch setup or use the Enrollment Portal to manually enroll.
How Device Enrollment Works
When you enroll a device with Kandji, regardless of enrollment method, an MDM profile is installed on the device. The MDM profile acts as a gateway to provide a persistent communication flow with Kandji through Apple's Apple Push Notification service (APNs) protocol. This allows devices to receive commands, install software, and accept configuration profiles from Kandji.
Automated Device Enrollment
Automated Device Enrollment (ADE) is great for brand-new or restored devices assigned to Kandji in Apple Business Manager. Enrolling devices via ADE ensures that Kandji can not be removed from them unless explicitly permitted. Devices enrolled through ADE are also supervised, allowing additional control over their configuration and restrictions. To learn more about supervision, see Apple's support article.
An Apple Business Manager account is required for Automated Device Enrollment. If you have devices that were purchased outside of Apple Business Manager, you can Add Devices to Apple Business Manager.
Assigning a device in Apple Business Manager
If you still need to configure an MDM Server for Kandji, visit the Automated Device Enrollment section of the Getting Started - Apple Integrations article for configuration instructions.
Log in to Apple Business Manager and select Devices from the left-hand navigation bar.
Search for a device in the search field.
Select the device from the list.
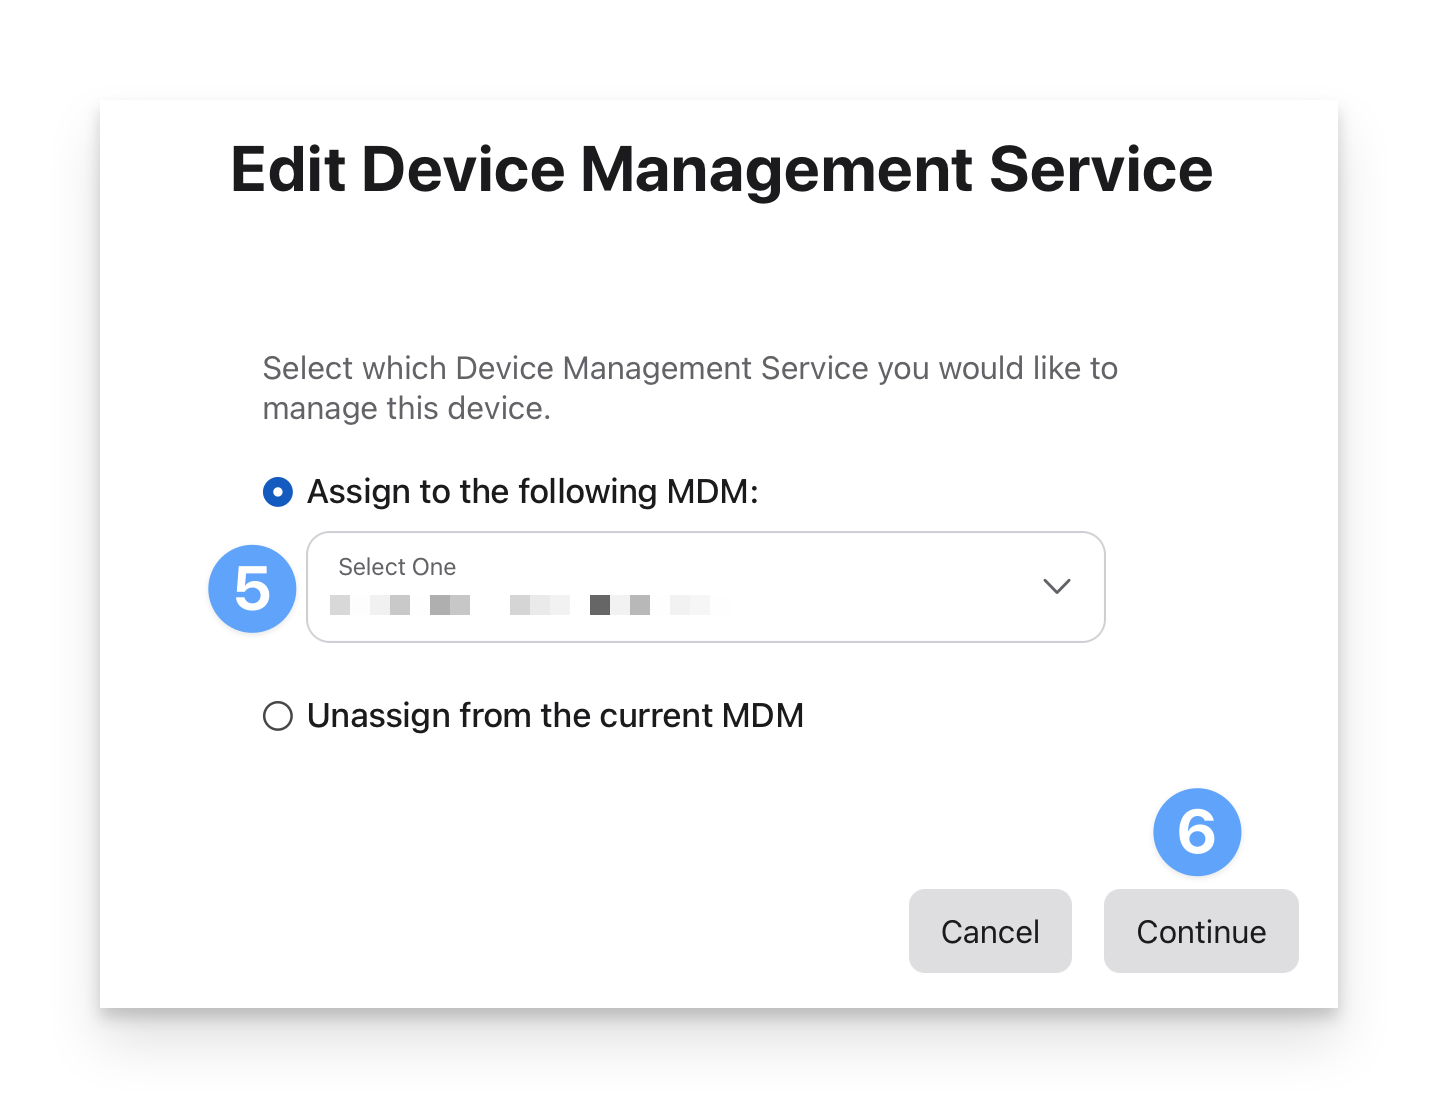
Click Edit Device Management Service.
.png)
Select Assign to the following MDM and choose the Kandji server you created when enabling MDM with Kandji.
Select Continue.
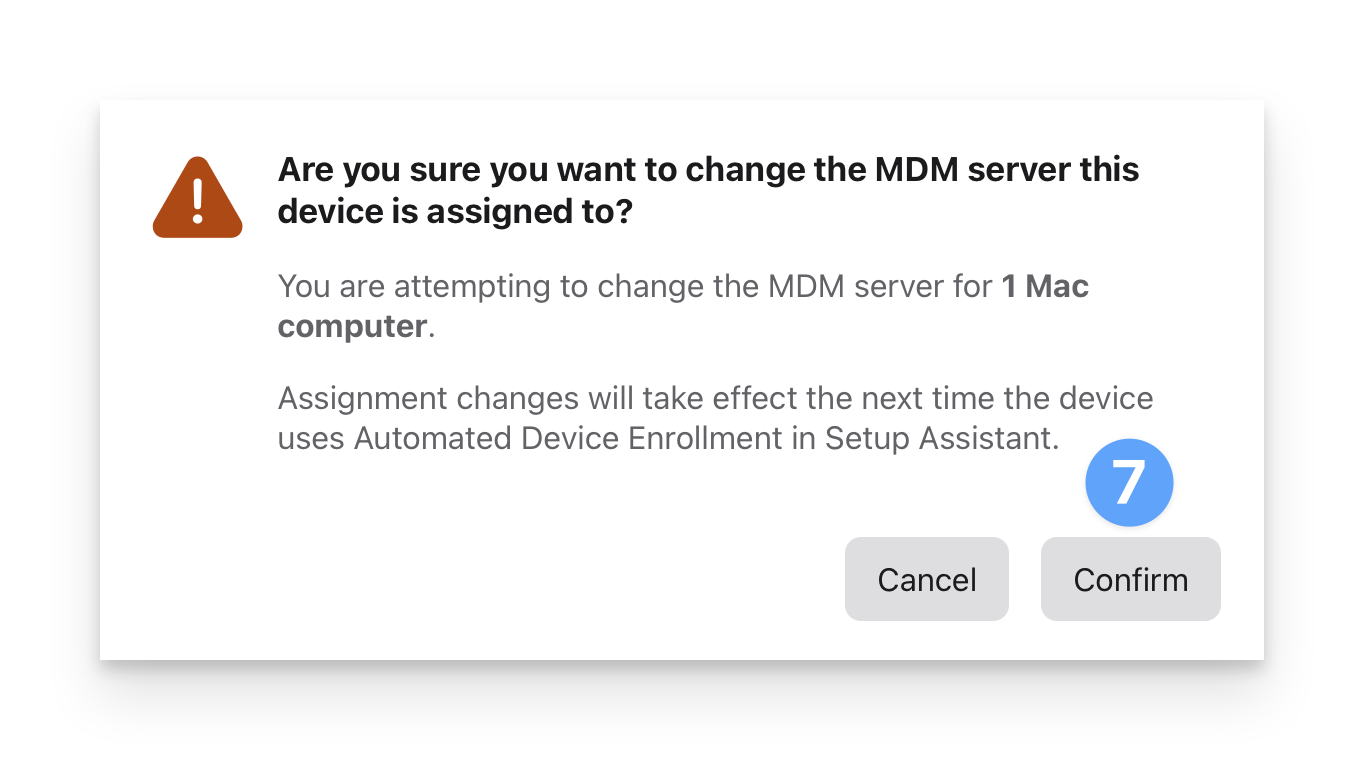
Confirm that you want to change the MDM server the device is assigned to.
Ensure all new devices purchased will be assigned to Kandji
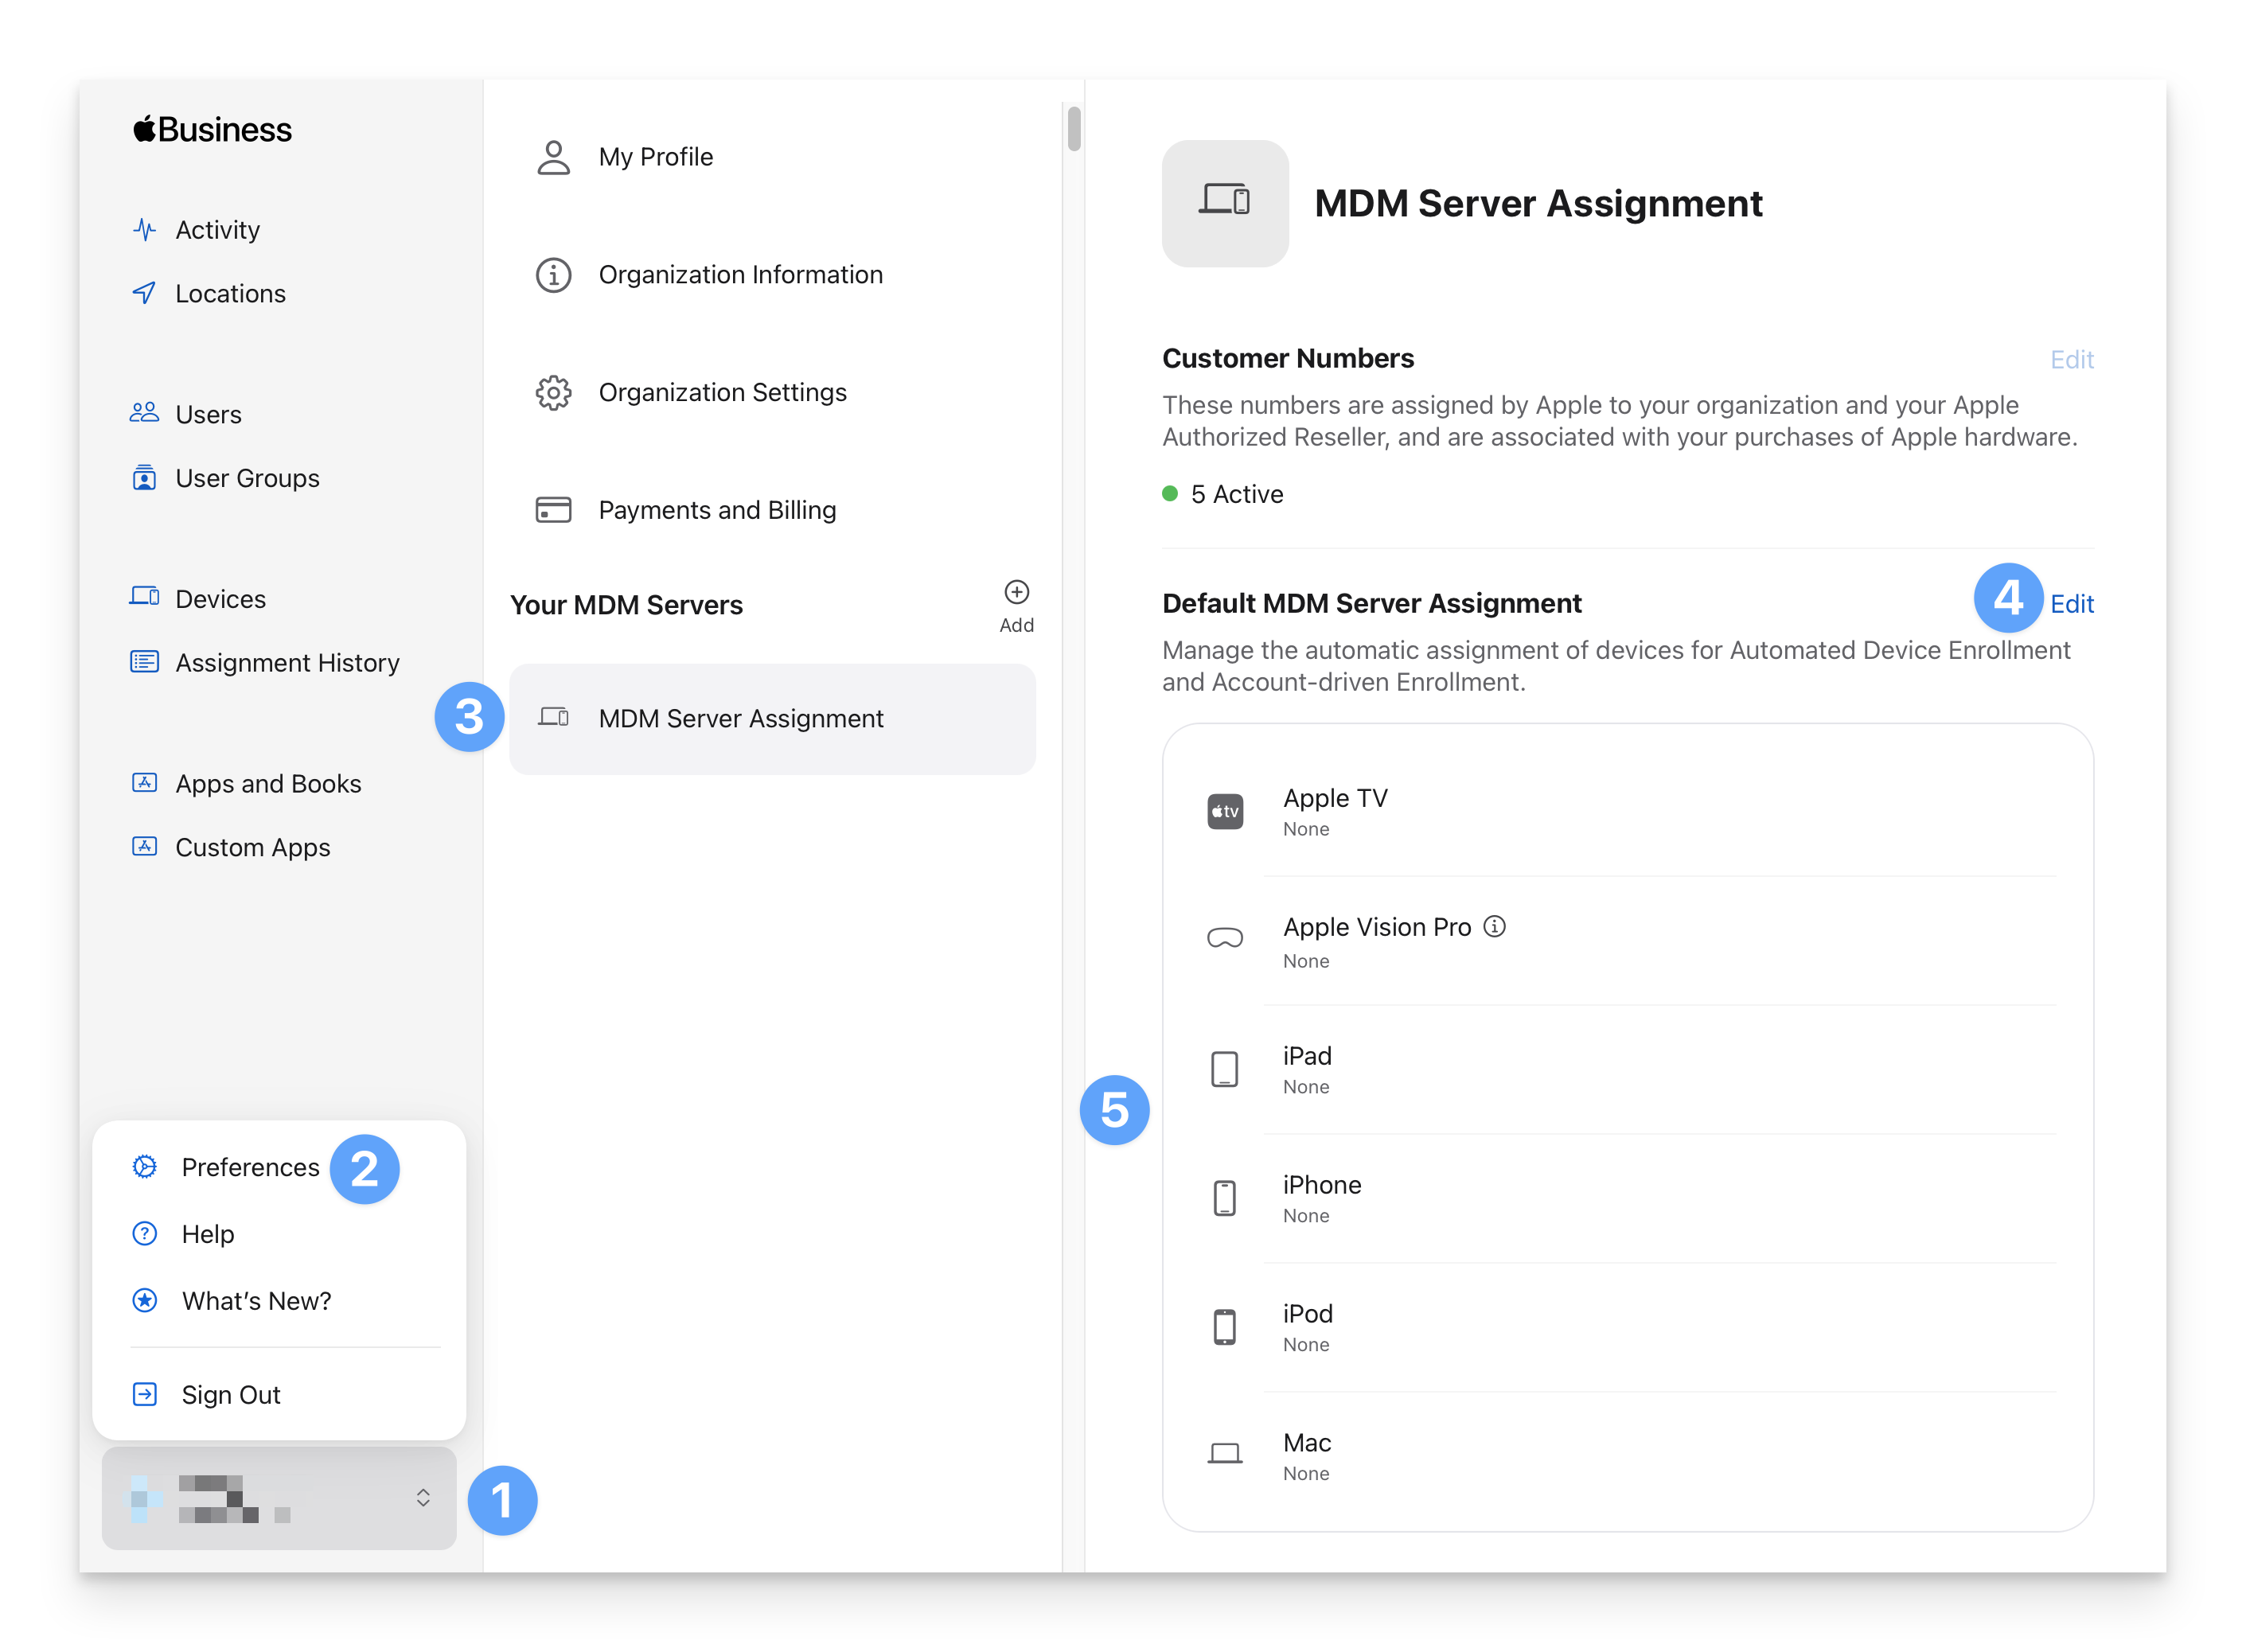
Select your name from the left-hand navigation bar.
Select Preferences.
Select MDM Server Assignment.
Under Default MDM Server Assignment, select Edit.
Choose the Kandji server you created when enabling MDM with Kandji for each device type.
Ensure Devices Do Not Skip ADE Enrollment
macOS Ventura and Later Mac computers registered to an organization must connect to a network during Setup Assistant after being erased or reset. By first enrolling a device into Kandji, admins can ensure that newly provisioned devices can no longer skip ADE enrollment.
Migrating from Previous MDM
What if your mobile device is already set up and enrolled in another MDM via Automated Device Enrollment? You have two options:
After re-assigning the device to Kandji via Apple Business Manager, erase and re-enroll your mobile devices if you wish to maintain supervision in Kandji.
Un-manage the mobile device in your existing MDM and leverage the Kandji Enrollment Portal. Only macOS devices will be Supervised using this method.
If you experience any issues with the process or have any other questions, please contact support.
Check Device ADE Status
Before attempting to enroll a device through ADE, it's important to check the status in the Automated Device Enrollment section in your Kandji Web App.
Please see the Device Enrollment Profile Status article for more information.
Automated Device Enrollment After Setup
If a Mac has already passed through Setup Assistant, forcing another check and re-enrolling the computer into Kandji is possible. After assigning the device to the Kandji MDM server in Apple Business Manager, have your users follow the User Experience with Automated Device Enrollment After Setup article for the full process.
Change Default ADE Blueprint
The default Blueprint can be changed at any time inside the Kandji Web App.
Click Settings.
Click Apple Integrations.
Click Edit Defaults in the Automated Device Enrollment section.

Click the Default Blueprint dropdown menu.
Select the desired Blueprint from the list.
Click Save.
.png)
Enrollment Portal for Manual Enrollment
Enrollment Portal Setup
Enrolling via the Kandji Enrollment Portal is a great option for devices that are unavailable in Apple Business Manager.
Select Enrollment in the navigation bar.
Navigate to the Manual Enrollment tab.
Click the toggle to enable the Enrollment Portal.
Toggle on any Blueprint you wish to allow users to enroll their devices into.

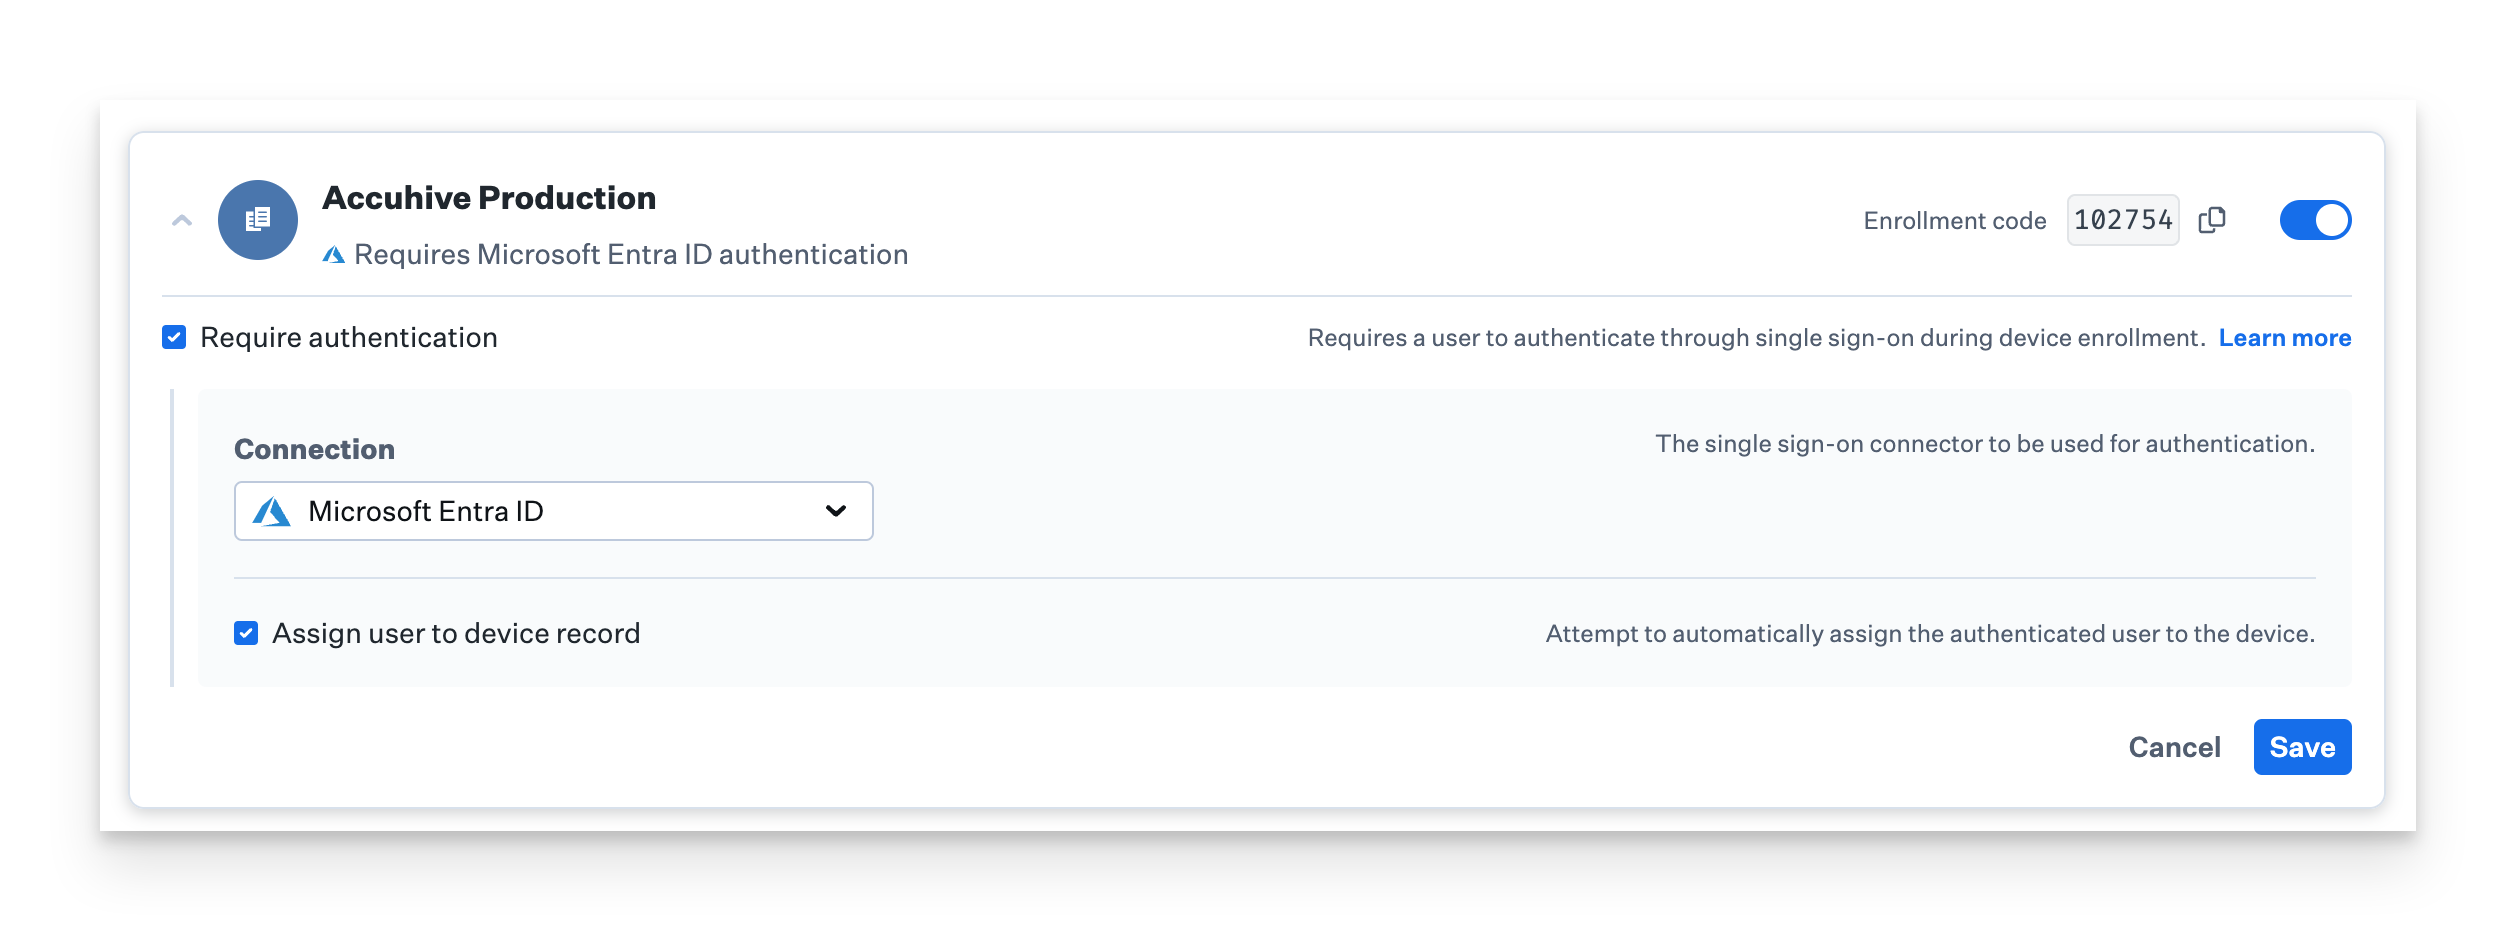
Optionally, configure Require Authentication for manual enrollment into a Blueprint.
Check the box to Assign user to device record if desired.
Once enabled, you can direct users to the Enrollment Portal Link and provide them with the code they should use to enroll their devices. If you have multiple Blueprints, ensure that specific users only receive their Blueprint code.
Enrollment Portal URL and Code
You can also provide the portal link with the Enrollment Code embedded in the URL for easier deployment. The format for the shareable link is listed below. The EnrollmentCodeHere portion should be the Enrollment Code without the dash between the two sets of numbers.
https://subdomain.kandji.io/enroll/access-code/EnrollmentCodeHerePlease see our User Experience with the Enrollment Portal article for more information.
Moving Devices Between Blueprints
Devices can be moved to a different Blueprint without re-enrolling.
Generating a new Blueprint Code
Kandji allows you to generate a new random code for each Blueprint. Generating a new code is helpful should the code be distributed to unauthorized users. A new code prevents unwanted devices from being enrolled into that Blueprint.
Select Enrollment in the navigation bar.
Navigate to the Manual Enrollment tab.
Click the arrow next to the name of the Blueprint where you’d like to change the code.
Click Change code.

Distribute the new code to your desired users.
Once changed, the previous code will no longer be valid for new device enrollments.
By design, when Stolen Device Protection is enabled on devices running iOS 17.3 or later, MDM enrollment is restricted.
Enrollment Troubleshooting
Devices Not Visible in Apple Business Manager
If you do not see your devices available for assignment in your Apple Business Manager account, there can be several reasons, with different solutions for each.
You purchased your devices directly from Apple.
You may not have added your Apple Customer Number in Apple Business Manager (Settings > Device Management Settings > Customer Numbers).
To find your Apple Customer Number, check with your Apple account executive, your purchasing department, or Apple sales support. When using an Apple Customer Number, all devices purchased from Apple since March 1, 2011, will be added to your Apple Business Manager account.
You purchased your devices from an Apple Authorized Reseller or a carrier.
You may not have established a link between your Apple Business Manager account and the reseller.
Ask your reseller for its Reseller ID and add this in Apple Business Manager (Settings > Device Management Settings > Customer Numbers).
Provide your reseller with your Apple Business Manager Organization ID, located in Apple Business Manager (Settings > Enrollment Information), along with a list of the serial numbers or orders that you want your reseller to add to your Apple Business Manager account. Your reseller can choose the "Look-Back" period for devices to be added.
Your devices may not have been purchased through a Device Enrollment–enabled reseller or were not purchased as a business from Apple.
Missing Local Files after Enrollment
During initial setup, macOS allows users to sync their Desktop and Documents folders with iCloud. However, if the Mac later enrolls in Kandji and this feature is disabled, macOS will remove the previously synced data from the Mac.
Although this may be alarming for users, their data should still reside in their iCloud account.
When disallowing iCloud Syncing and access to other iCloud features, we highly recommend informing your team before enrolling in Kandji so that they can make changes to ensure they have access to any critical data.
The Restrictions Profile Library Item contains settings related to iCloud that may be disabling the use of various iCloud functionality.
Preferred Device Enrollment Resellers
A list of Preferred Device Enrollment Resellers is available here.
Customer Numbers and Apple Business Manager
For information about customer numbers and adding devices to Apple Business Manager, see Apple's Using Automated Device Enrollment Support Article.