How to Add Additional Automated Device Enrollment (ADE) Tokens using the Kandji API and Postman
If you need to renew or update multiple Automated Device Enrollment Tokens, please visit the Renew & Update Multiple Automated Device Enrollment Tokens article.
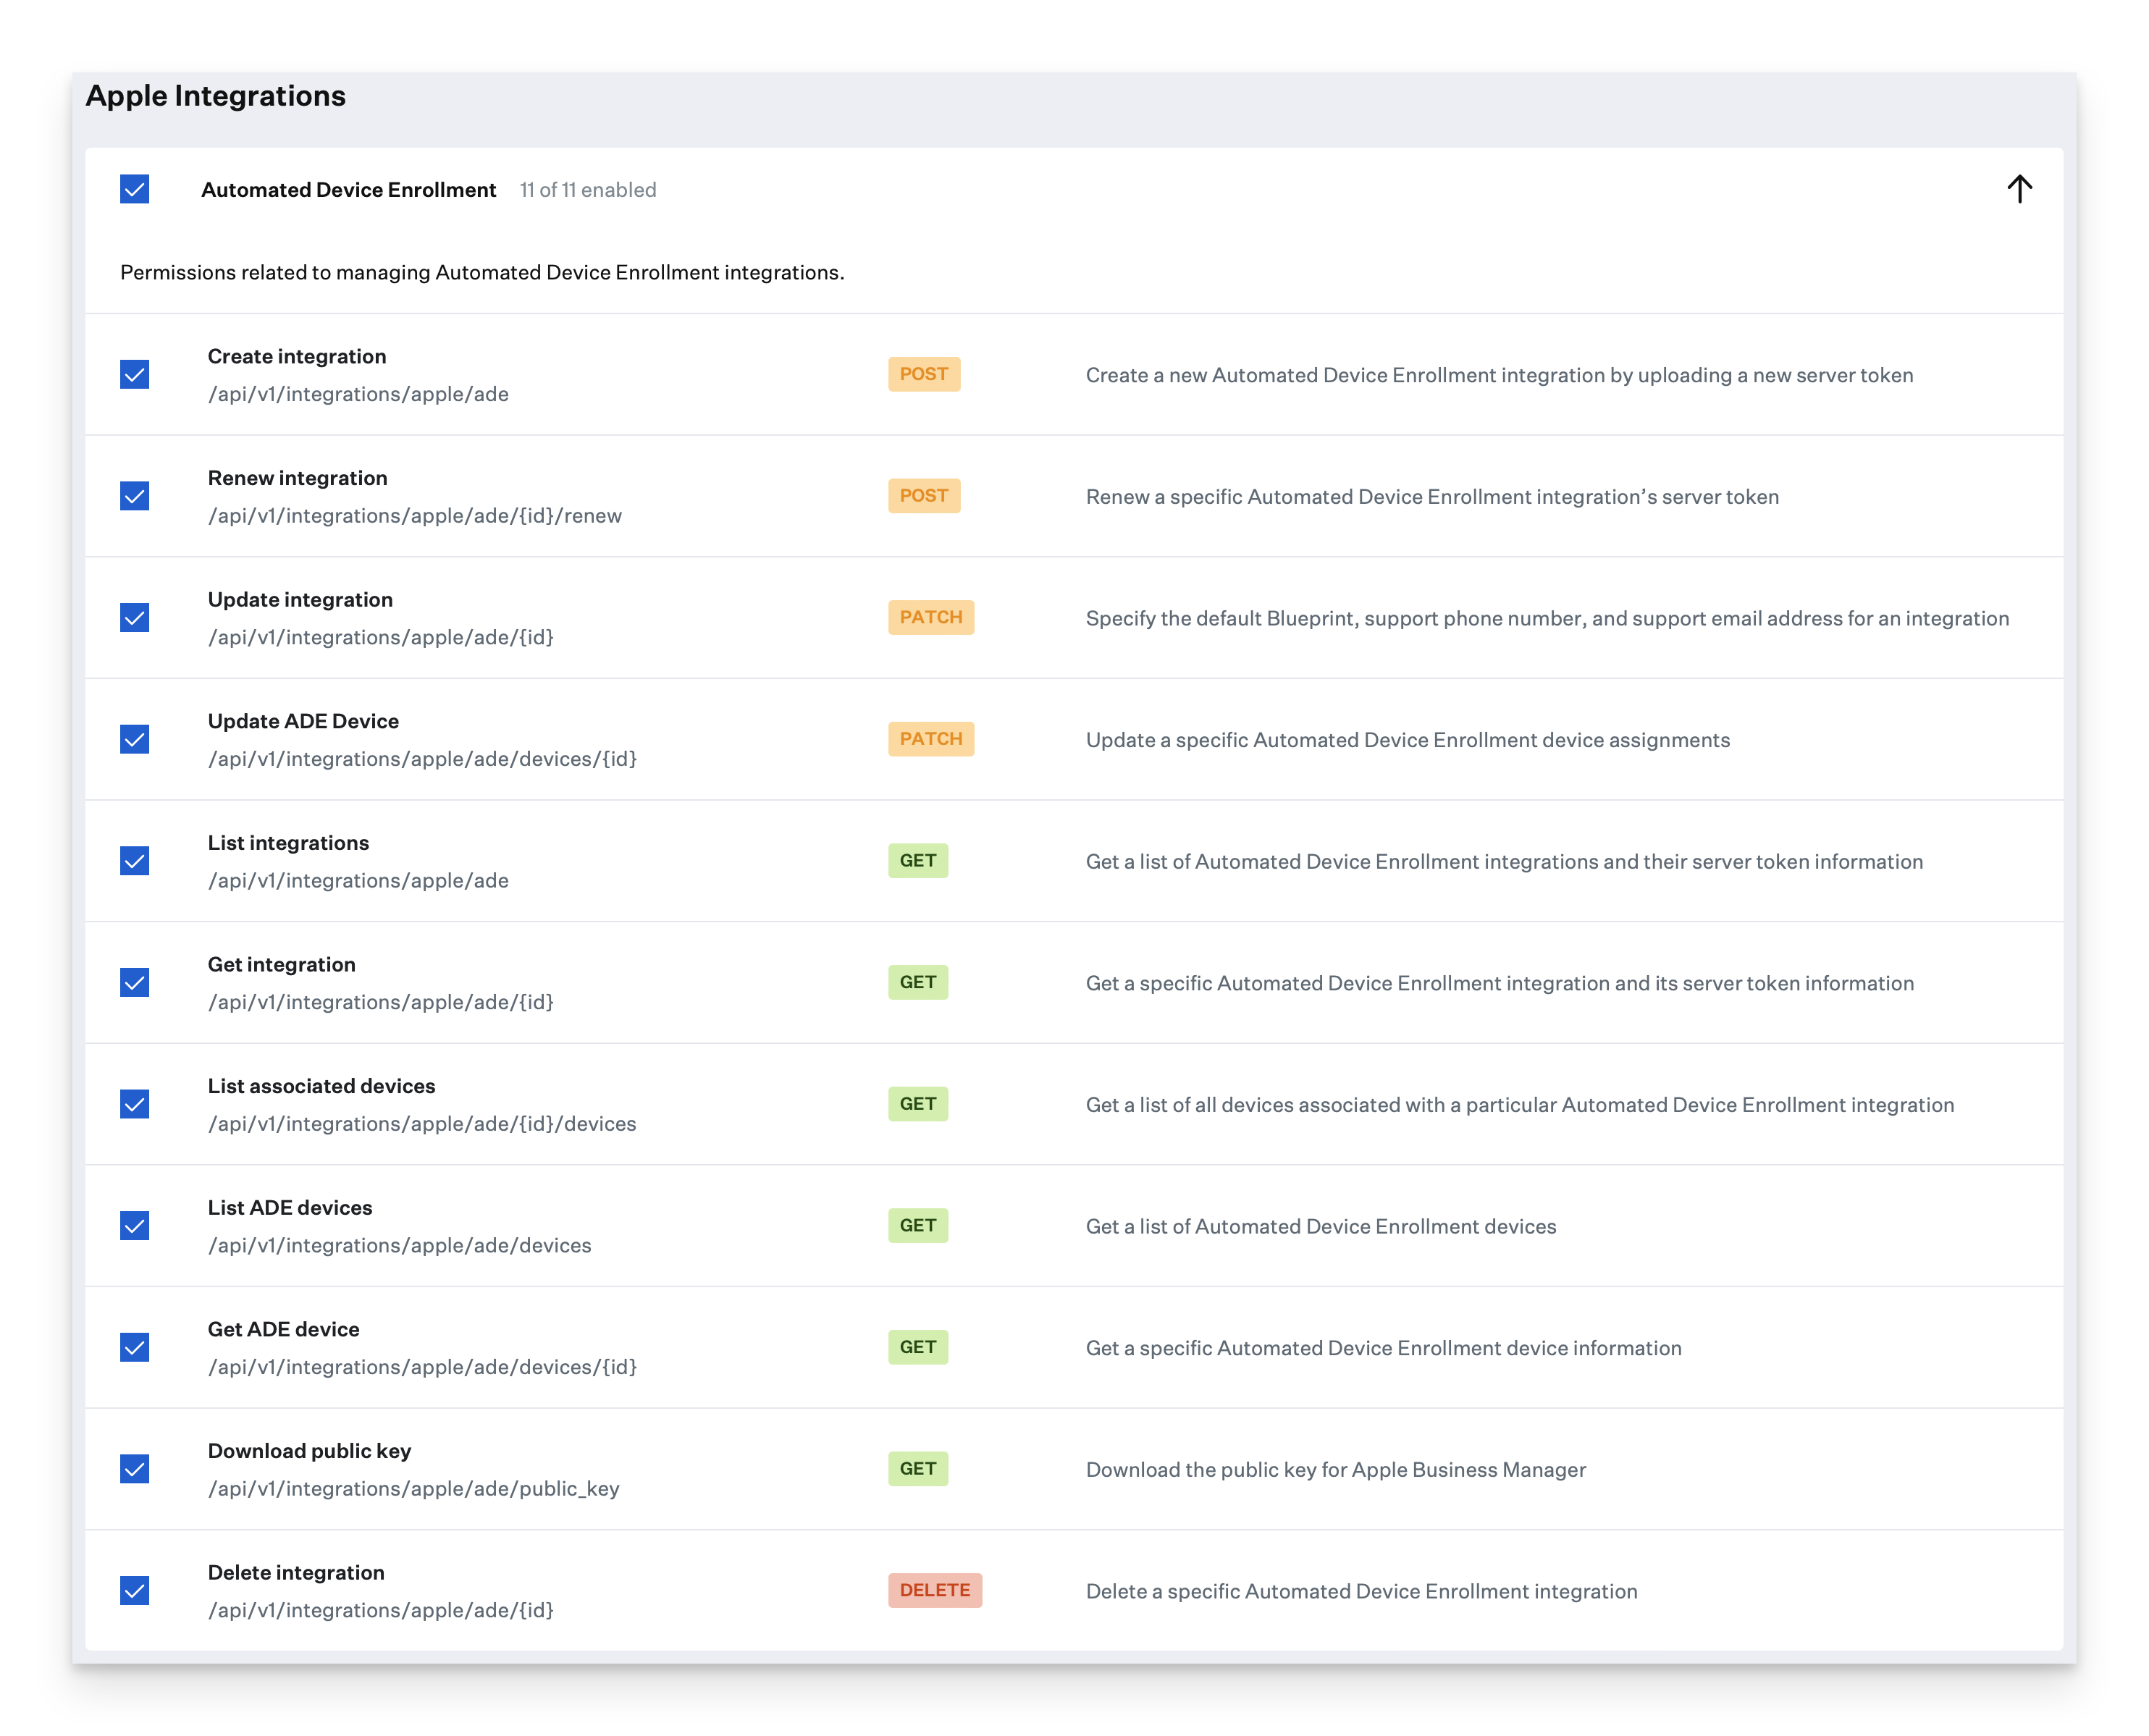
Configure Kandji API Token
If you do not feel confident in completing this process yourself, please reach out to Kandji Support for additional guidance.
It is highly recommended that you renew the current Automated Device Enrollment token in Kandji Settings > Apple Integrations > Automated Device Enrollment > Renew before starting this process. Only the latest Automated Device Enrollment token that you add will be displayed on your Apple Integrations page so it will make renewing your existing token an easier process.
Prepare API Token and store it in a secure location. You can read more about this in our Kandji API article.
- Create or modify an existing API Token.
- In your Kandji tenant, navigate to Settings > Access > API Tokens.
- Create or modify the existing API Token to include all ADE-related permissions.
Prepare Postman
For basic configuration, please follow our How to Set Up the Kandji API in Postman article. Most of the steps moving forward will be performed inside the Postman application on your device.
- Check your Collection for the Automated Device Enrollment integrations folder.
- If this folder is missing, go to api-docs.kandji.io, click the Run in Postman button, and follow the steps to import the new API version.
- Define your API URL if undefined in the Kandji API folder at the top of the collection.
- Define the API Token in your Environment variables following our How to Set Up the Kandji API in Postman article.
Download Public Key
Now that Postman is configured with the API Key and Kandji Subdomain, you can download the public key.
- Select the Kandji API > Automated Device Enrollment Integrations > GET Download ADE public key in the Collection.
- Click the Send button
- Copy the output and paste it into a text editor
- Set the file format to plain text.
- Save the text file with the .pem certificate file extension
- Create a new MDM server in ABM using .pem certificate file that was created
- Download the .p7m file from ABM
Create Integration
This section will cover using the API command that will complete the process of creating the new ADE connection.
- Select Kandji API > Automated Device Enrollment Integrations > POST Create ADE Integration in the Collection.
- Click on the Body tab that has a green dot and enter blueprint_id, phone, and email.
- Click Select Files and attach the .p7m file.
- Click the Send button.
You can repeat the Download public key and Create Integration processes for each additional integration you would like to add.
Check Current Integrations
Kandji API > Automated Device Enrollment Integrations > GET List ADE Integrations command will give us all current ADE integrations so that we can verify that the integration was added successfully.
- Select Kandji API > Automated Device Enrollment Integrations > GET List ADE Integrations in the Collection.
- Click the Send button.
- If the count is equal to at least 2, the creation process is successful.