What is Apple Push Notification service?
Apple Push Notification service is a notification platform developed by Apple that plays a crucial role in Mobile Device Management (MDM). MDM is a framework designed to secure, control, and enforce policies on devices remotely. It depends on APNs to facilitate communication with Apple devices.
Configure APNs
For best results, use a macOS computer.
Navigate to your Kandji Web App (e.g., accuhive..io). Please take a look at your welcome email for this information.
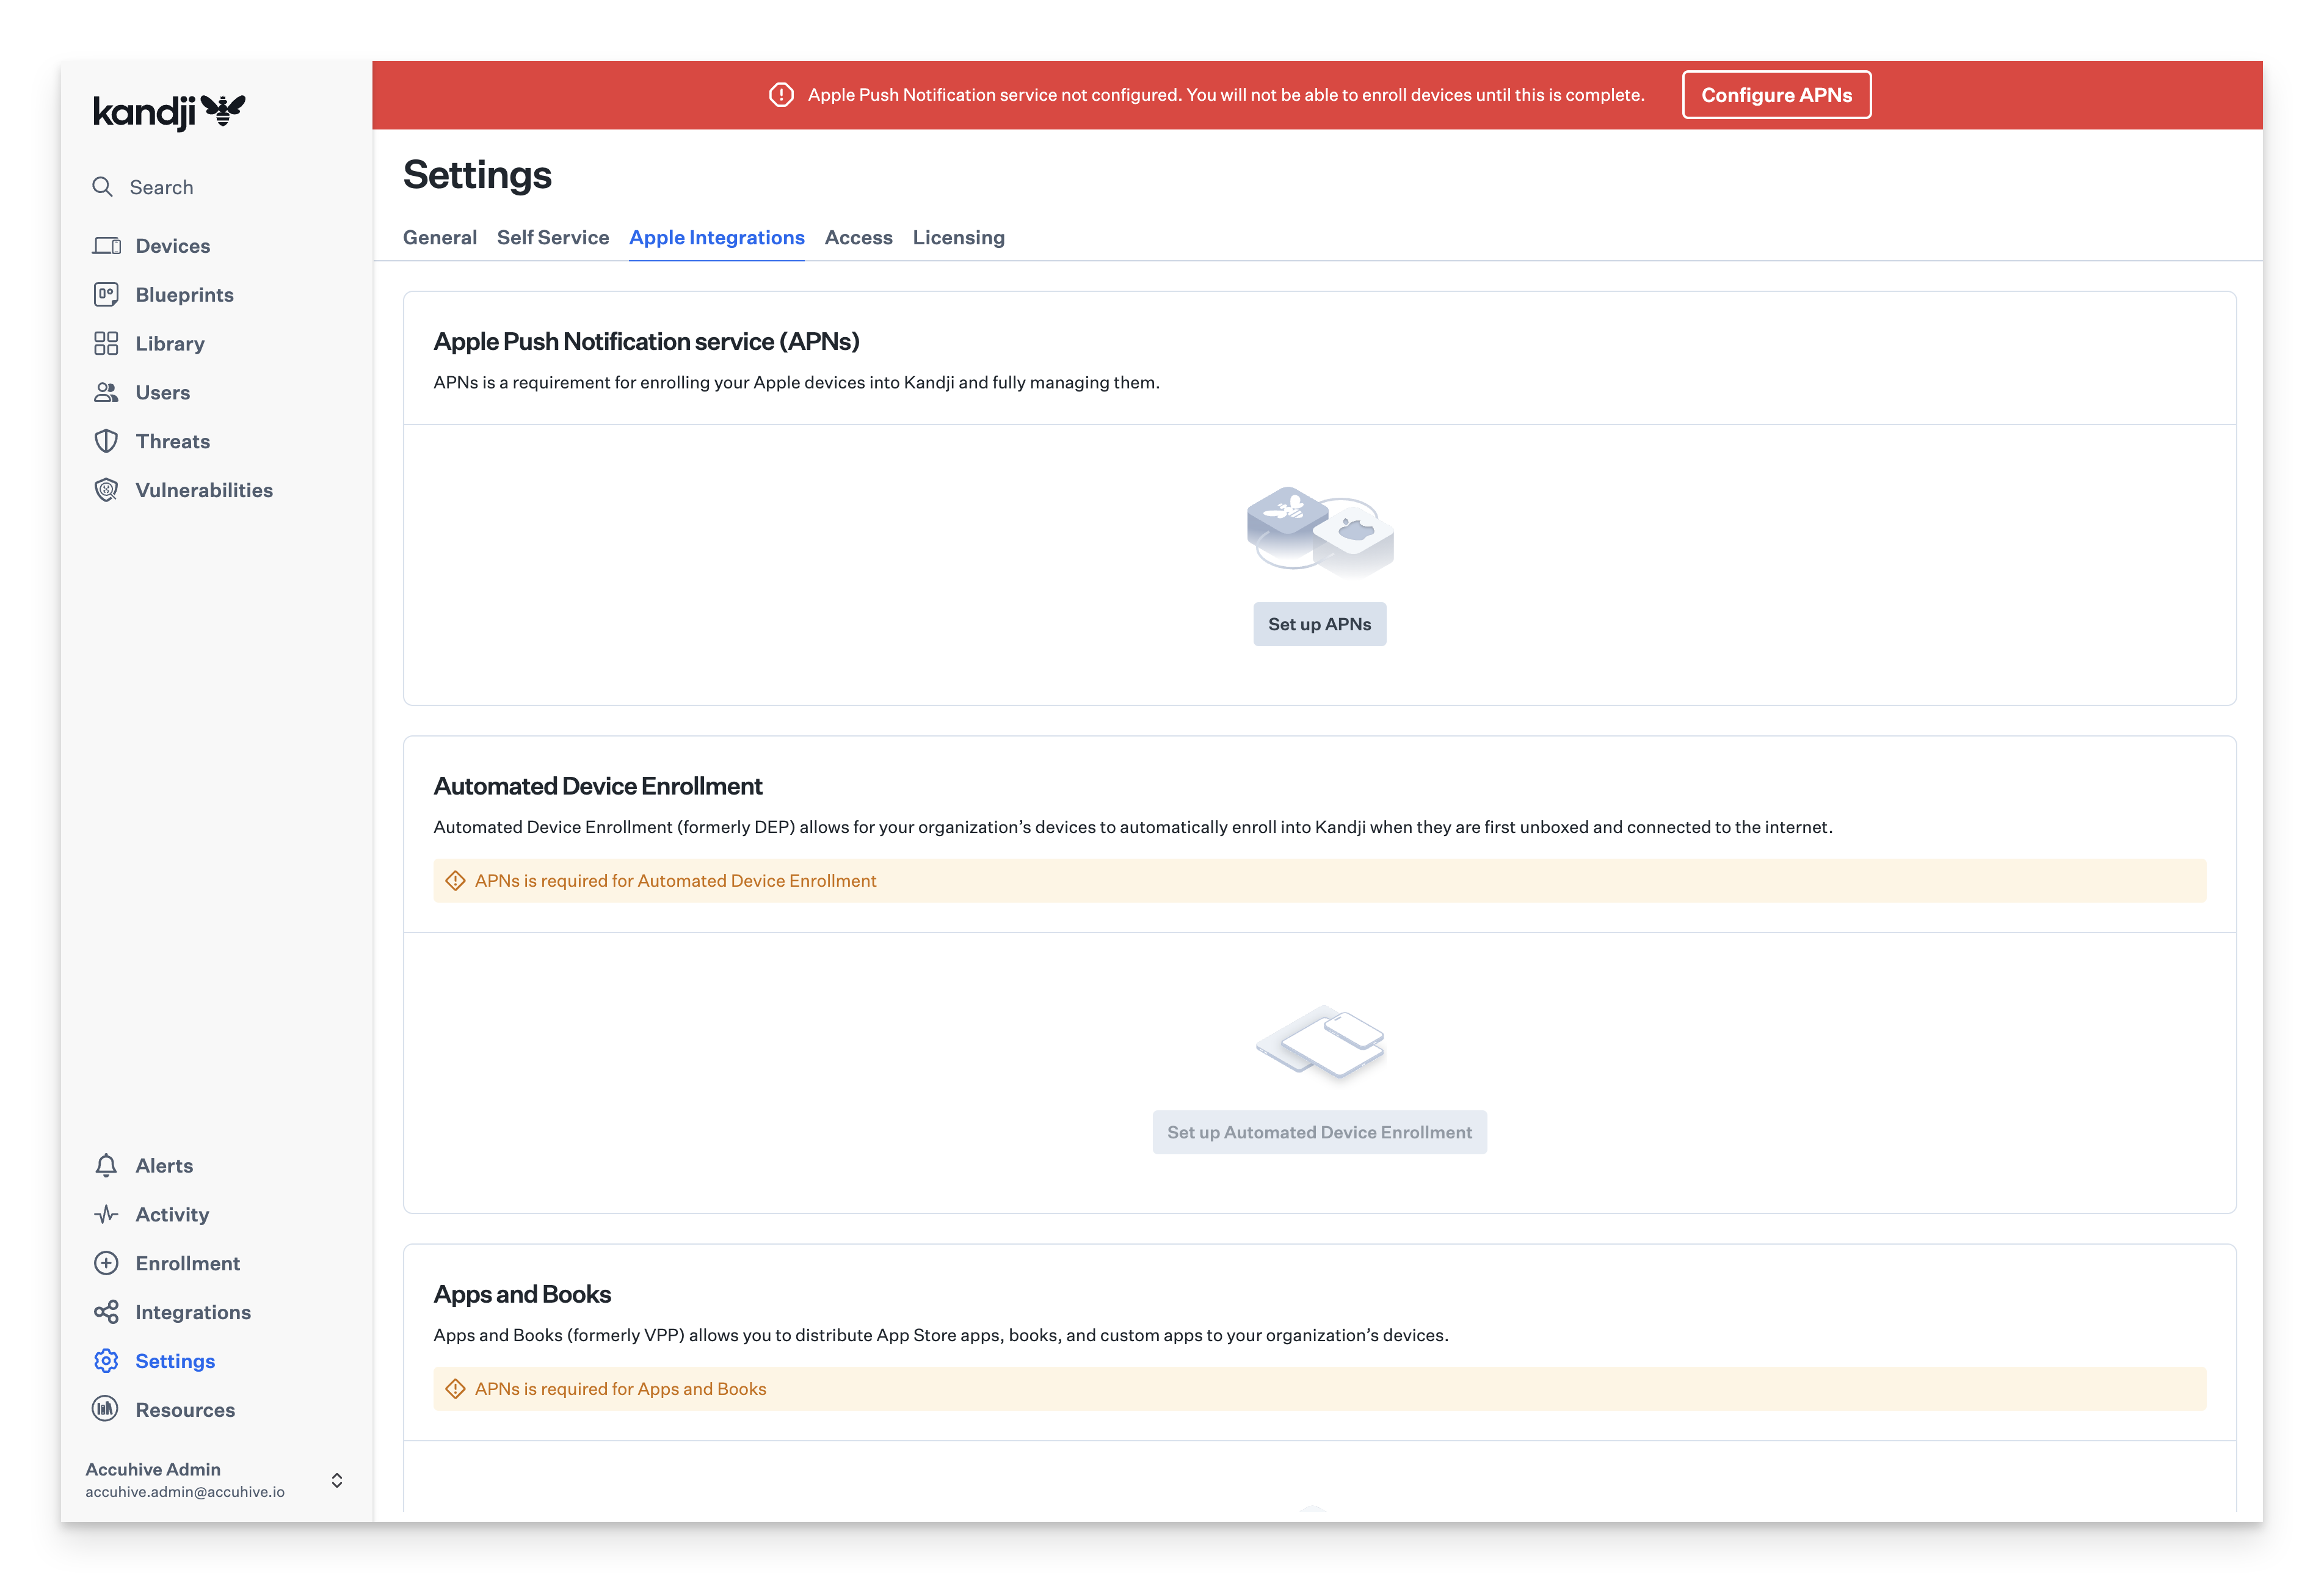
In the left-hand navigation bar, click Settings.
Select the Apple Integrations tab.
Under Apple Push Notifications service (APNs), click Set up APNs.
Follow the on-screen instructions to create a new APNs certificate.
Do not attempt to use an existing APNs certificate. Use an Apple Account linked to your business email address.
If you have an Apple Business Manager (ABM) account or Apple School Manager (ASM) account, we recommend creating a new Managed Apple ID in ABM or ASM named APNS@YourDomain.com. Refer to these articles to learn how to set up Managed Apple Accounts for Apple Business Manager and Apple School Manager.
APNs certificates automatically expire annually, so you will need to renew your Kandji APNs certificate each year. Kandji will alert you when the certificate should be renewed.
Configure Automated Device Enrollment
Automated Device Enrollment allows devices to enroll automatically into Kandji when they are first powered on and set up. Once enrolled, devices will receive settings and apps configured within Kandji.
To use Automated Device Enrollment, you must be enrolled in Apple Business Manager. Enrolling is free, but it may take several days to complete the process if you have not done so already.
If you already have Apple Business Manager set up and are migrating from a previous MDM, add Kandji as a new MDM server in Apple Business Manager and reassign devices to Kandji. Users with existing devices will not notice this change—it is only apparent when configuring a new device.
After you assign devices to Kandji in Apple Business Manager, they will appear in the Kandji web app in the Devices module under Automated Device Enrollment, and the device name will be listed as Awaiting Enrollment. This does not mean devices are enrolled in Kandji; enrollment occurs during the new-device setup process.
Steps to Configure Automated Device Enrollment
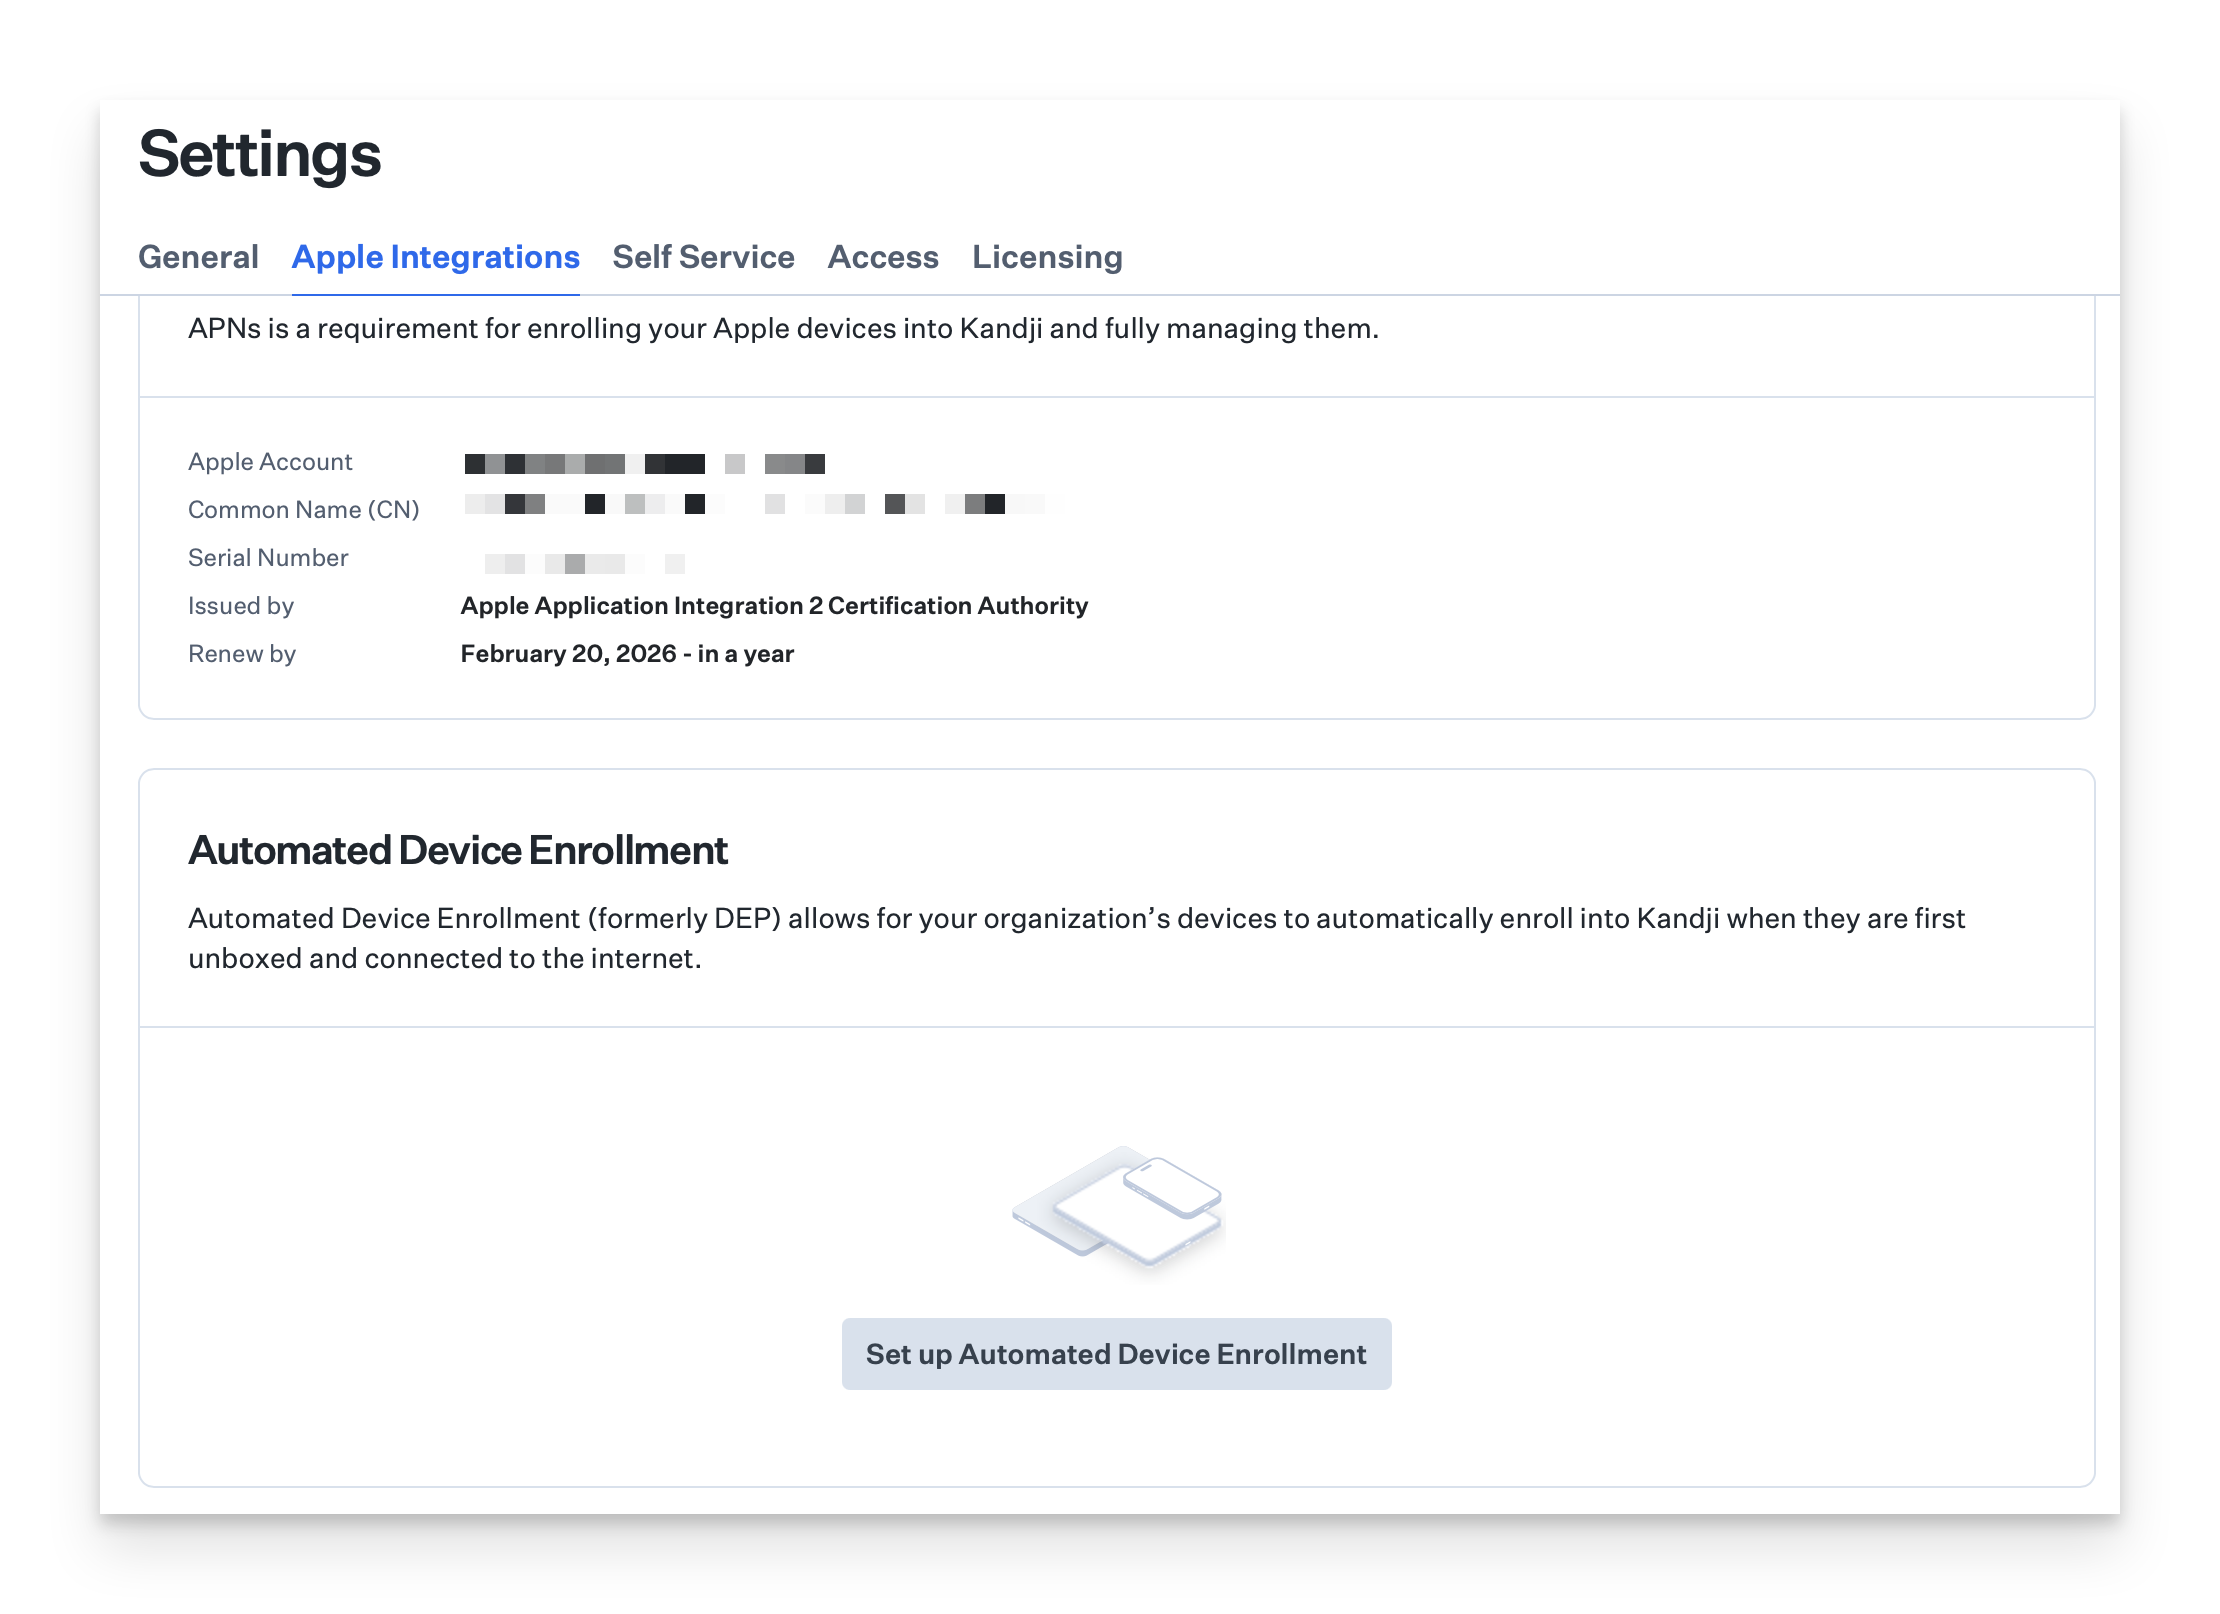
In the left-hand navigation bar, click Settings.
Select the Apple Integrations tab.
Under Automated Device Enrollment click Set up Automated Device Enrollment.
Follow the on-screen instructions to set up Automated Device Enrollment and click Done.
Configure Apps and Books
Apps and Books allows you to get free and paid apps from Apple's App Store and distribute them to devices using Kandji. This is different from Auto Apps or Custom Apps in Kandji.
You cannot share the same Apps and Books token across multiple MDM servers in Apple Business Manager. It is highly recommended that you create a new location in ABM specifically for your Kandji tenant and use a dedicated Apps and Books token.
To use Apps and Books, you must be enrolled in Apple Business Manager. To configure Apps and Books:
Create a new location in Apple Business Manager.
Navigate to Settings in the left-hand navigation bar.
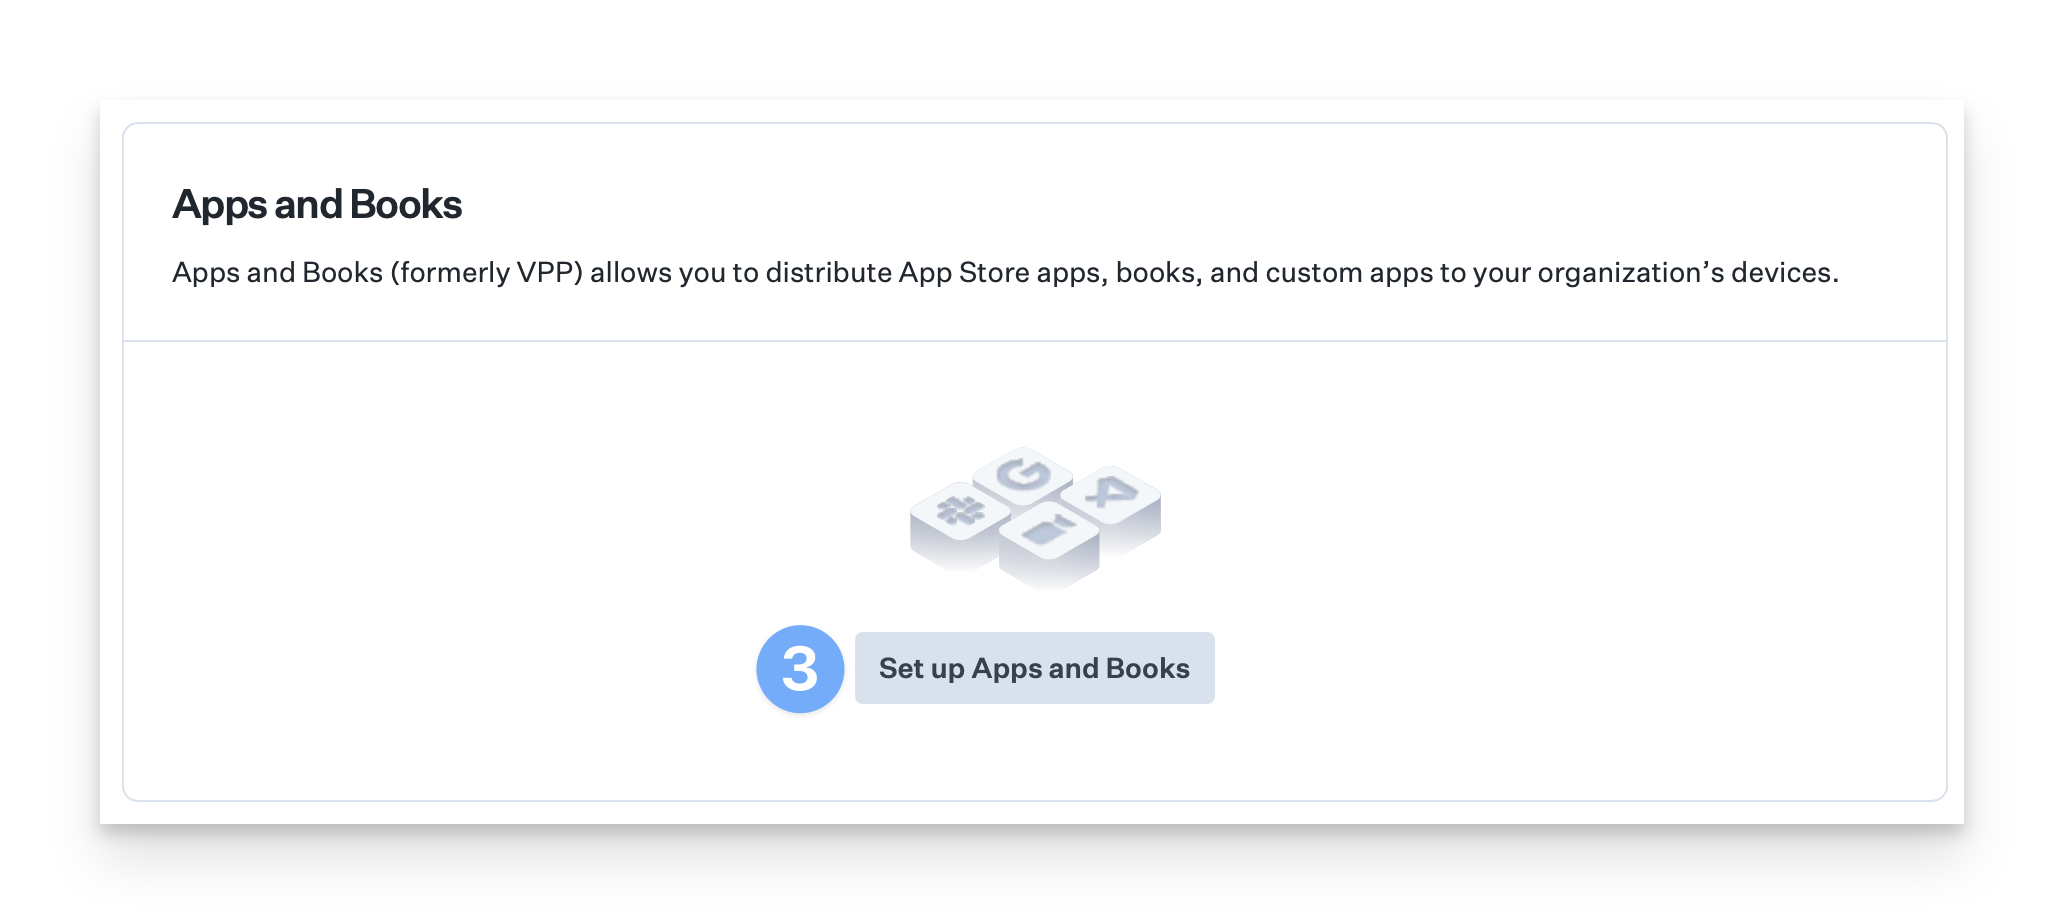
Select the Apple Integrations tab.
Under Apps and Books, click Set up Apps and Books.
Follow the on-screen instructions to set up Apps and Books. For detailed instructions, see this article.
Click Complete Apps and Books setup.