What is a Custom Script?
Custom scripts in Kandji are a powerful way to automate tasks and configure settings on Mac computers. Think of them as a set of instructions that can be deployed and executed on enrolled devices using the Kandji Agent. With custom scripts, you can configure device settings, install or update software applications, run maintenance tasks, and enforce security policies. You can also use custom scripts to collect device information, like hardware inventory or system logs. A collection of prebuilt and regularly maintained scripts is available in our GitHub repository.
Kandji's Custom Script Library Item can deploy scripts in various languages. However, our support team is best equipped to help troubleshoot scripts written in shell, bash, zshell, or Python. Support can also assist with AppleScript, provided it is invoked by one of the supported languages.
How Custom Scripts Work
The Kandji Agent runs custom scripts on enrolled Mac computers. Your custom script can specify any shell or interpreter on the Mac computer. If a shell or interpreter is not specified, the default shell (/bin/sh) is used. Custom scripts are always executed as the root user.
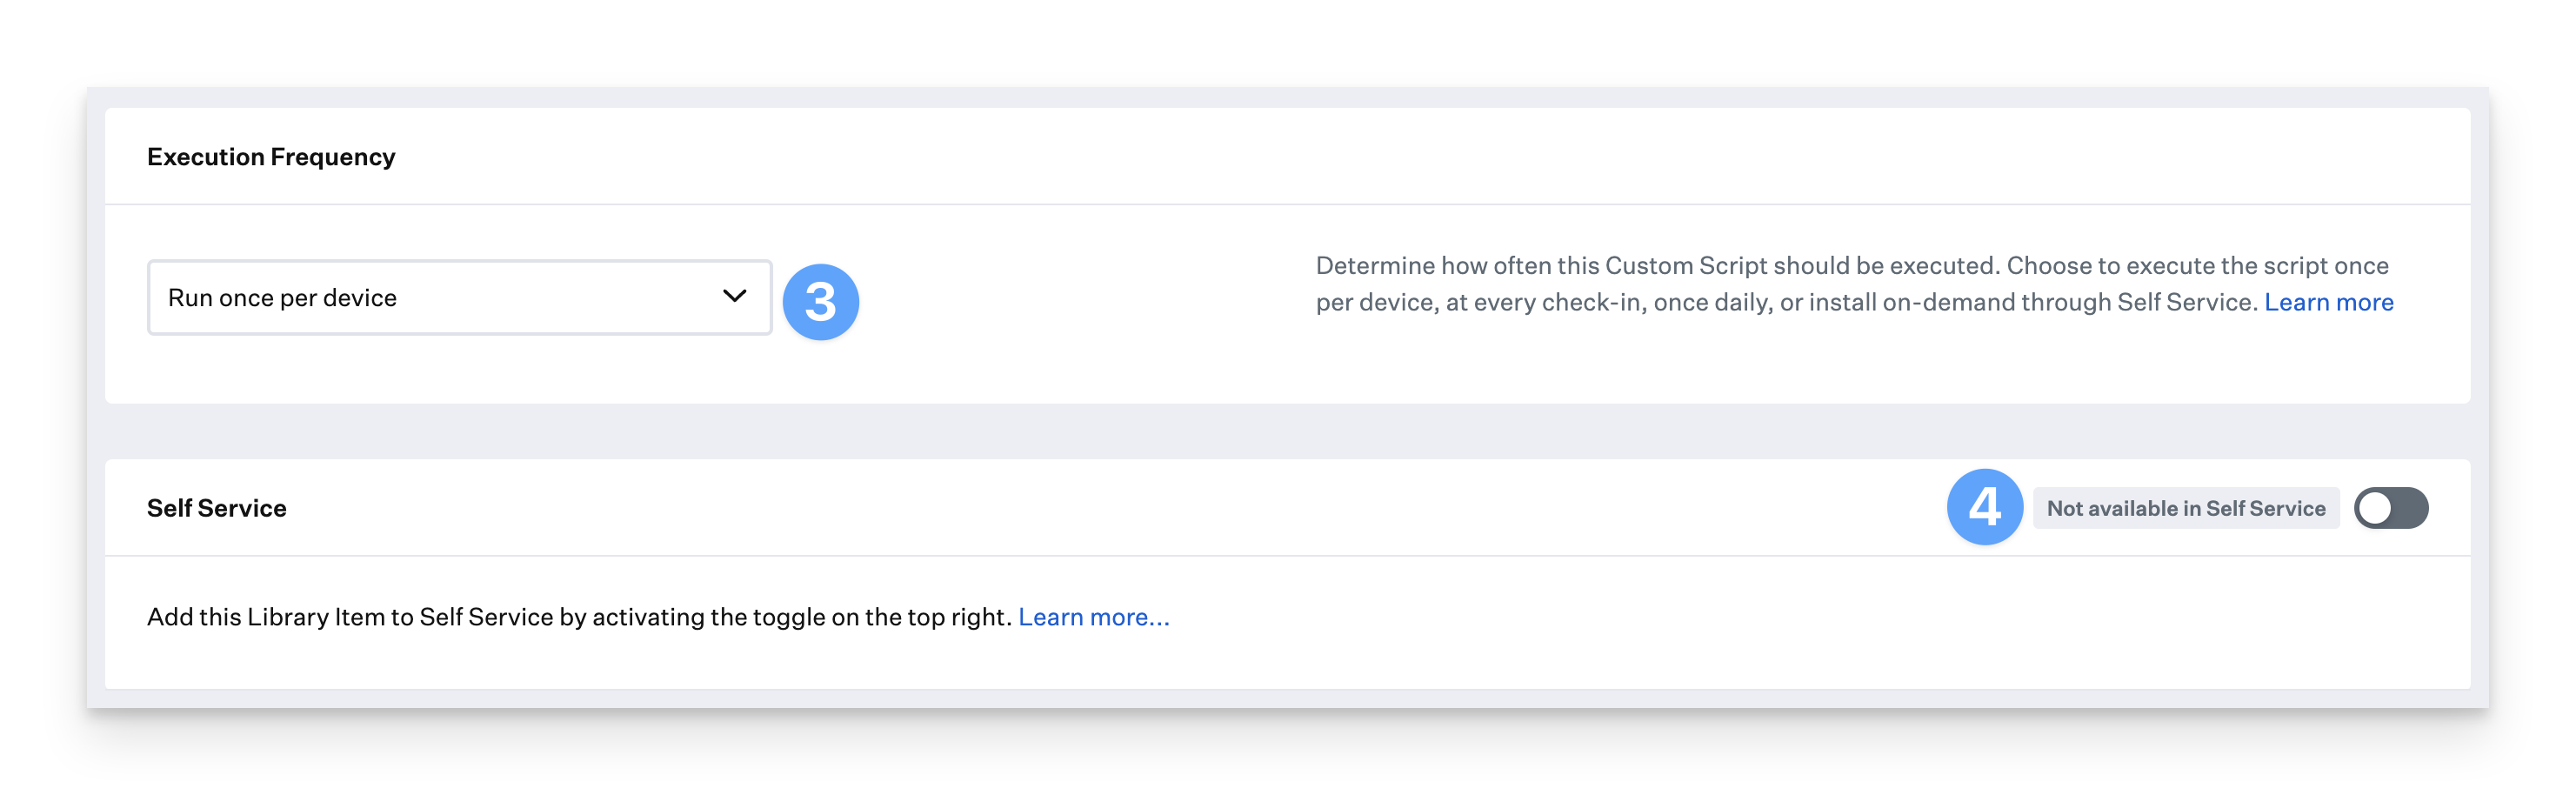
Execution Frequency
Depending on the script you want to deploy, you can specify whether it will be run once at every check-in, once per day, or on-demand from Self Service.
Install once per device: The script will run once per device. If the script fails, it will automatically try again on the following check-ins until it is successful.
Run every 15 min: The script will be run at each check-in (~ every 15 minutes).
Run daily: The script will be run every 24 hours based on the previous run time.
The Custom Script Library Item can additionally be offered via Self Service in the above 3 scenarios
Run on-demand from Self Service: The script will never be run automatically and will only be offered as an optional item from Self Service. After executing the item, the Run button will be relabelled Run again.
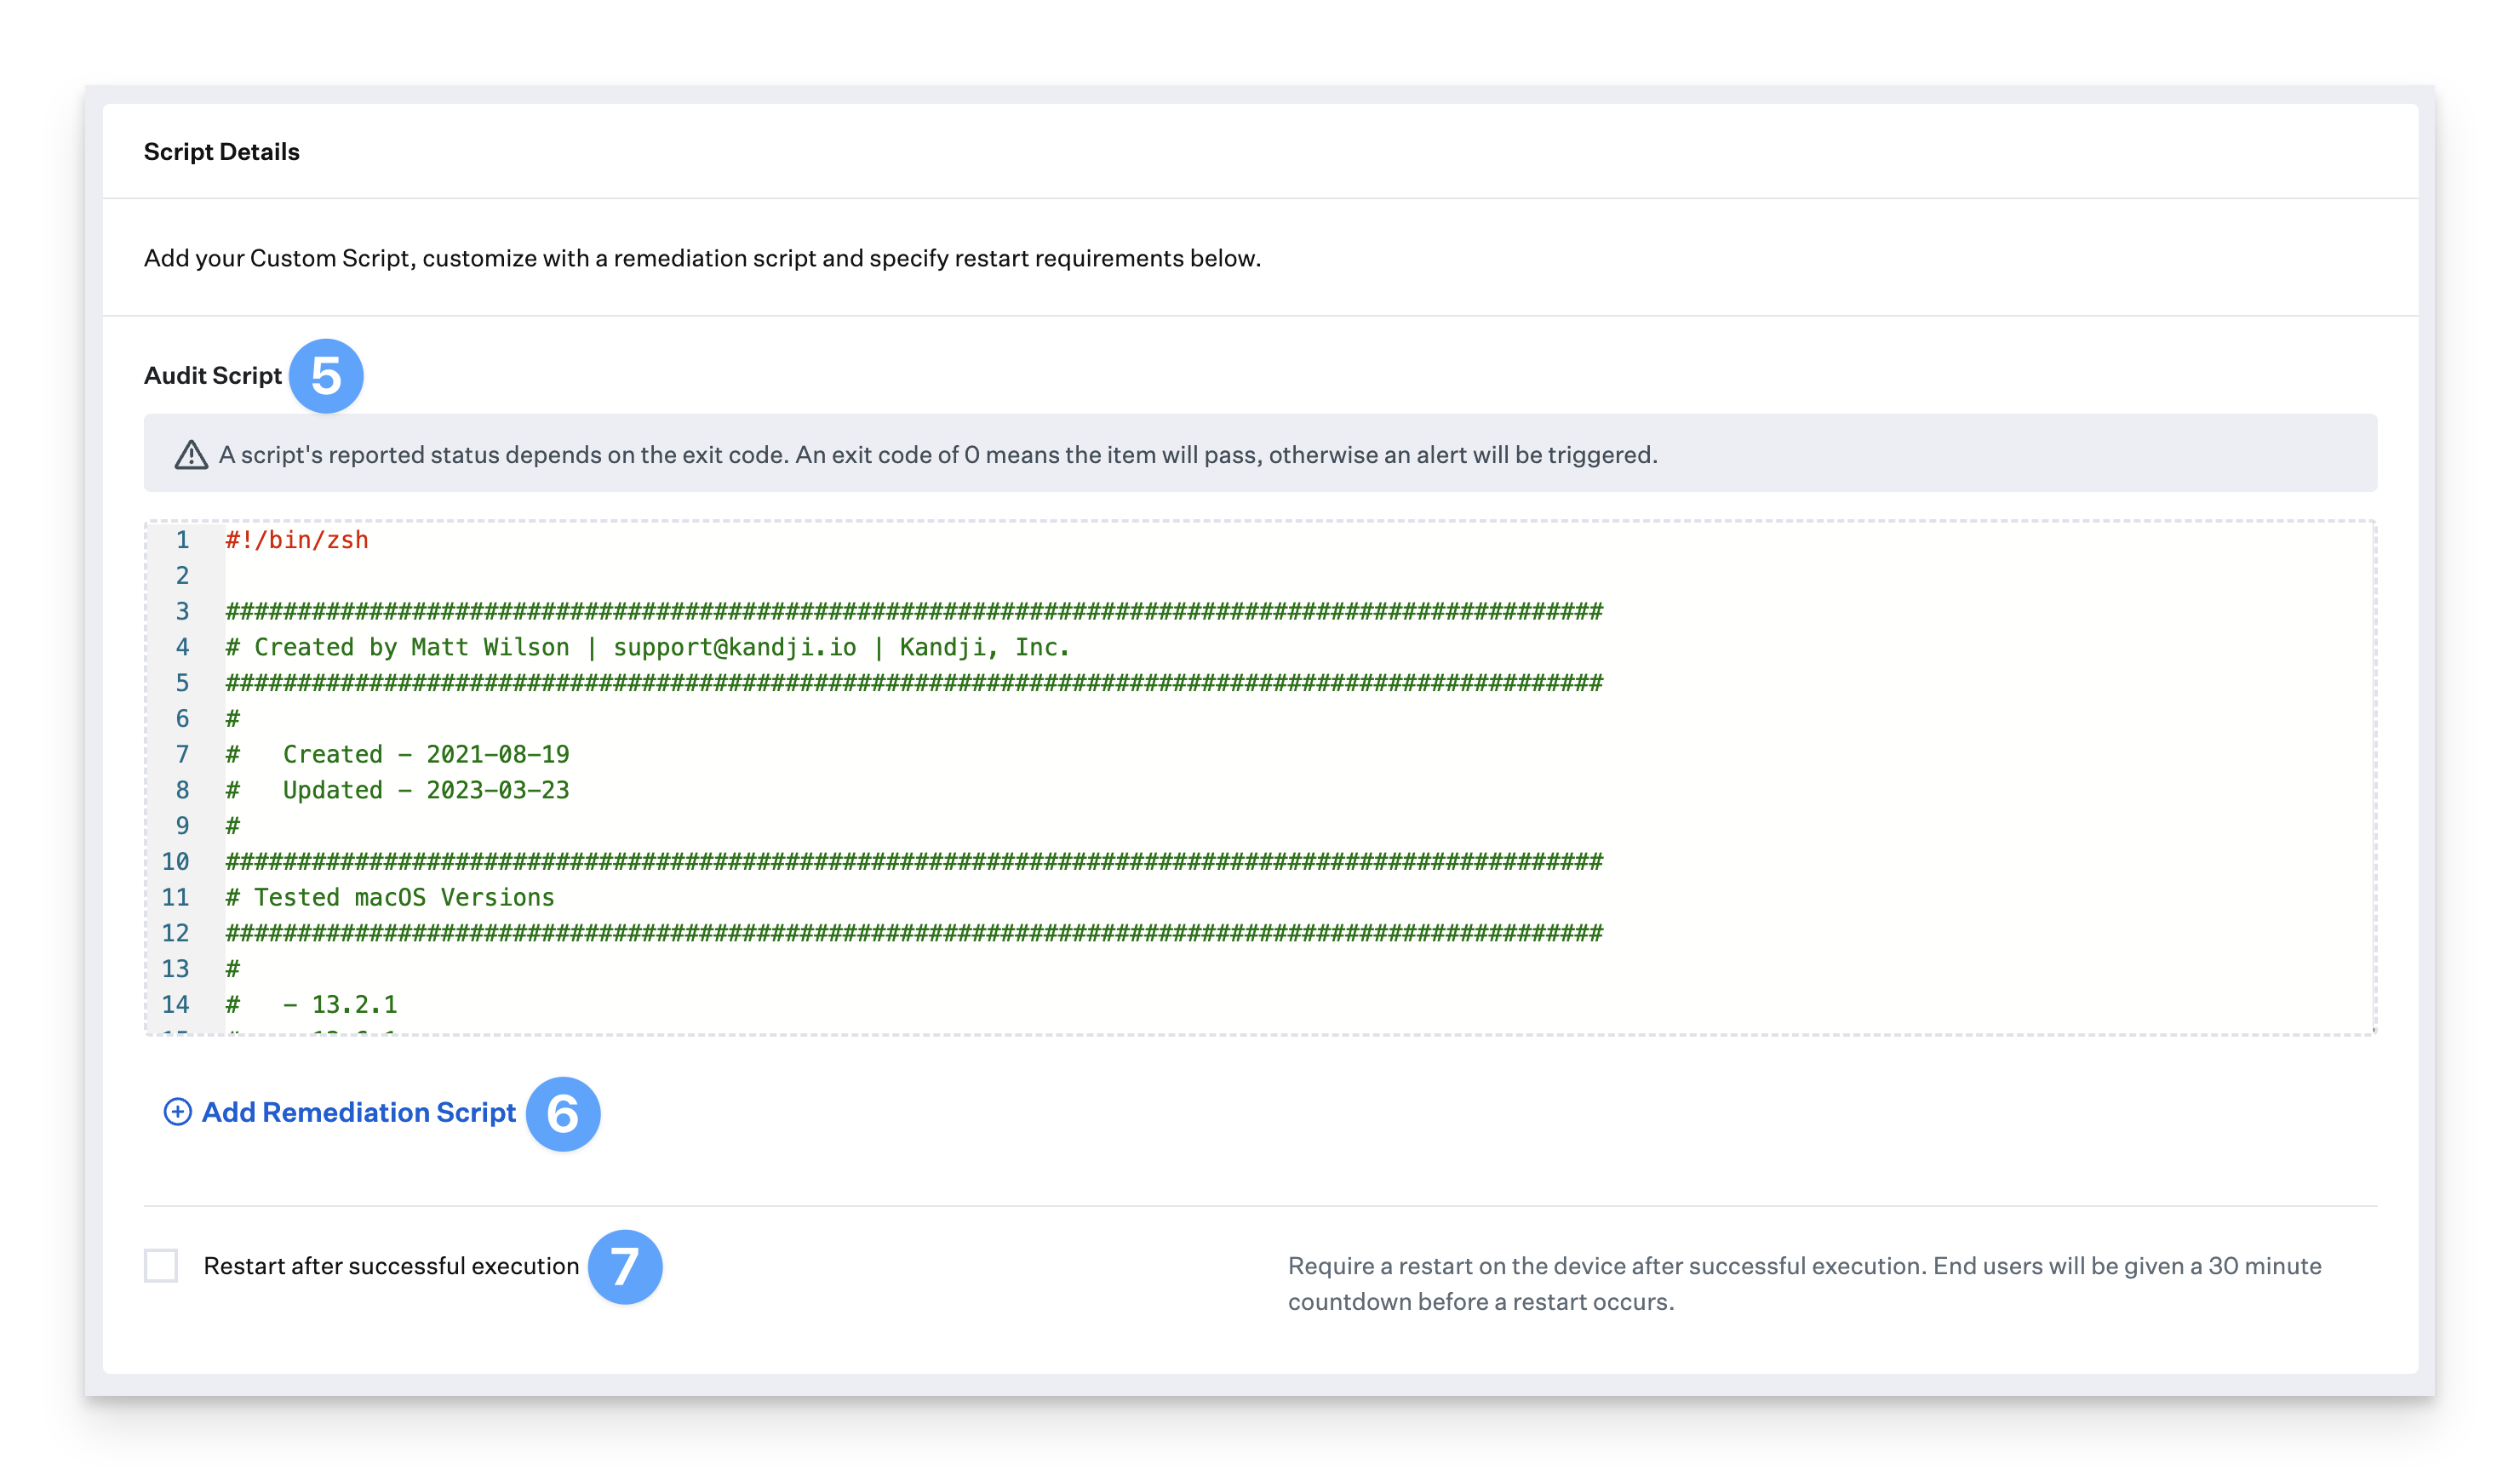
Exit Codes and Outputs
If a script exits with an exit code of 0, it is considered a passing result. If it exits with an exit code other than 0, it is considered an Alert/Failure.
Stdout and Stderr are recorded in the script's audit information, which can be found on the device status page or custom script status page.
Remediation and Restart Options
A remediation script allows the main Audit Script to be leveraged as a true audit script to check for system configuration or application state. If this audit script exits with an exit code other than 0, this is considered an audit failure, and the remediation script will then be run.
If the remediation script then exits with an exit code of 0, the status of the library item for that device will be Remediated. If the remediation script fails, the library item status for that device will be Alert.
The restart option allows you to force a restart after a successful script execution. When selecting this option, the user will receive a restart timer from the Kandji Agent menu bar application. This timer will be a 5-minute restart timer if the item was initiated from Self Service or a 30-minute restart timer if initiated in another way such as during a check-in. The restart option will behave differently based on the use of a remediation script.
If a Remediation script is being leveraged, when the Remediation script exits 0, this will trigger the restart countdown.
If a Remediation script is not being leveraged, when the Audit script exits 0, this will trigger the restart countdown.
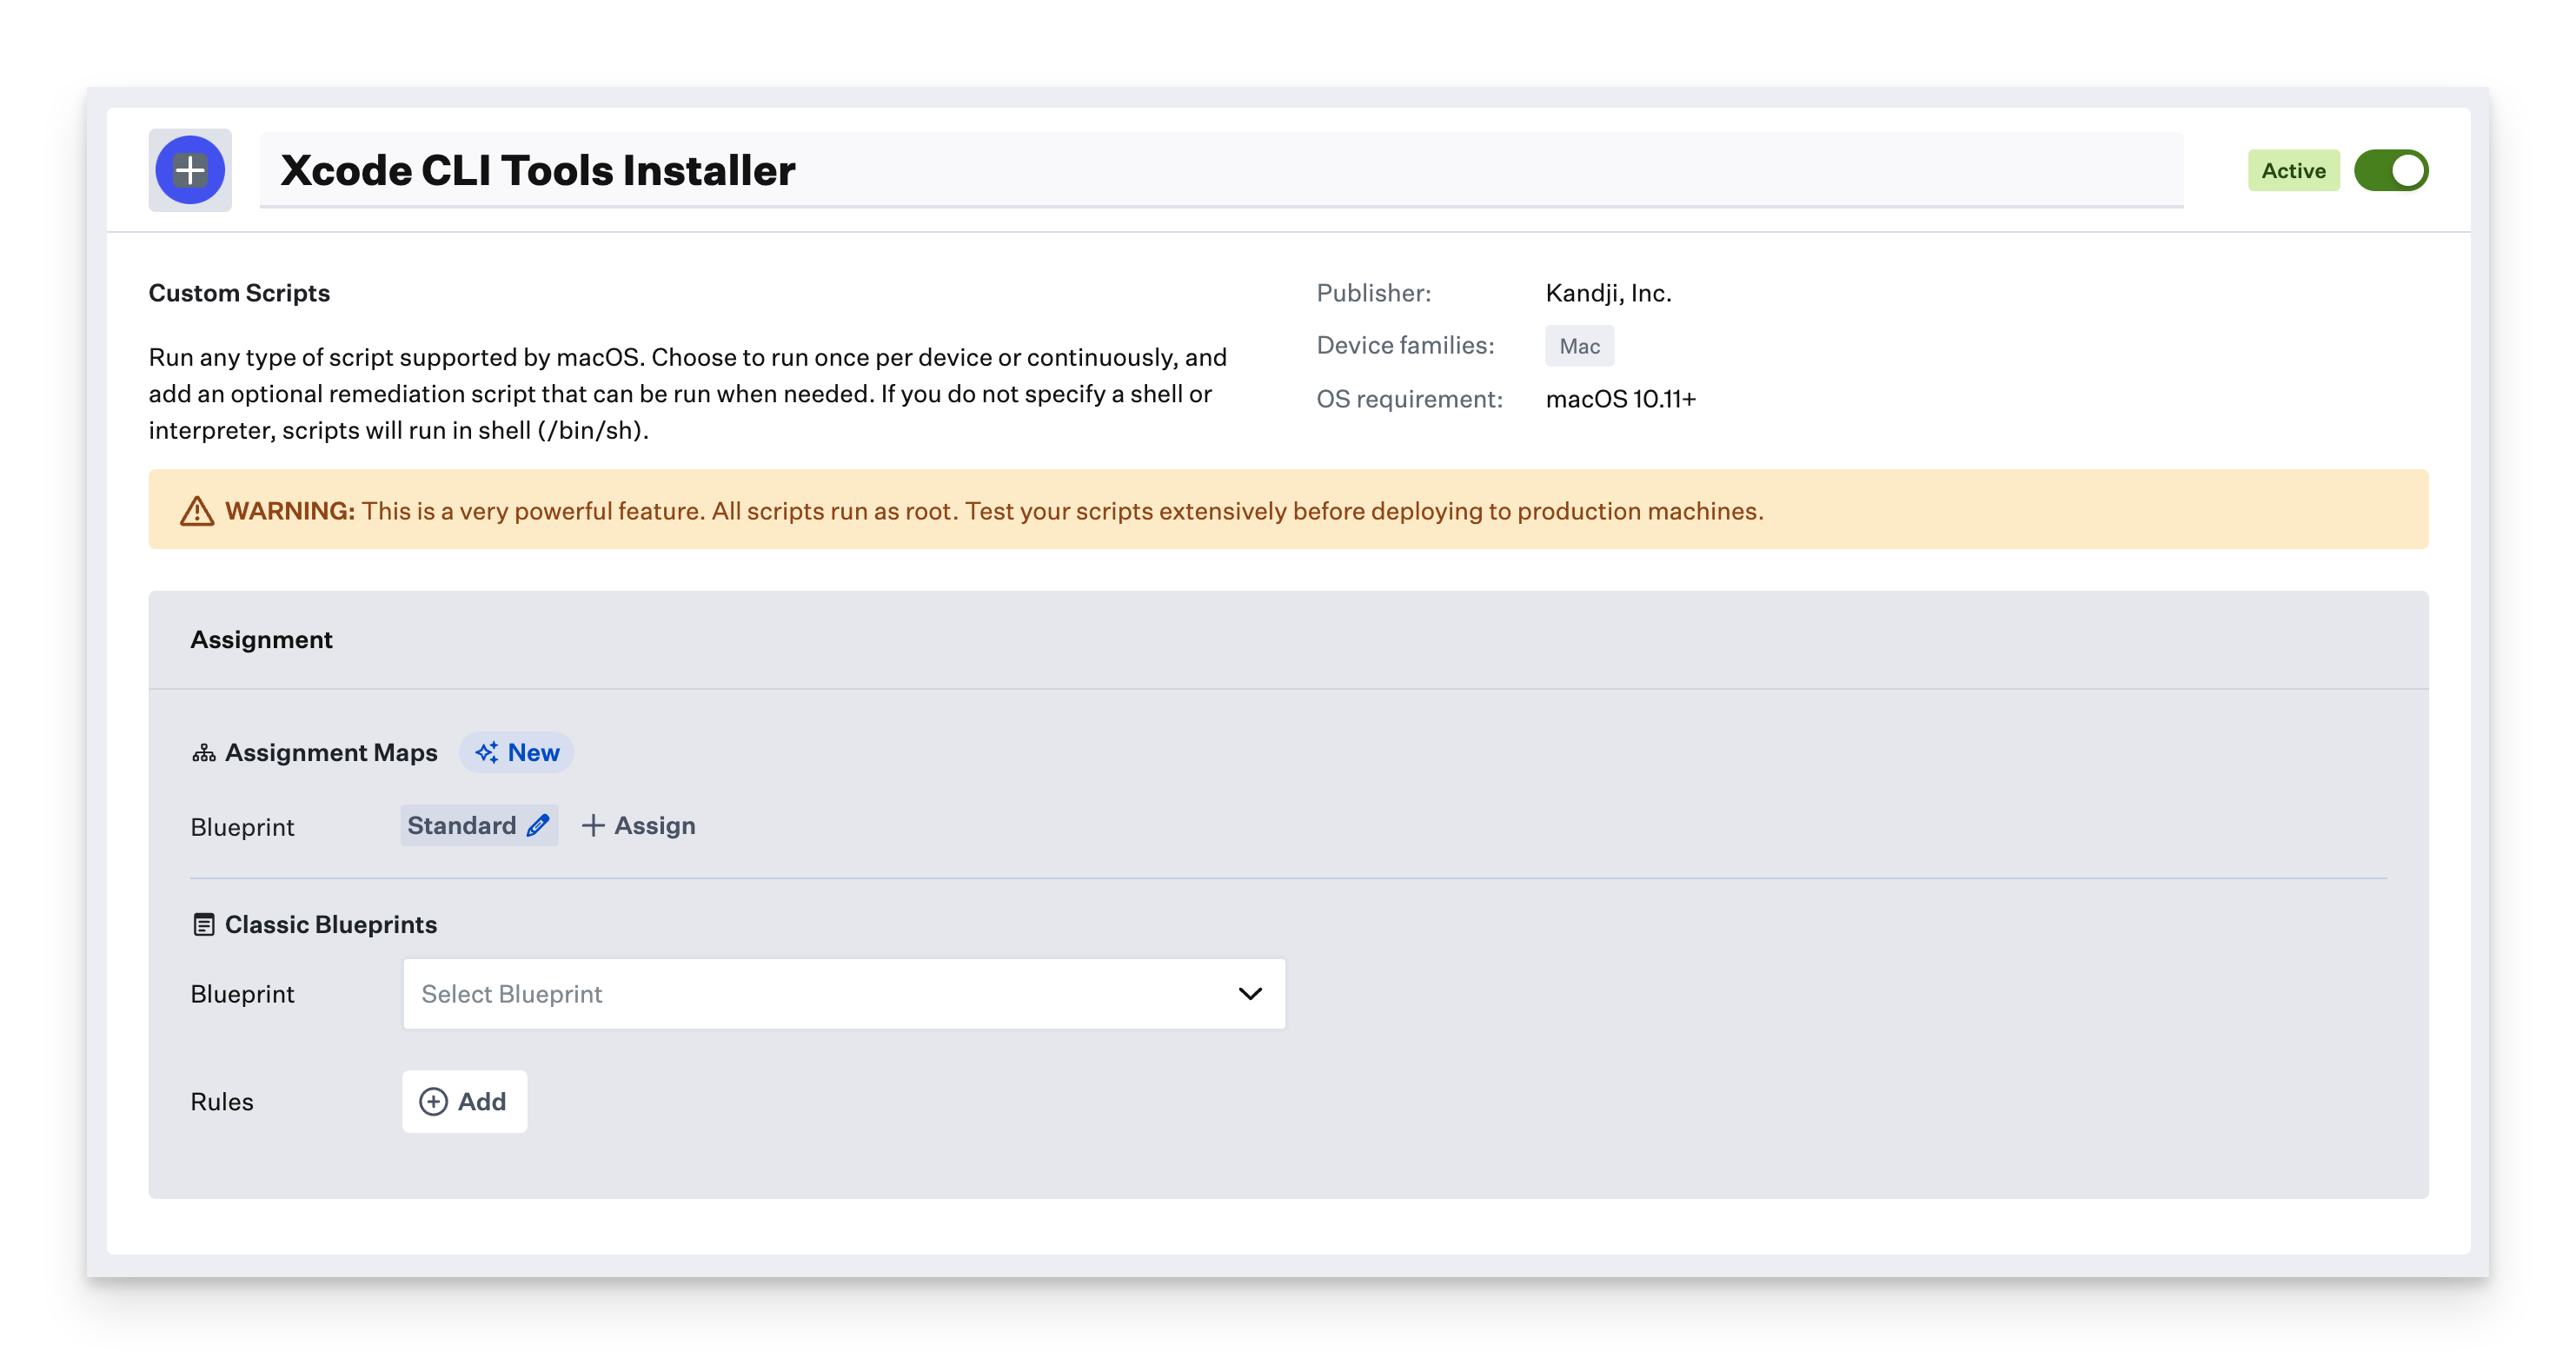
Add a Custom Script Library Item
To add this Library Item to your Kandji Library, follow the steps outlined in the Library Overview article.
Give the new Custom Script Library Item a Name.
Assign to your desired Blueprints.
Select an Execution Frequency.
Optionally, make the script available in Self Service.
Paste your script into the Audit Script field.
Optionally, configure and paste a Remediation Script.
If desired, check the box to Restart after a successful execution.
Click Save.