
The Library section allows you to add and configure additional items such as profiles, scripts, App Store apps, Auto Apps, and custom apps that will be deployed to your devices.
While library items are available for use in any Classic Blueprint or Assignment Map, some are compatible only with specific platforms. For instance, you can deploy a System Extension Profile only to a macOS device, not to an iOS device.
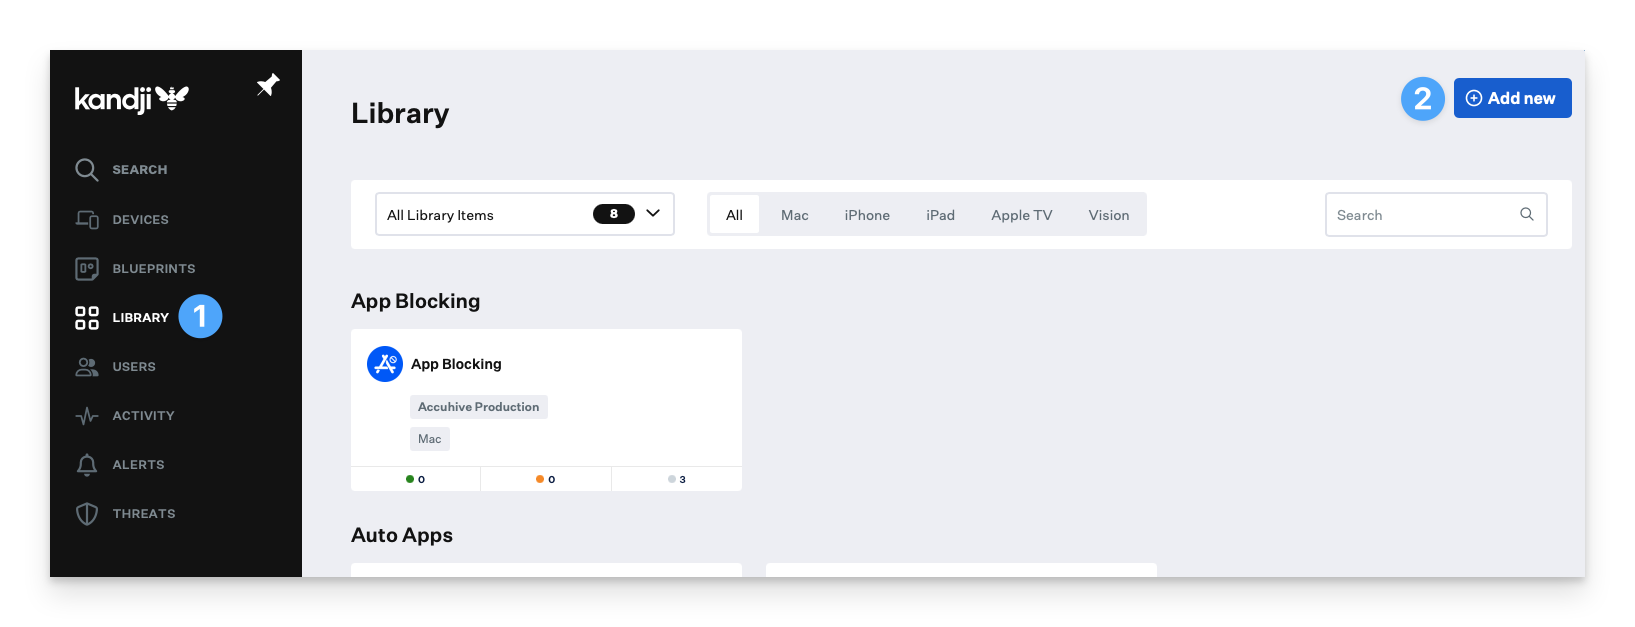
How to Add an Item to Your Library
Navigate to Library in the left-hand navigation bar.
Click Add New from the top right of the screen.
Find the library item that you wish to add.
Click Add & configure.

Add as many library items as you’d like. You can also sync in App Store apps through your Apple Business Manager account once your Apps & Books integration is complete. At a minimum, we recommend adding the apps you know your devices will need at the initial setup. You can always add more Library items down the road and deploy them to your devices after setup.
Adding Library Items to an Assignment Map
In the left-hand navigation bar, click on Blueprints.
Click the Assignment Map you wish to modify.
.png)
Click Edit Assignments.
.png)
Add the necessary Library Items by dragging and dropping them from the list on the left.
Click Save.
.png)
Adding Library Items to a Classic Blueprint
In the left-hand navigation bar, click on Blueprints.
Click the Classic Blueprint you wish to modify.
.png)
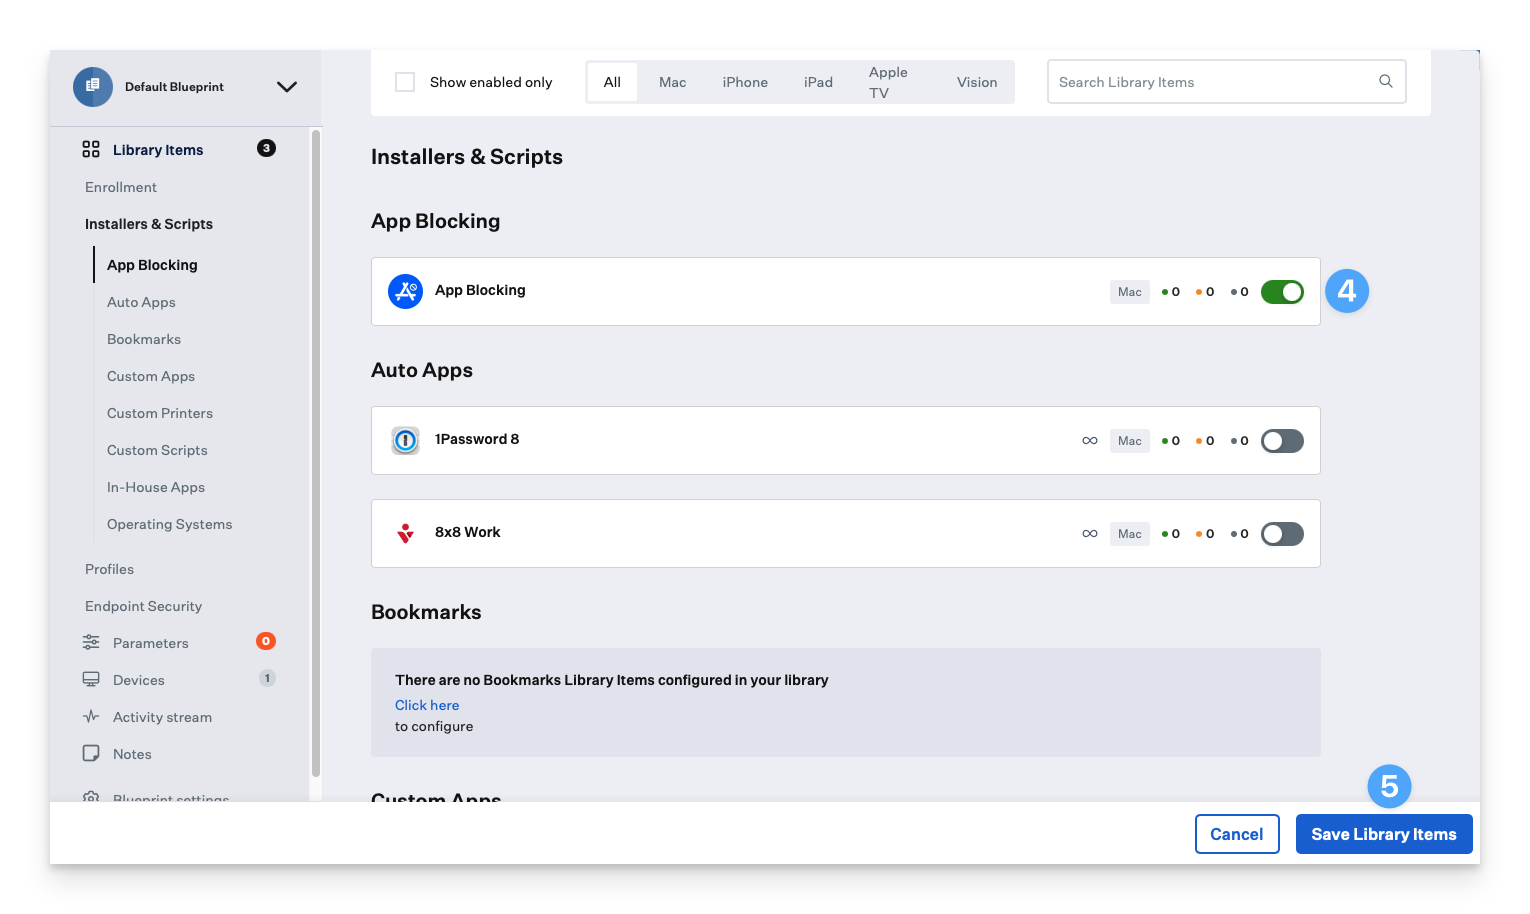
Click Edit Library Items.
Use the toggle next to the library item you wish to turn on to activate it. If you don't see a particular Library Item, you may need to go to your Library to add it.
Click Save Library Items.
For additional information on Library Items, see the Library section of our Knowledge Base.