Acquiring licenses for Self Service from Apple Business Manager
Before installing Kandji Self Service on iOS, iPadOS, and visionOS devices, acquire licenses for the app. Follow the instructions to add apps from Apps and Books to Kandji, and search for "Kandji Self Service", or the app ID of 1579981636, in Apple Business Manager or Apple School Manager. Be sure to acquire enough licenses for each iOS, iPadOS, and visionOS device you wish to have Self Service installed on.
Installing Self Service
Add the Kandji Self Service Library item to Blueprints you're using for iOS, iPadOS, and visionOS devices, either from the Kandji Self Service Library item, or individually on each Blueprint as needed. Self Service will then install automatically on company-owned supervised devices. For devices enrolled through the Kandji Enrollment Portal, users will need to agree to install Self Service on their devices when prompted.
Configuring Return to Service in Self Service (Preview)
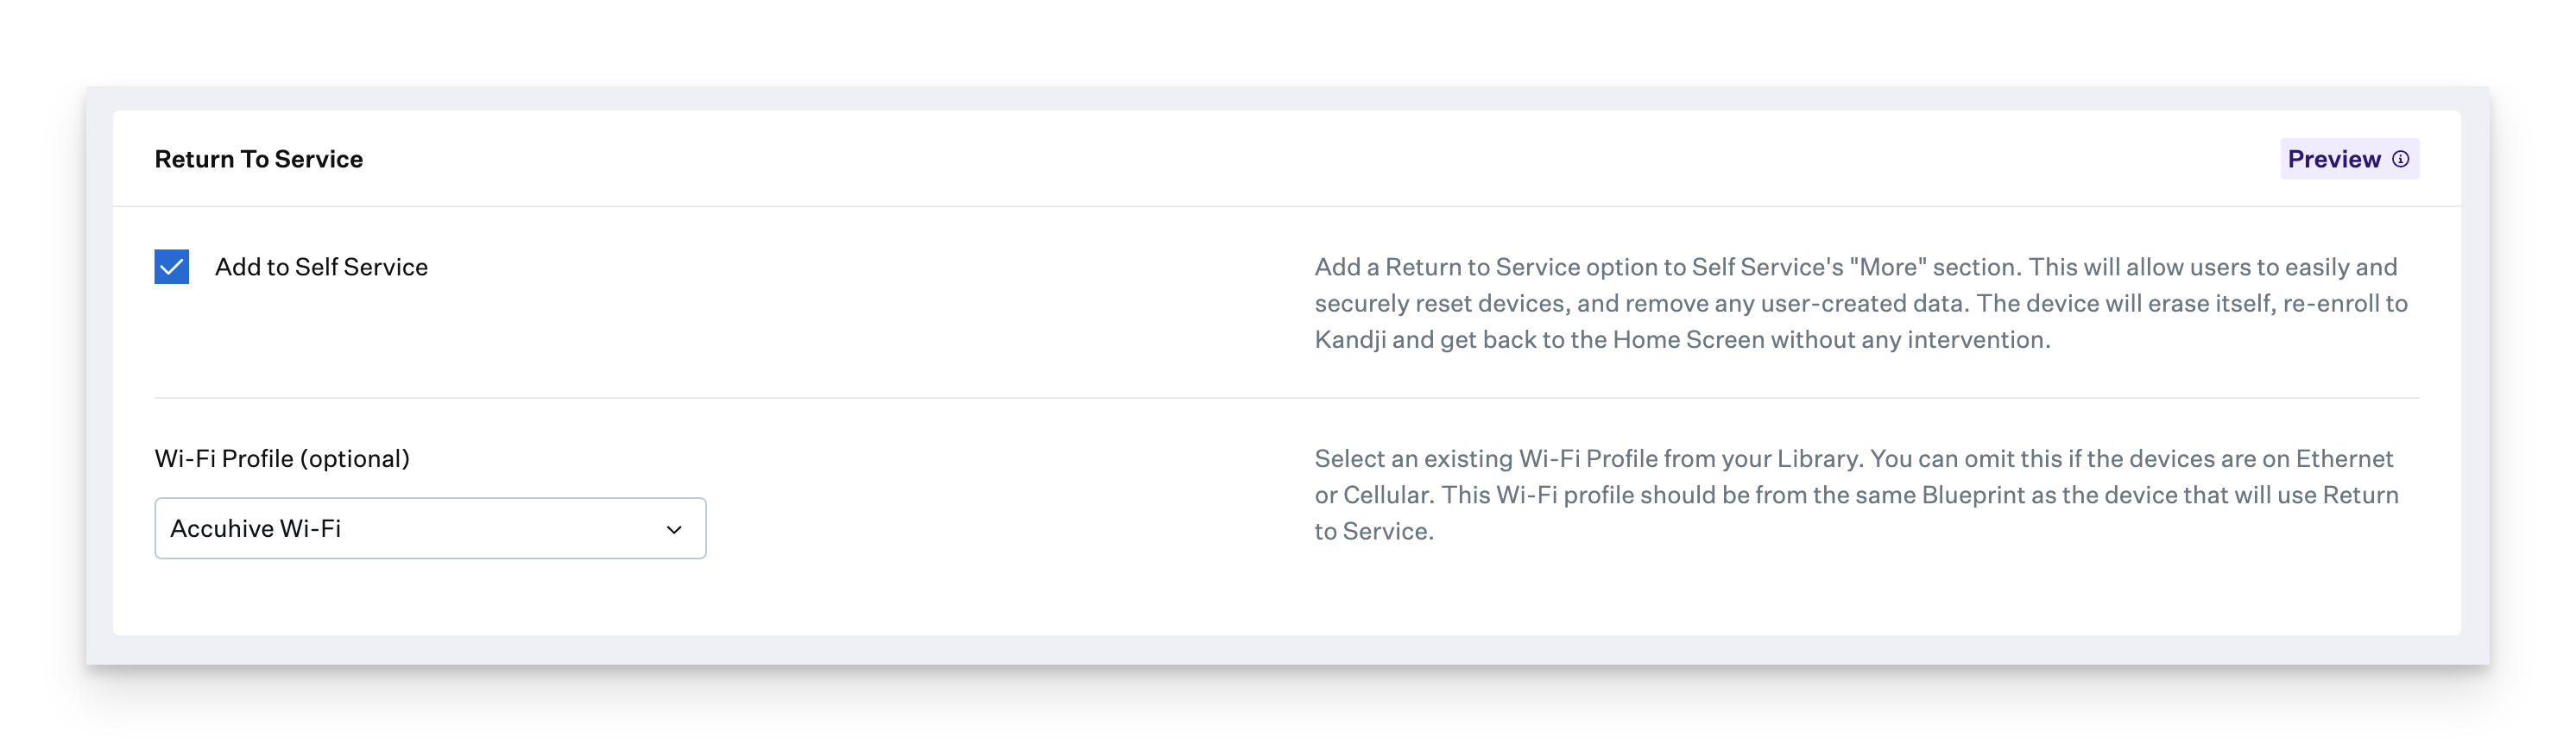
Return to Service is an option available for devices running iOS and iPadOS 17 or later. It will cause the device to automatically advance through Setup Assistant and re-enroll without user intervention after it has been erased. More information on Return to Service can be found in our Lock Device and Erase Device Support Article.
Under Options, check Add to Self Service.
Optionally, configure a Wi-Fi profile to allow the device network access after erase.
While in Preview, you can send Return to Service in Self Service feedback using the link in the Preview badge tooltip.

Return to Service in Self Service Considerations
For more information regarding Return to Service, including Activation Lock and Enterprise WiFi considerations, please see the Return to Service Considerations section of our Lock Device and Erase Device Support Article.
Cellular devices and devices connected via Ethernet do not require the Wi-Fi profile
To ensure Wi-Fi payloads do not get orphaned on devices, only Wi-Fi profiles scoped to same Blueprint will show in the drop-down when selecting a profile; this includes Custom Profiles with Wi-Fi payloads
Profiles that include a SCEP payload are not included
Opening Self Service
Users can find Self Service on their iPhone or iPad Home Screens.
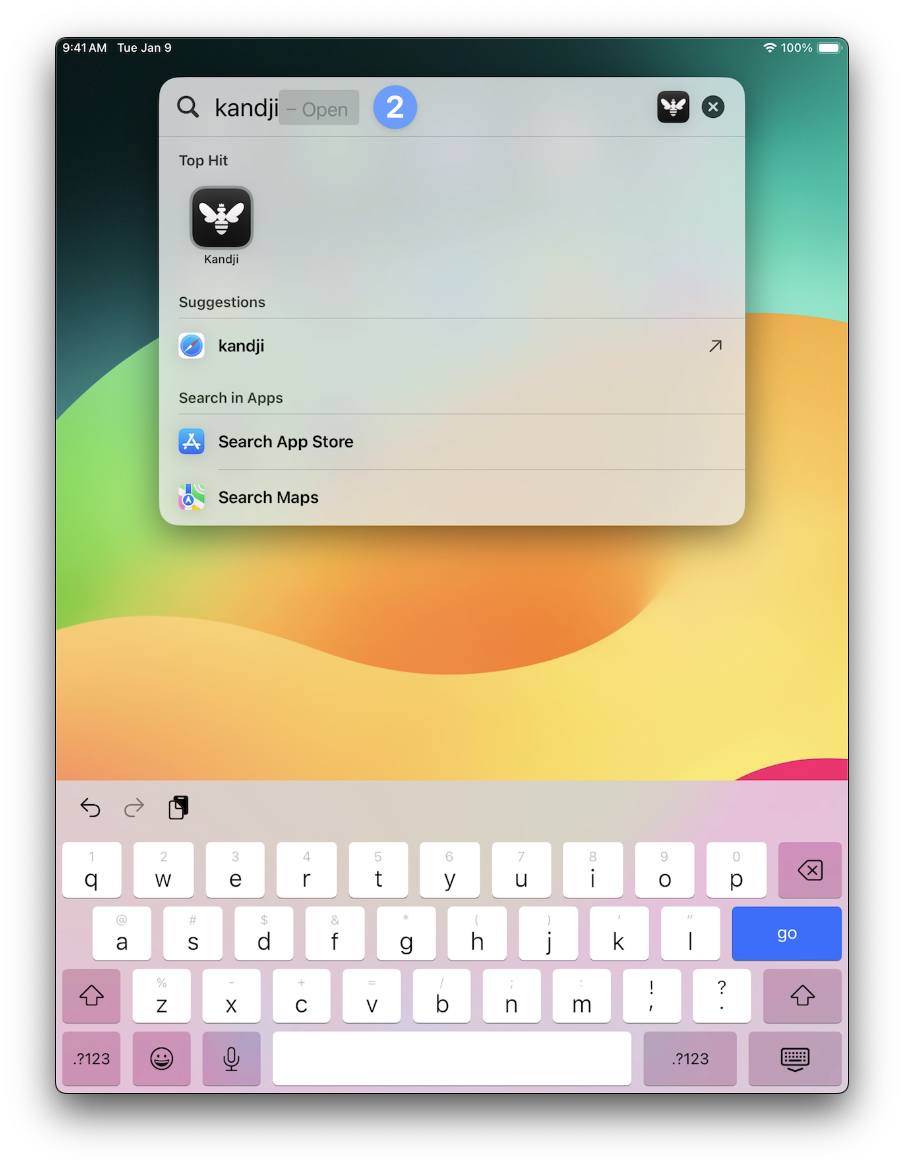
Tap the Kandji icon on your iPhone or iPad Home Screen to open the app.
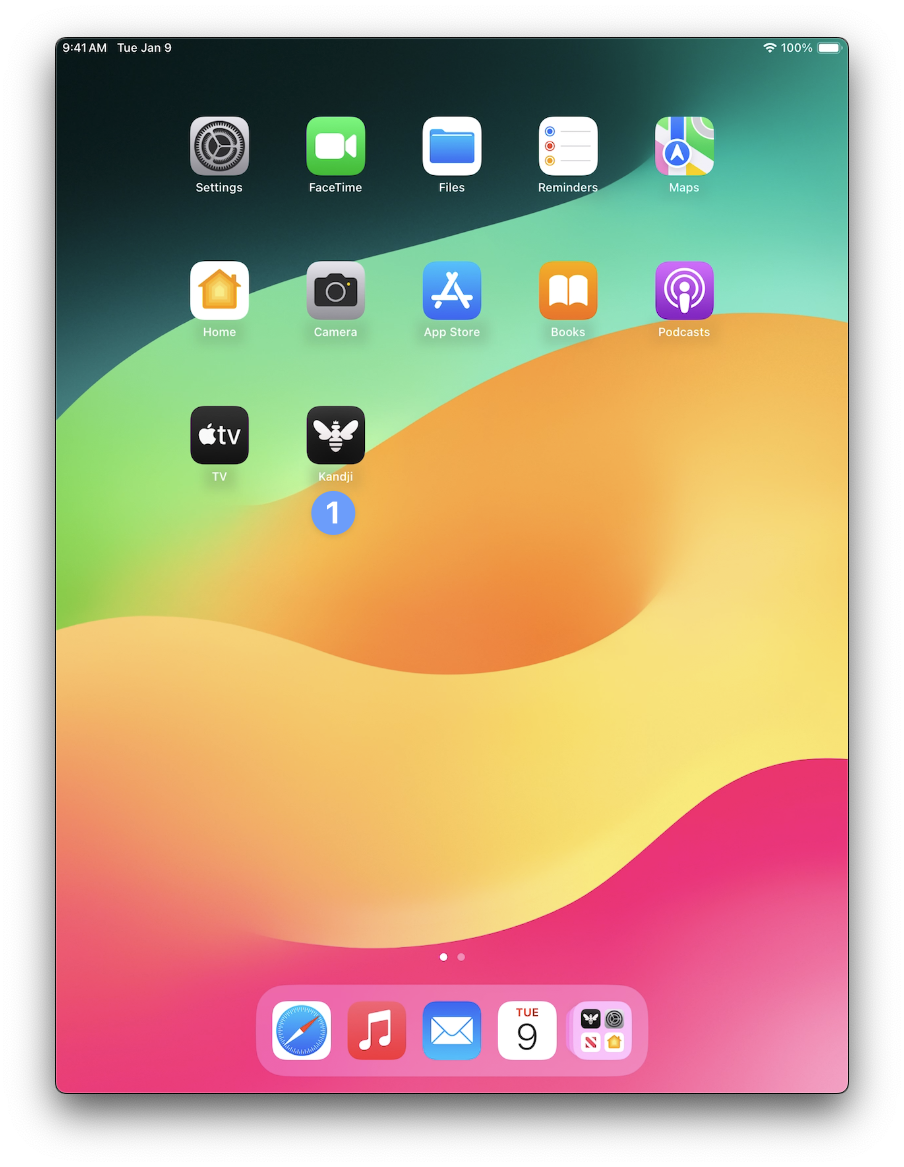
If you don't see that app, swipe down from the top of the screen to reveal the search field and search for Kandji.
The first time you open Self Service, the Analytics and Crash Reports screen appears. Configure the settings as you wish, then tap Continue.

Navigating Self Service
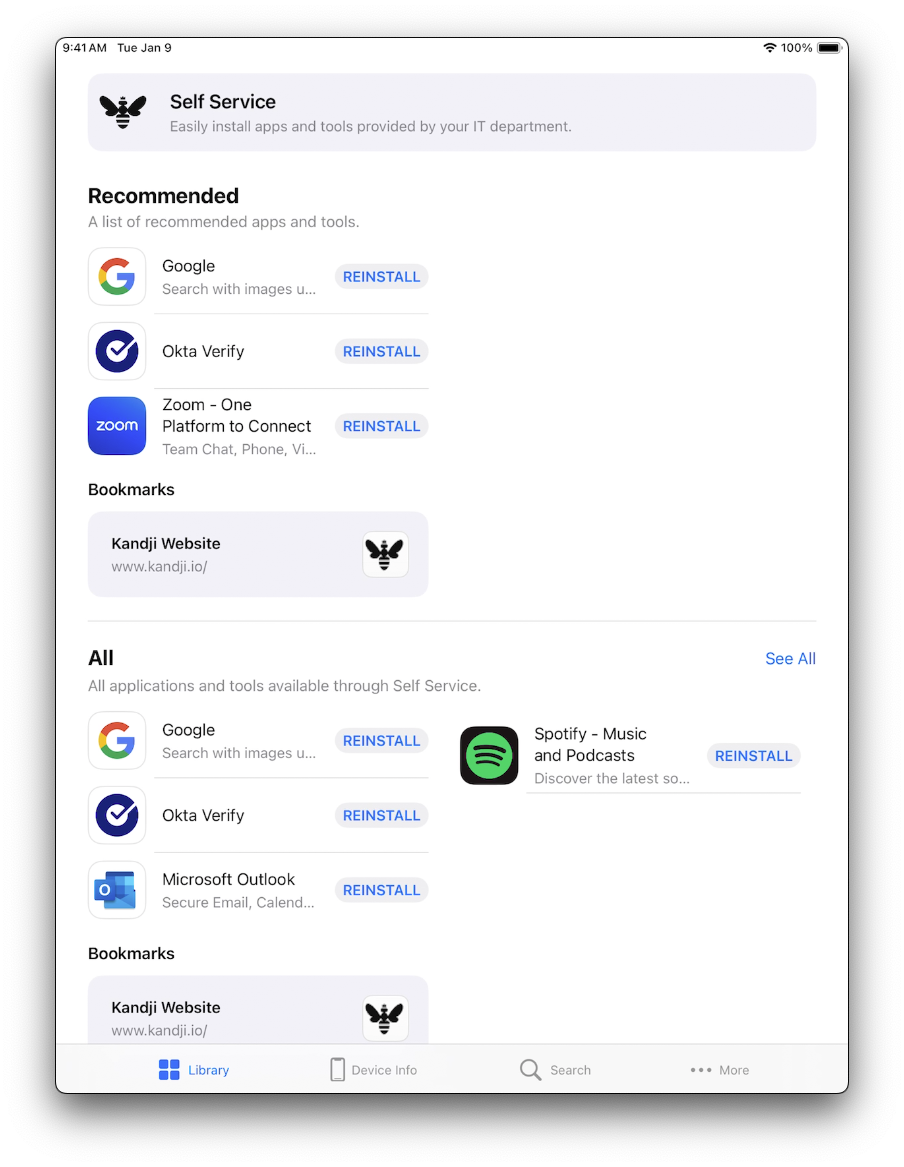
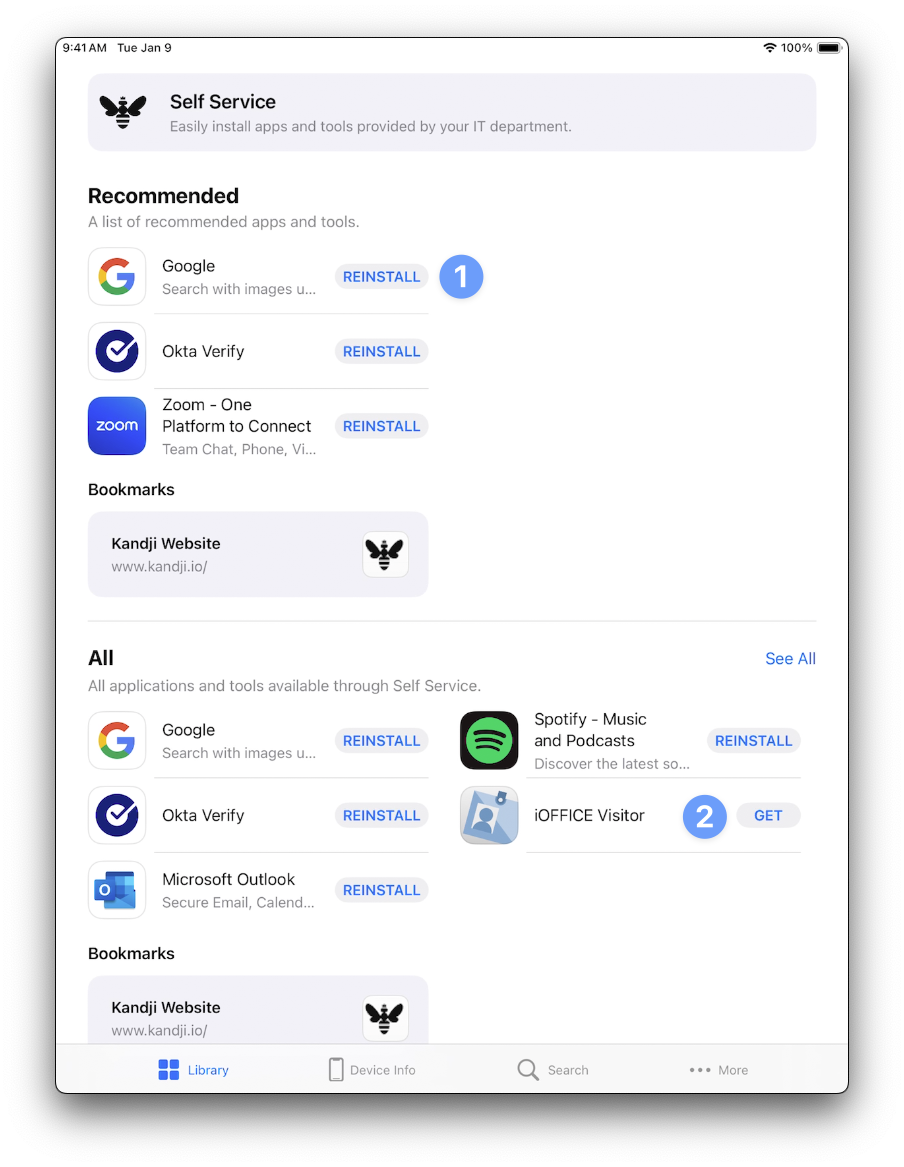
Self Service has several tabs at the bottom of the screen and will automatically open to the Library tab—the primary screen that users will interact with.
Library: Within the Library, the All and Recommended categories are always displayed. Additional categories will automatically display, depending on how the admin has configured Self Service.
Recommended: Displays items marked by the administrator as recommended.
All: Displays all items available in Self Service.
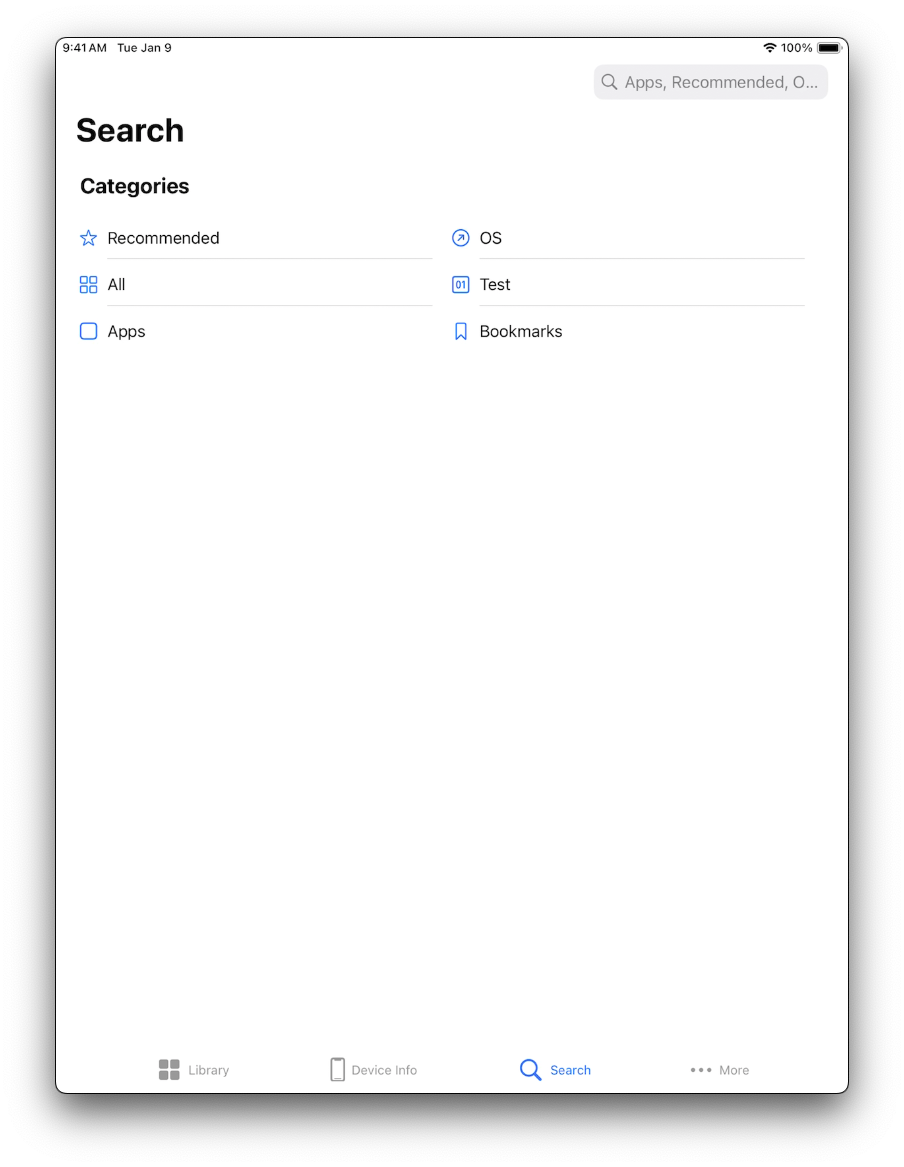
Admins can add categories in the Kandji web app by going to Settings > Self Service. A category will display on a device only if an app within that category is added to the Blueprint that the device is in.
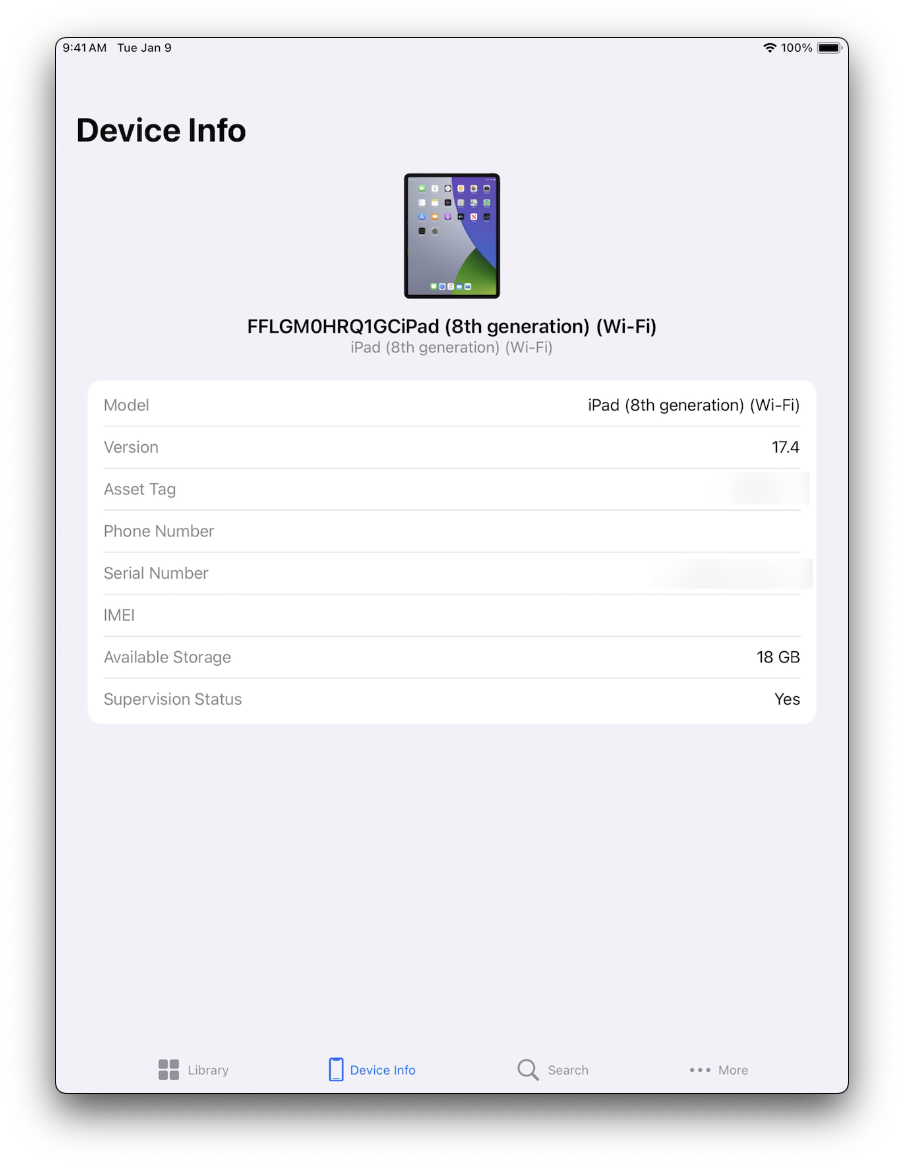
Device Info: This tab contains useful information about the device, such as serial number, model, and installed OS version.
Search: In this tab, users can search for and install any app available in Self Service.
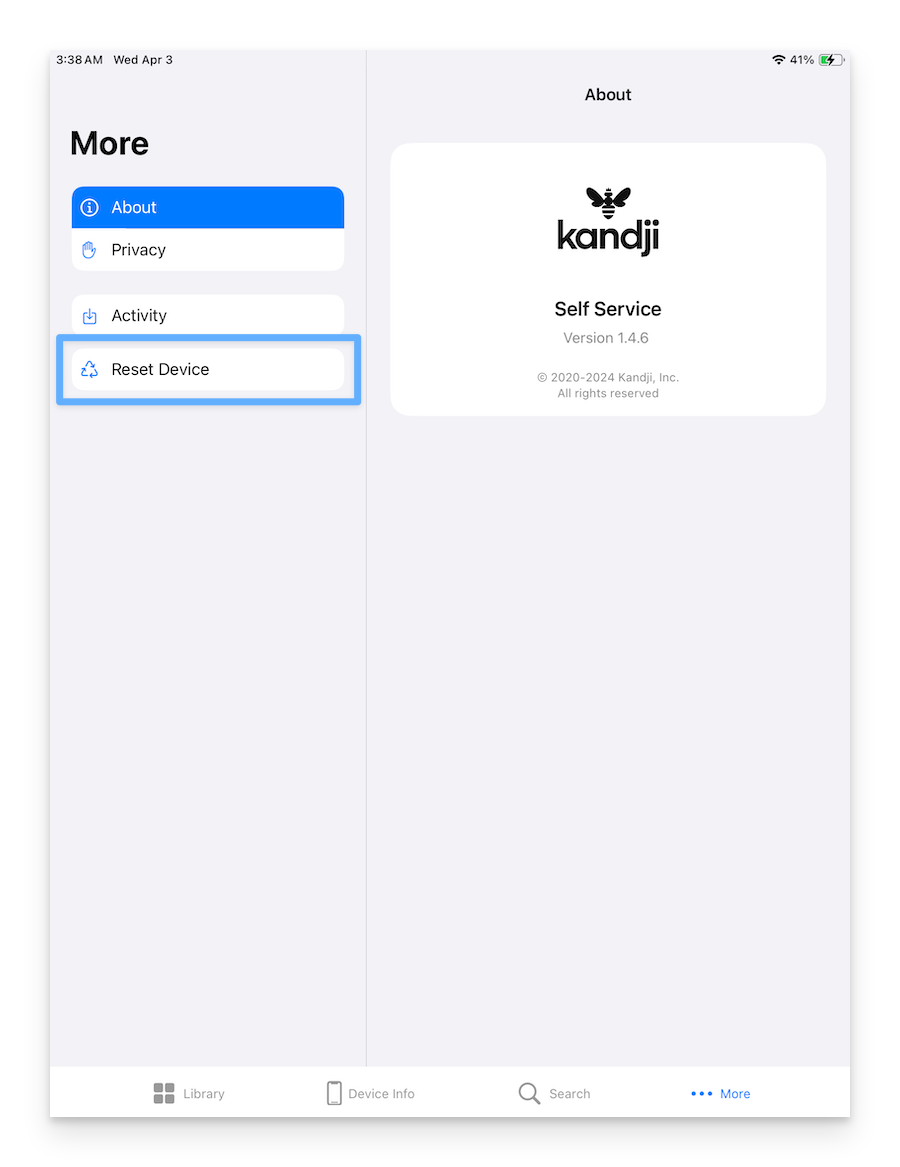
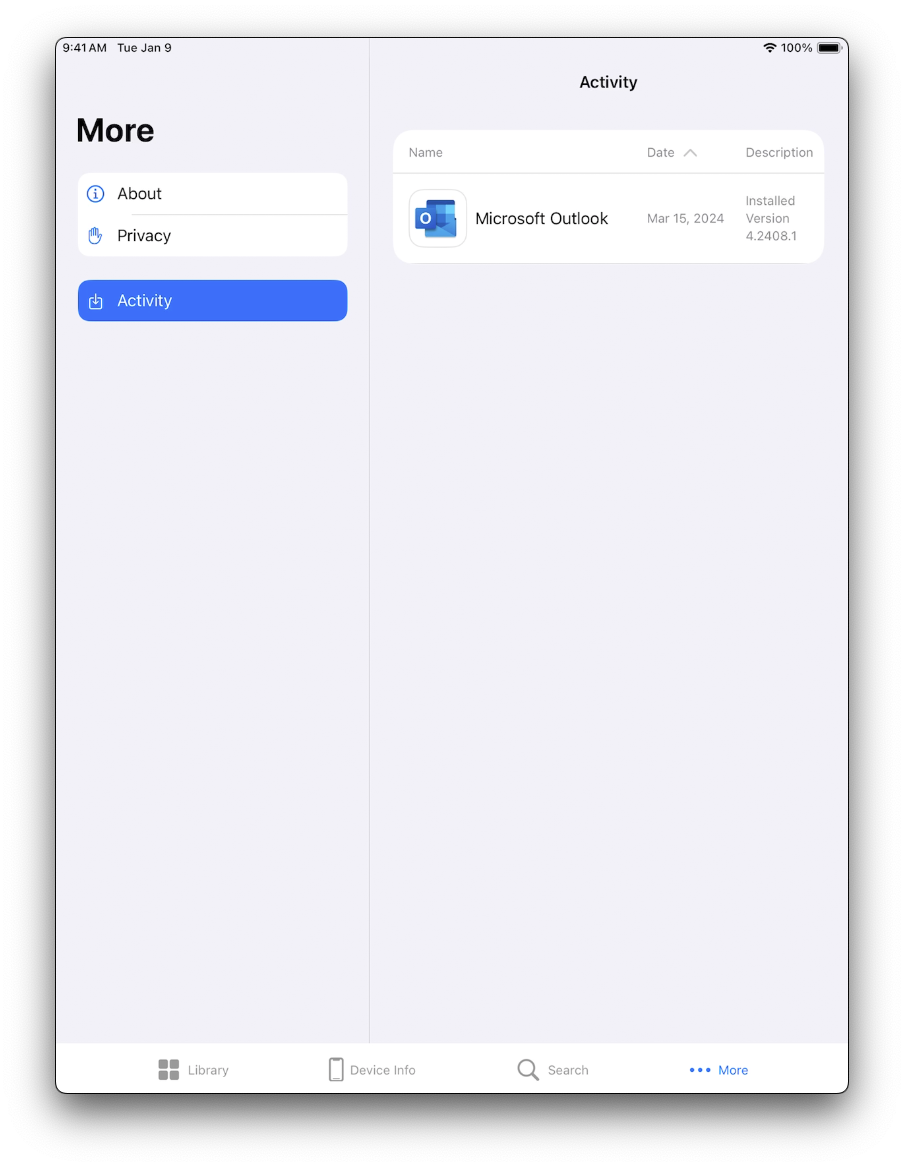
More: This tab includes an About screen (which displays the version information for the Self Service app itself), Privacy, and Activity. Open Activity to see previously installed app versions and the dates when they were installed.
Installing Available Applications
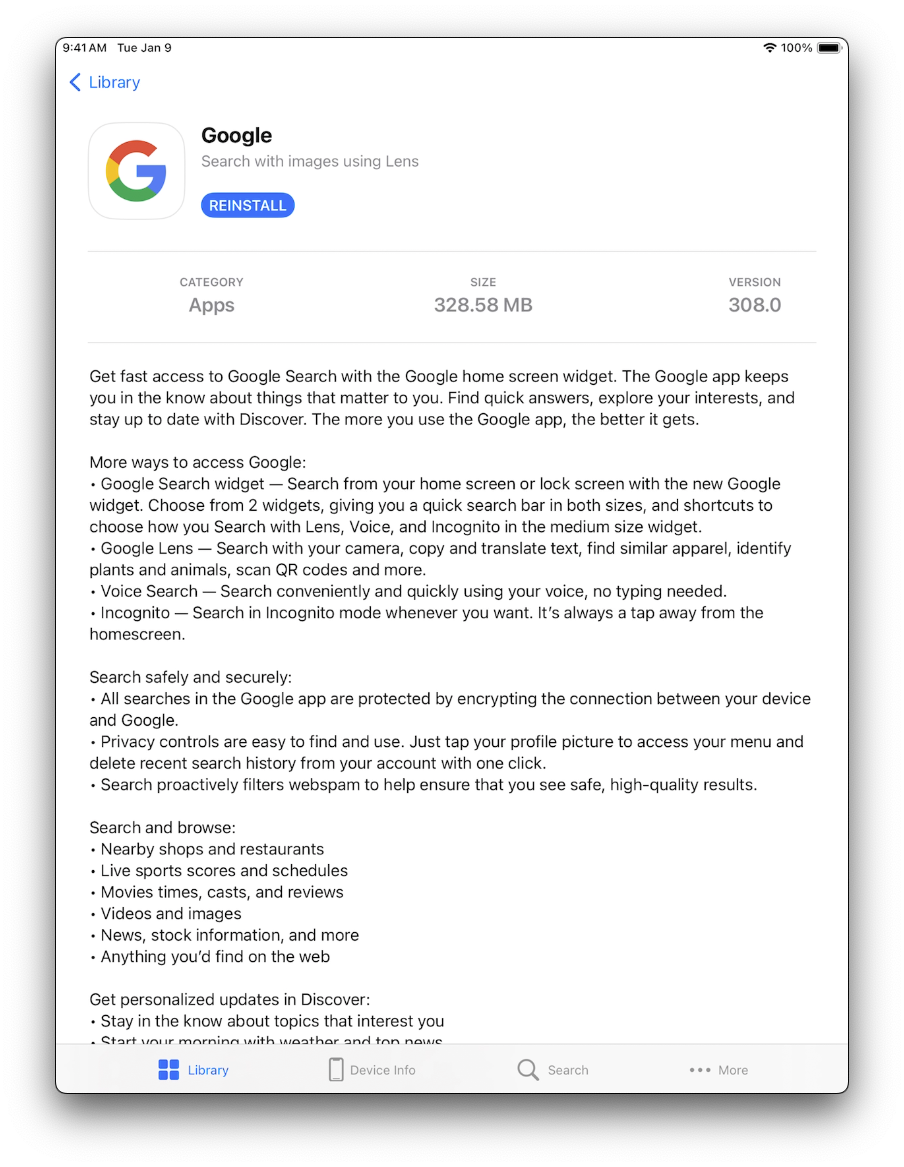
Apps available for Self Service installation will display an icon, name, and description.
Tap Get to install the application from the Self Service Library screen.
After installing an app, the button will change from Get to Reinstall.
Tap the app icon for additional information about the app.