Label
Kandji supports adding the same Auto App and/or Managed OS for macOS to your Library multiple times. This is useful when it's desired to configure differing settings for different Blueprints. For example, you can make an Auto App automatically install on devices in one Blueprint and have it be available in Self Service in another. Or, for Managed OS for macOS, you can have one group of devices on a more aggressive update cycle, have some devices auto upgrade to the latest major OS while others can initiate it via Self Service, and more. Labels are used to differentiate multiple copies of the same Auto App or Managed OS within the Kandji Web App. For example:
Library

Blueprint

Manage App Versions
Use the following version enforcement options to enforce Auto App and Managed OS updates.
Do not manage updates
Kandji will not enforce a version of the application or operating system when Do not manage updates is selected.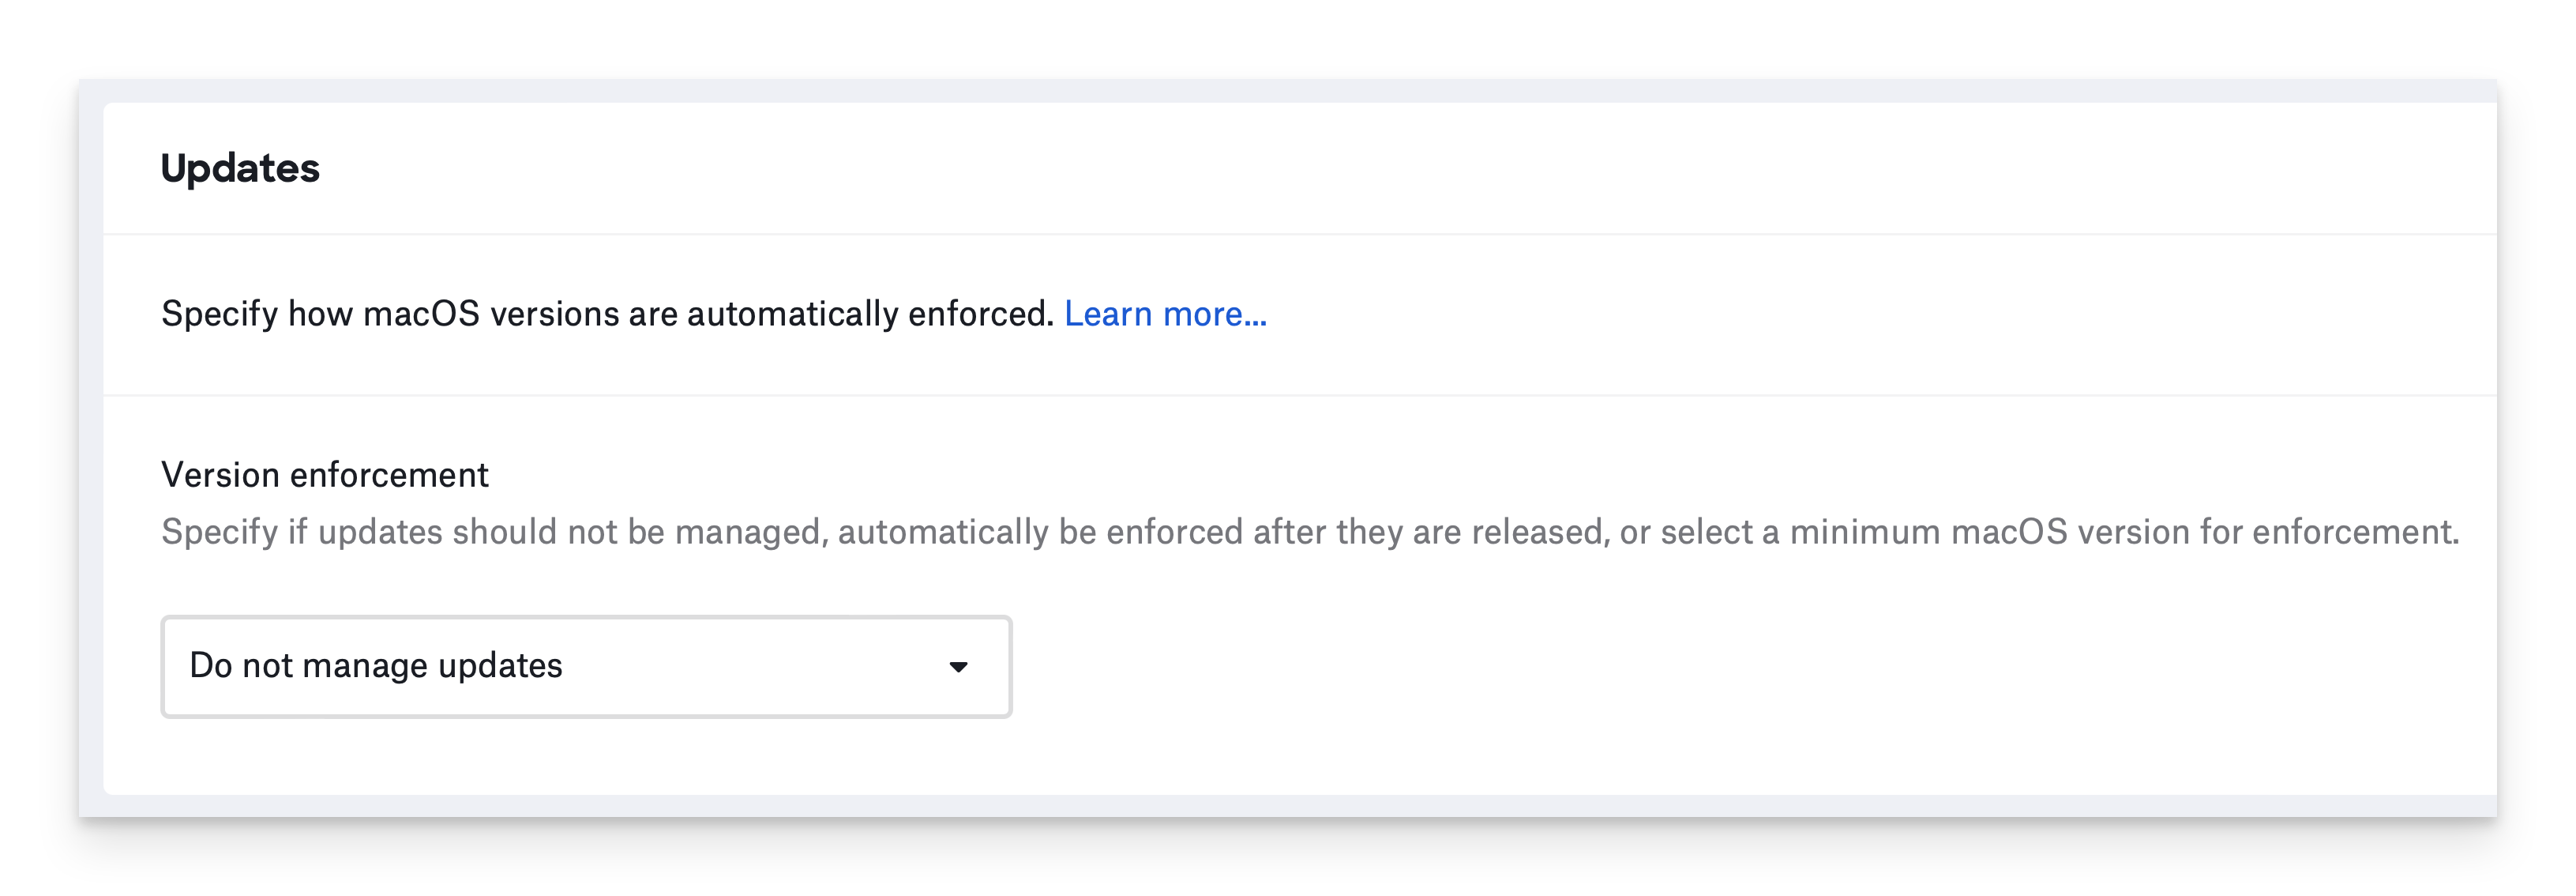
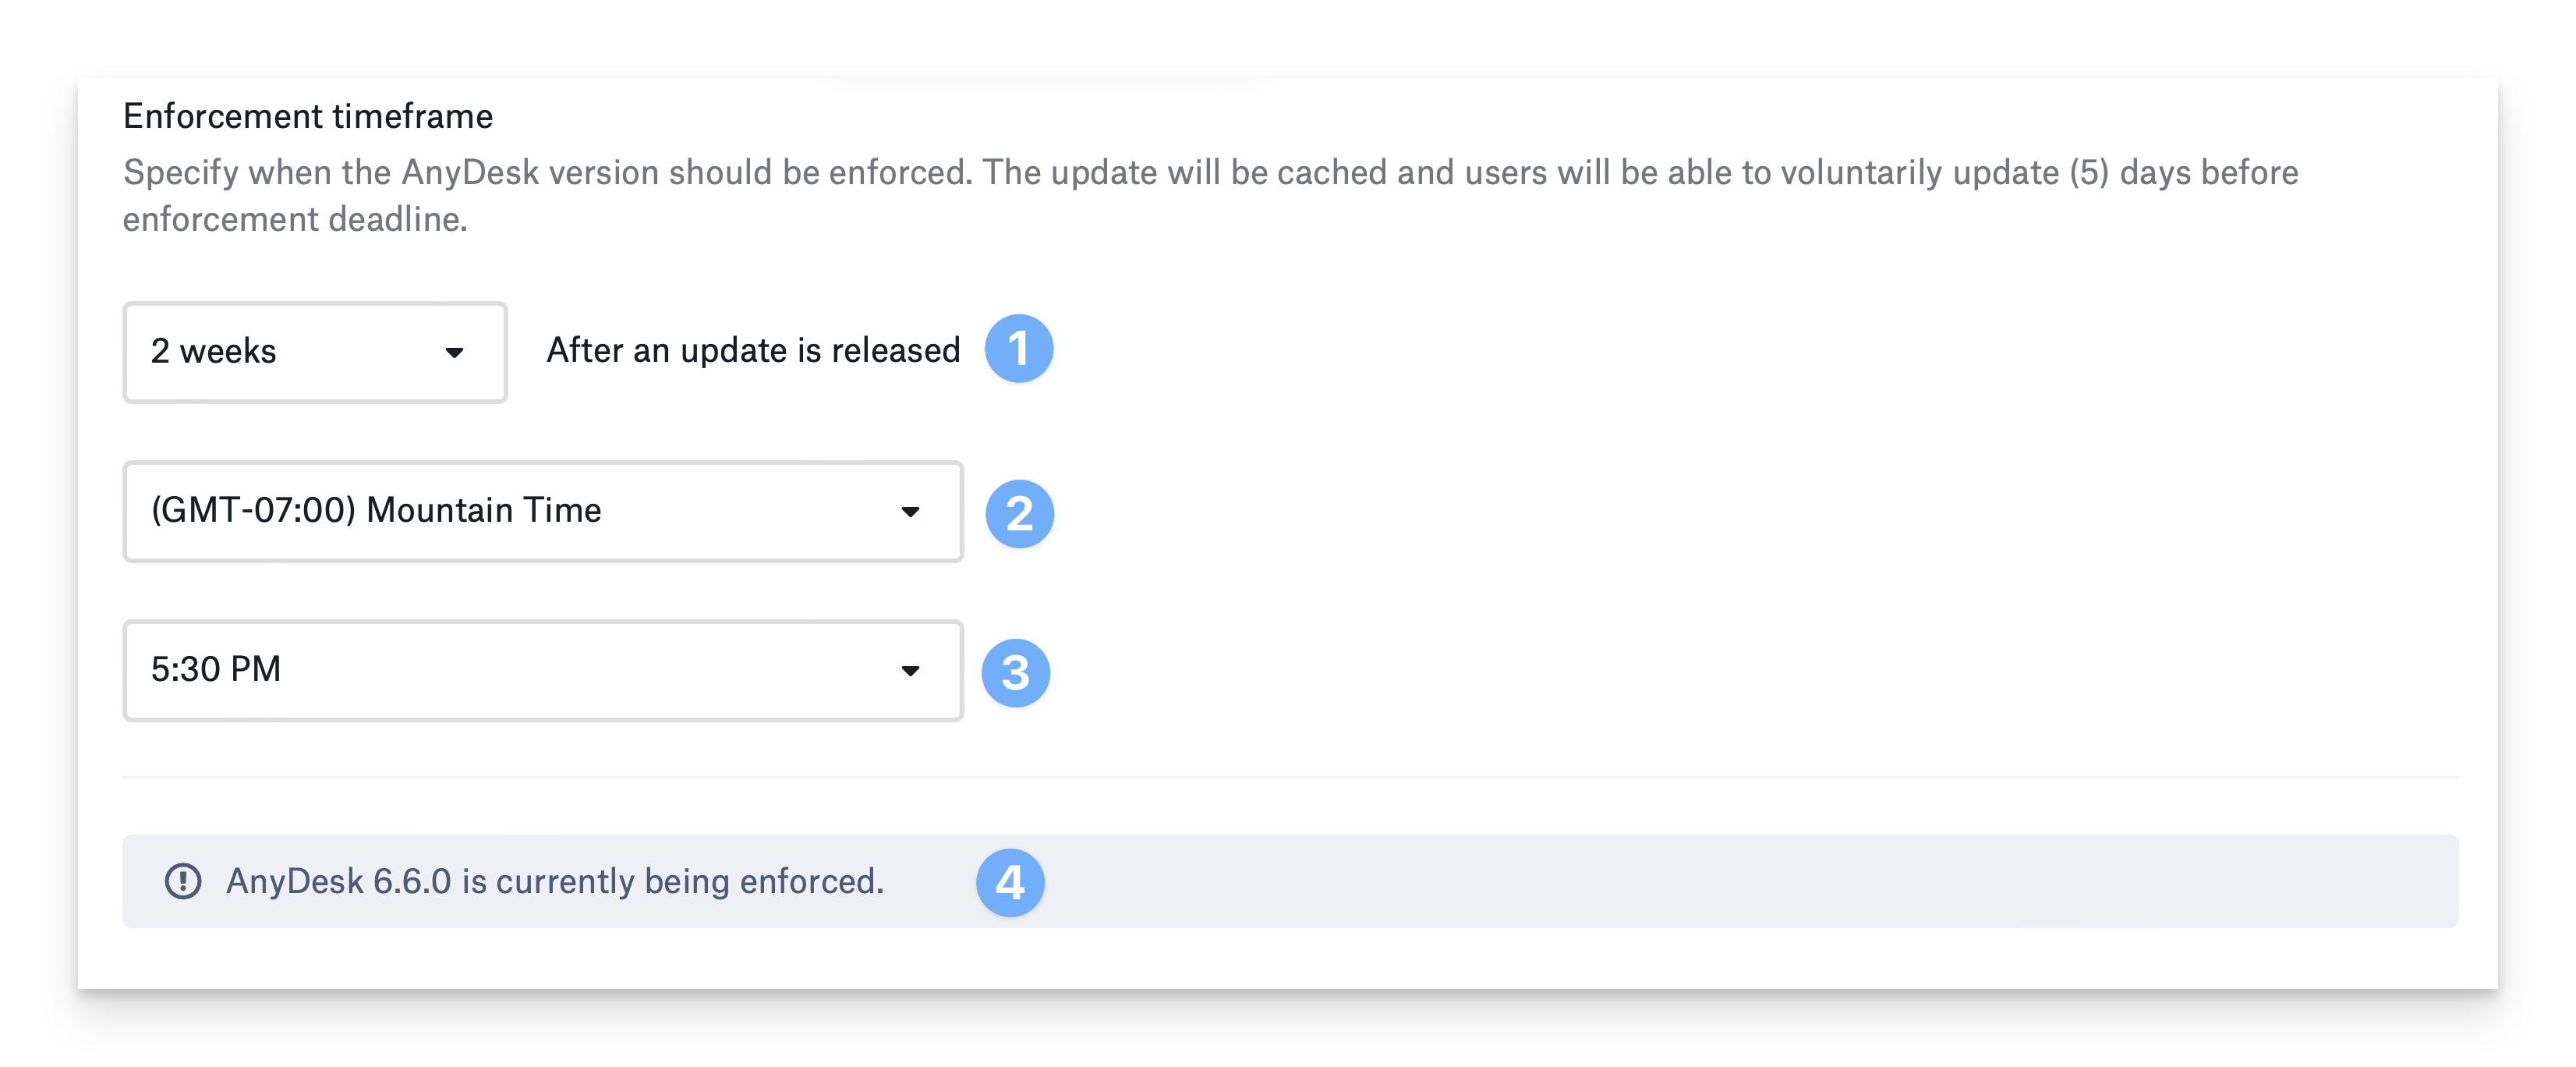
Automatically enforce new updates
This option will automatically enforce new updates using your specified enforcement date, at which point iOS and iPadOS users will be prompted to update. macOS users will receive a prompt via the Kandji Menu bar icon 5 days before the enforcement deadline. This option automatically manages the minimum version a device must be running before an update is enforced and is based on the release date of the update from Apple. Devices always install the latest available version of the OS approved by Kandji when updating.
Enforcement TimeframeThis option allows you to specify the amount of time after an update is released so that it is automatically enforced. The available options include the following:
1 day
2 days
1 week
2 weeks
3 weeks
1 month
2 months
3 months
Enforcement Time ZoneThis time zone will be used to determine when to enforce the update.
Enforcement TimeThis will be the time of day that the update is enforced. Enforcement will be determined server-side, based on the previously selected Enforcement Time Zone.Example: An admin sets the enforcement time to October 1, 2020, at 5:00 pm PST; an iPhone in NYC will update on October 1, 2020, at 8:00 pm local time.
This information box shows you the currently enforced version of the Auto App or Operating System. If you enforce an older version, you will see additional information boxes for the newer version(s) and when they will be enforced.
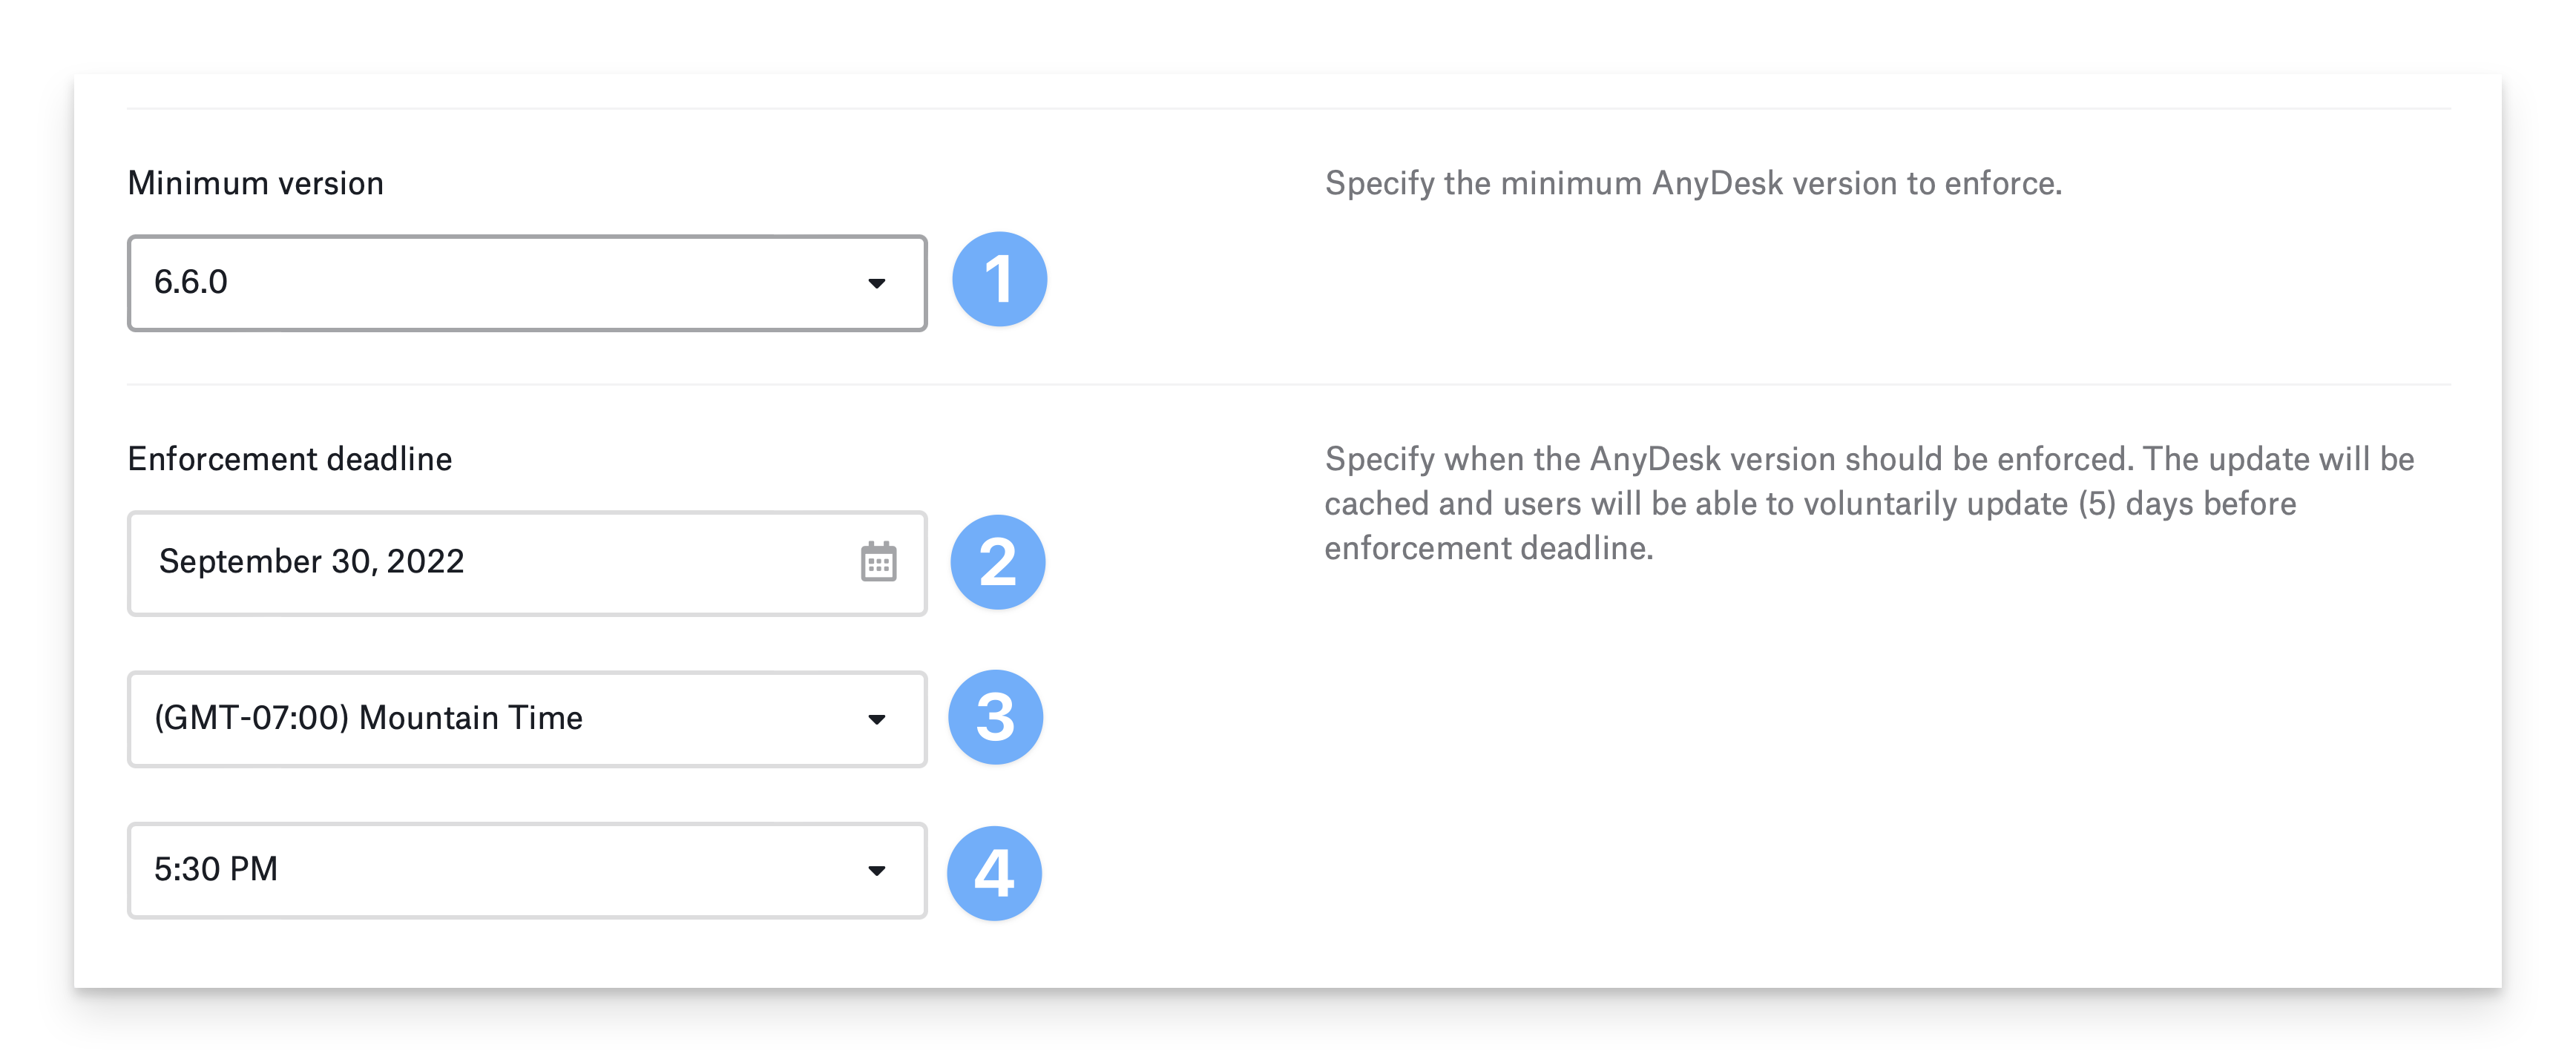
Manually Enforce new updates
This option allows Kandji admins to manually specify a minimum version a device must be running (the "floor") and a deadline for that version. The enforcement date dropdown can be set to any date. This option is useful for immediately enforcing critical security updates. Devices always install the latest available version of the OS approved by Kandji when updating.
Minimum VersionSelect the minimum version of the application or operating system to enforce. If a device does not meet this requirement, it will get the latest available version installed.
Enforcement DeadlineThe update will be enforced by the day the minimum version must be met.
Enforcement Time ZoneThis time zone will be used to determine when to enforce the update.
Enforcement TimeThe exact time of day that the update is enforced, the enforcement will be determined server-side based on the previously selected Enforcement Time Zone.Example: An admin sets the enforcement time to October 1, 2023, at 5:00 pm PST; an iPhone Mac in NYC will update on October 1, 2023, at 8:00 pm local time.
Configure Auto App Notifications
Once notification settings are modified, an updated Configuration Profile will not be redistributed until the next daily MDM check-in. To trigger an immediate check-in, run sudo update-mdm on the client Mac.
Notification options are as follows:
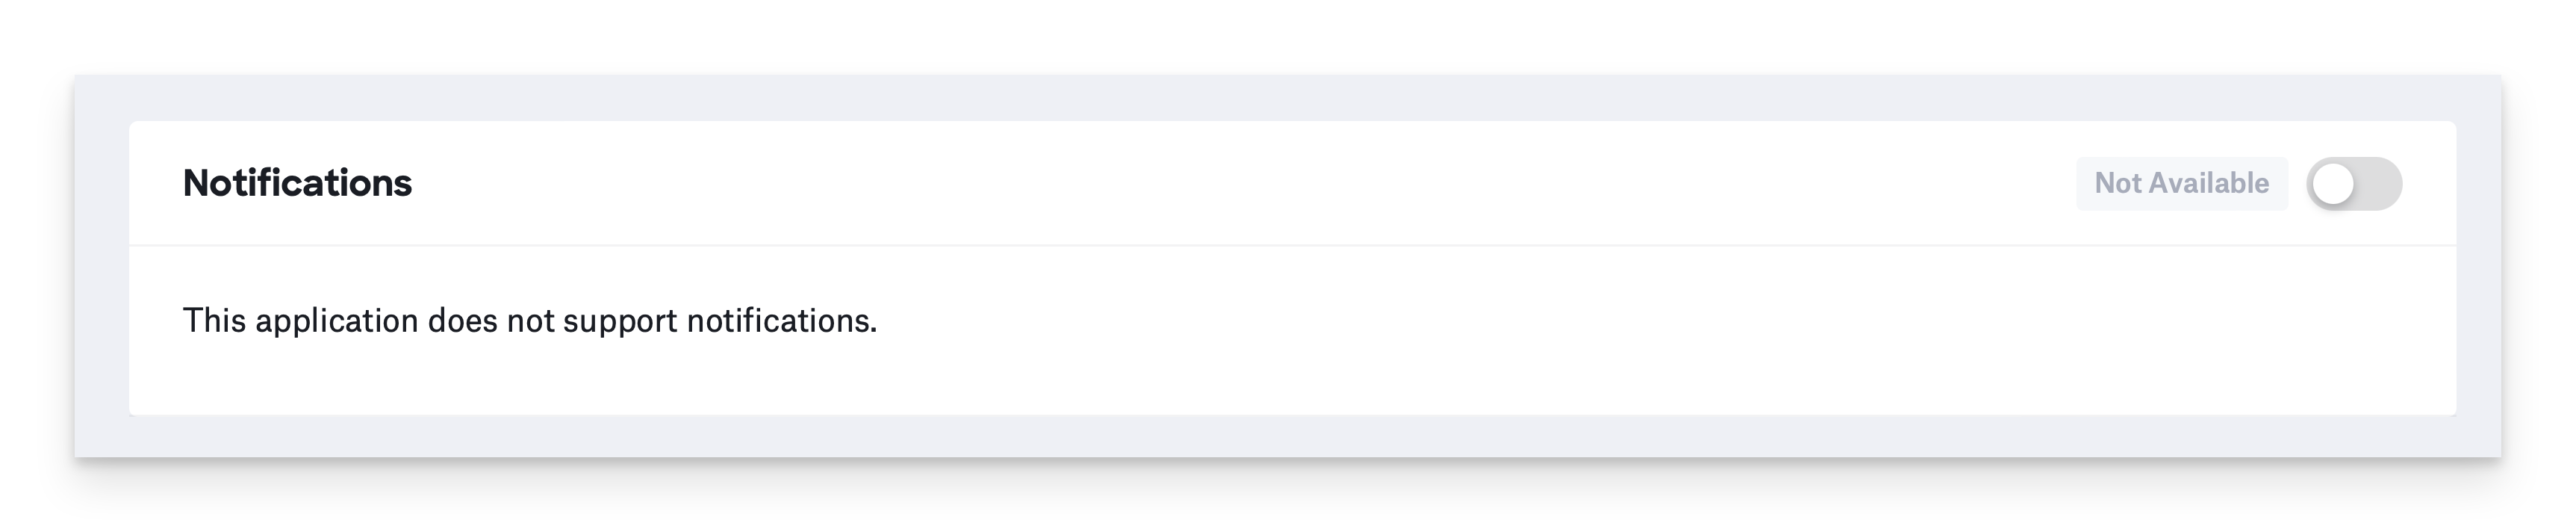
Unsupported
If an Auto App does not post to Notification Center, no notifications are available to customize, and the admin will see the following message.
If Notification settings are updated from Managed to Unmanaged, the timing of when the end user is prompted to allow notifications will depend on the Auto App. Some titles prompt as soon as notifications are no longer managed, some when the app is open, and some when the Auto App next posts to Notification Center.
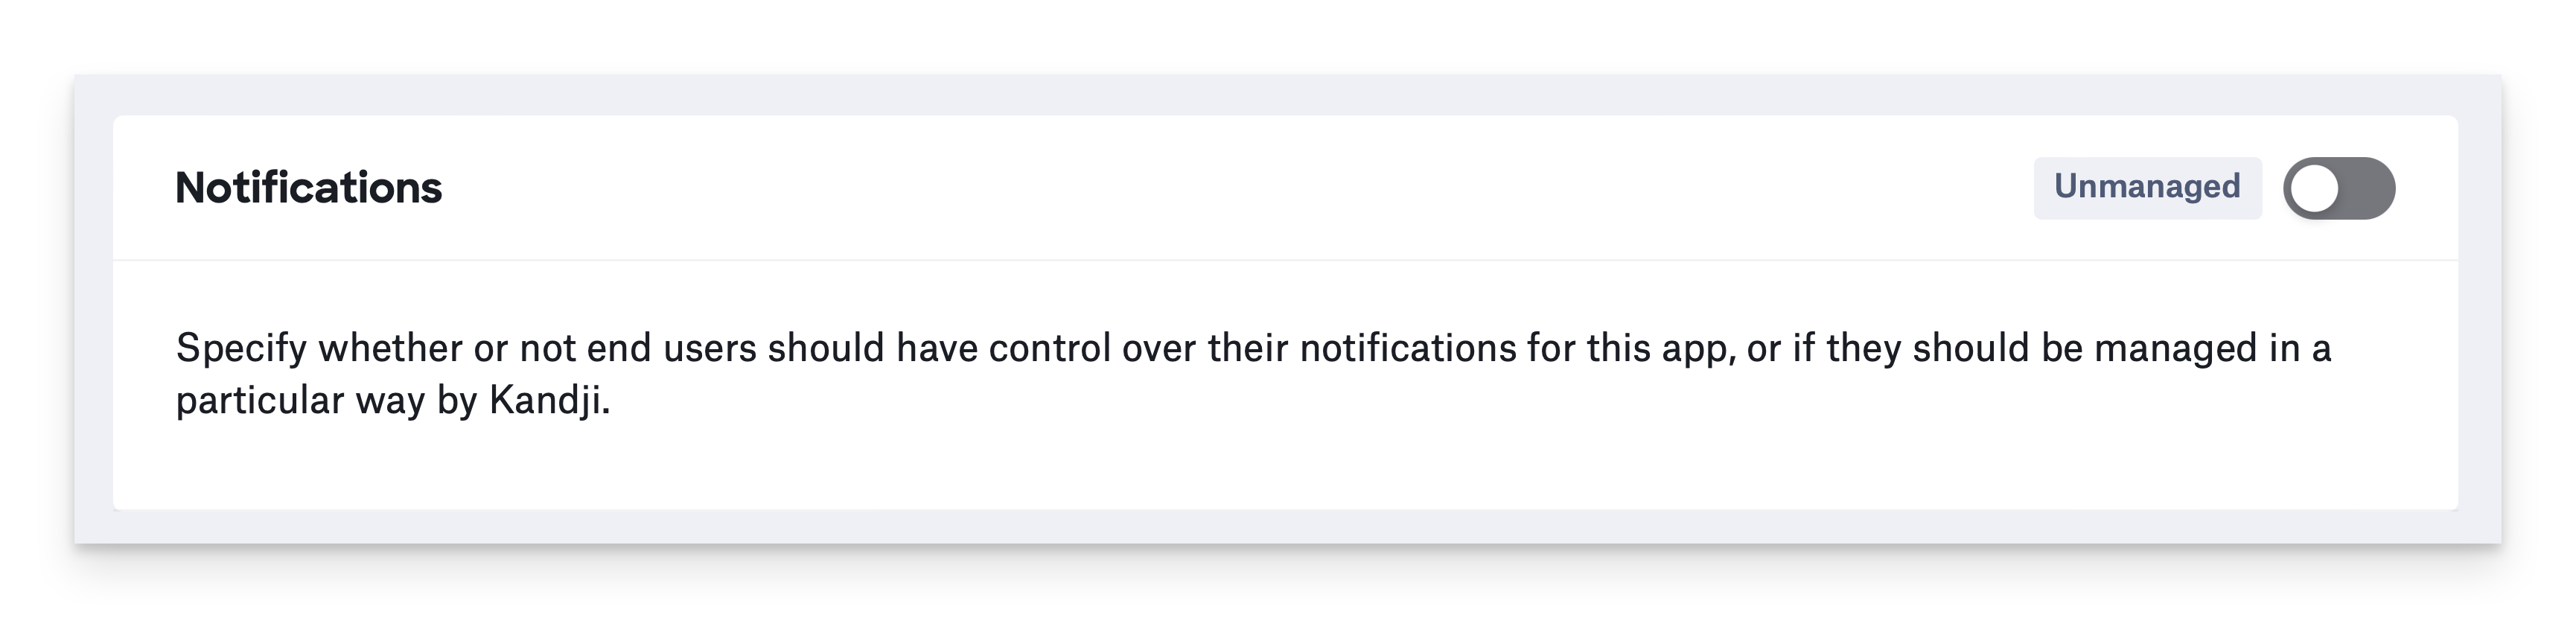
Unmanaged
This is the default state when an Auto App is added and configured for the first time.
If Unmanaged, the end user will have control over the notification settings for this app.
If an Auto App was configured before the availability of this customization, more granular notification controls will not be enforced until the Auto App library item is edited and saved.
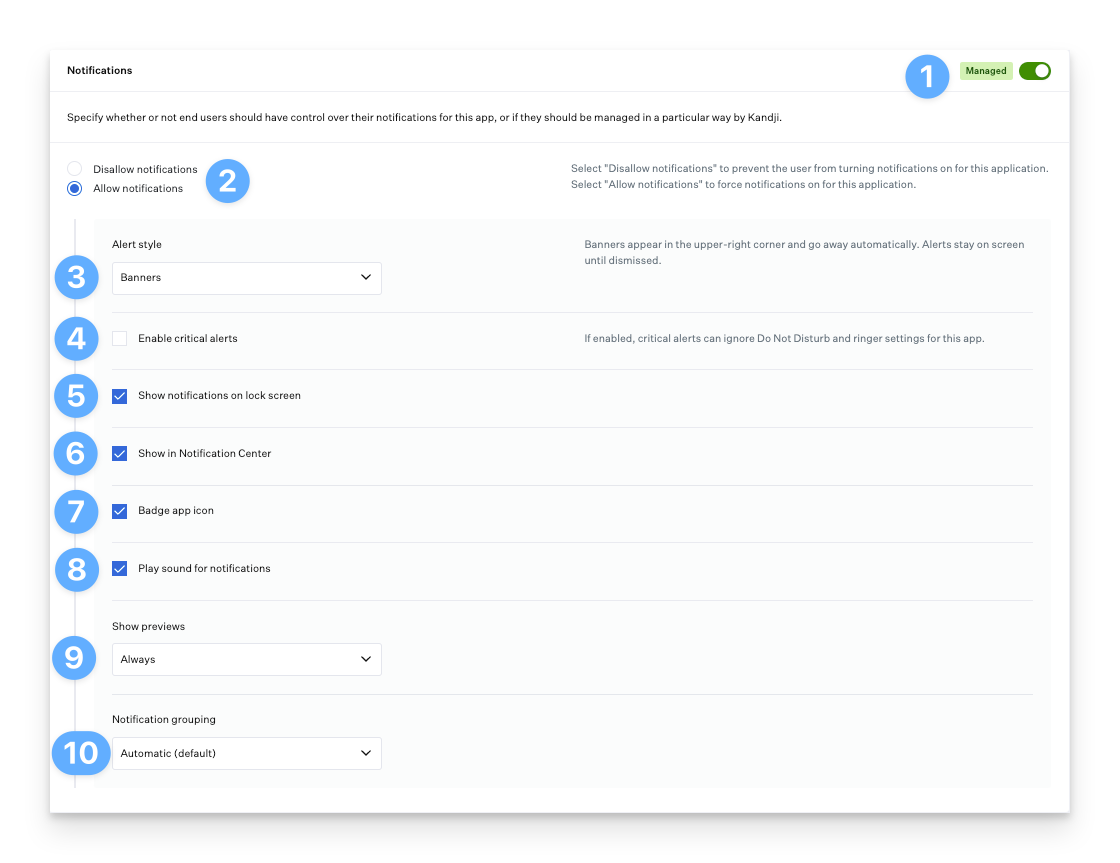
Managed
This option will install a Configuration Profile containing a notifications payload alongside the Auto App with the below options available for configuration.
A toggle enforcing the management of notifications for the associated Auto App.
Determination of whether notifications should be allowed or disallowed.
If notifications are disallowed, no further options are available to customize, and notifications will be forcibly disabled for the Auto App.
A dropdown setting notification style with the below options:
None: does not display on the screen but is available in Notification Center.
Banner: appears in the upper-right corner and goes away automatically (default).
Alert: stays on screen until dismissed.
Toggle critical alerts: if selected, enables this Auto App to ignore Do Not Disturb and ringer settings.
Toggle Show notifications on lock screen
Toggle Show in Notification Center
Toggle Badge app icon
Toggle Play sound for notifications
A dropdown setting when to show notification previews:
Always
When unlocked
Never
A dropdown to customize how notifications are grouped:
Automatic (default)
By app
Off
Add to Dock during install
This option will add the app to the right-hand side of every existing user's Dock during installation.
If the app is already installed during Kandji's first install attempt, the icon will not be added to the Dock. The app will be added to the Dock upon the next update that installs via Kandji. The icon will also be added if a user removes the app and Kandji re-installs it.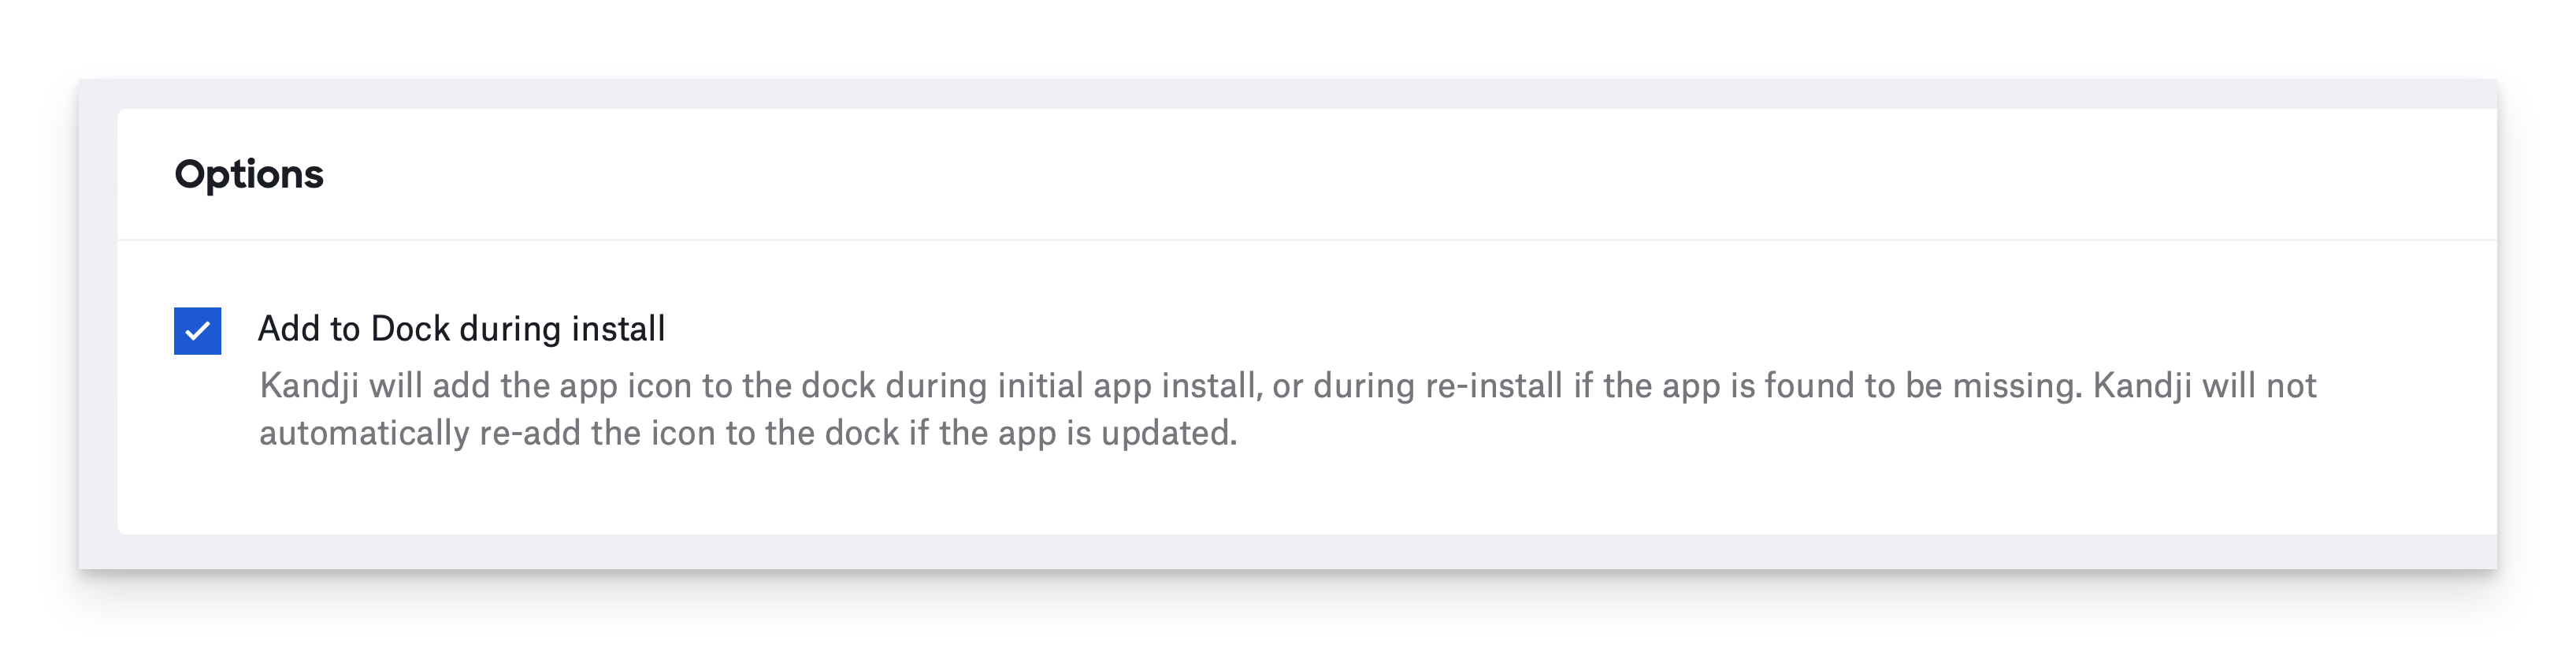
For more information on Auto Apps, read Auto Apps Overview.For more information on Managed OS, read Configuring Managed OS for macOS.