The Endpoint Detection and Response add-on is required to use this Library Item.
Add an Avert Library Item
To add this Library Item to your Kandji Library, follow the steps outlined in the Library Overview article.
Give the new Avert Library Item a Name.
Assign to your desired Blueprints.
.png)
Configuring General Settings
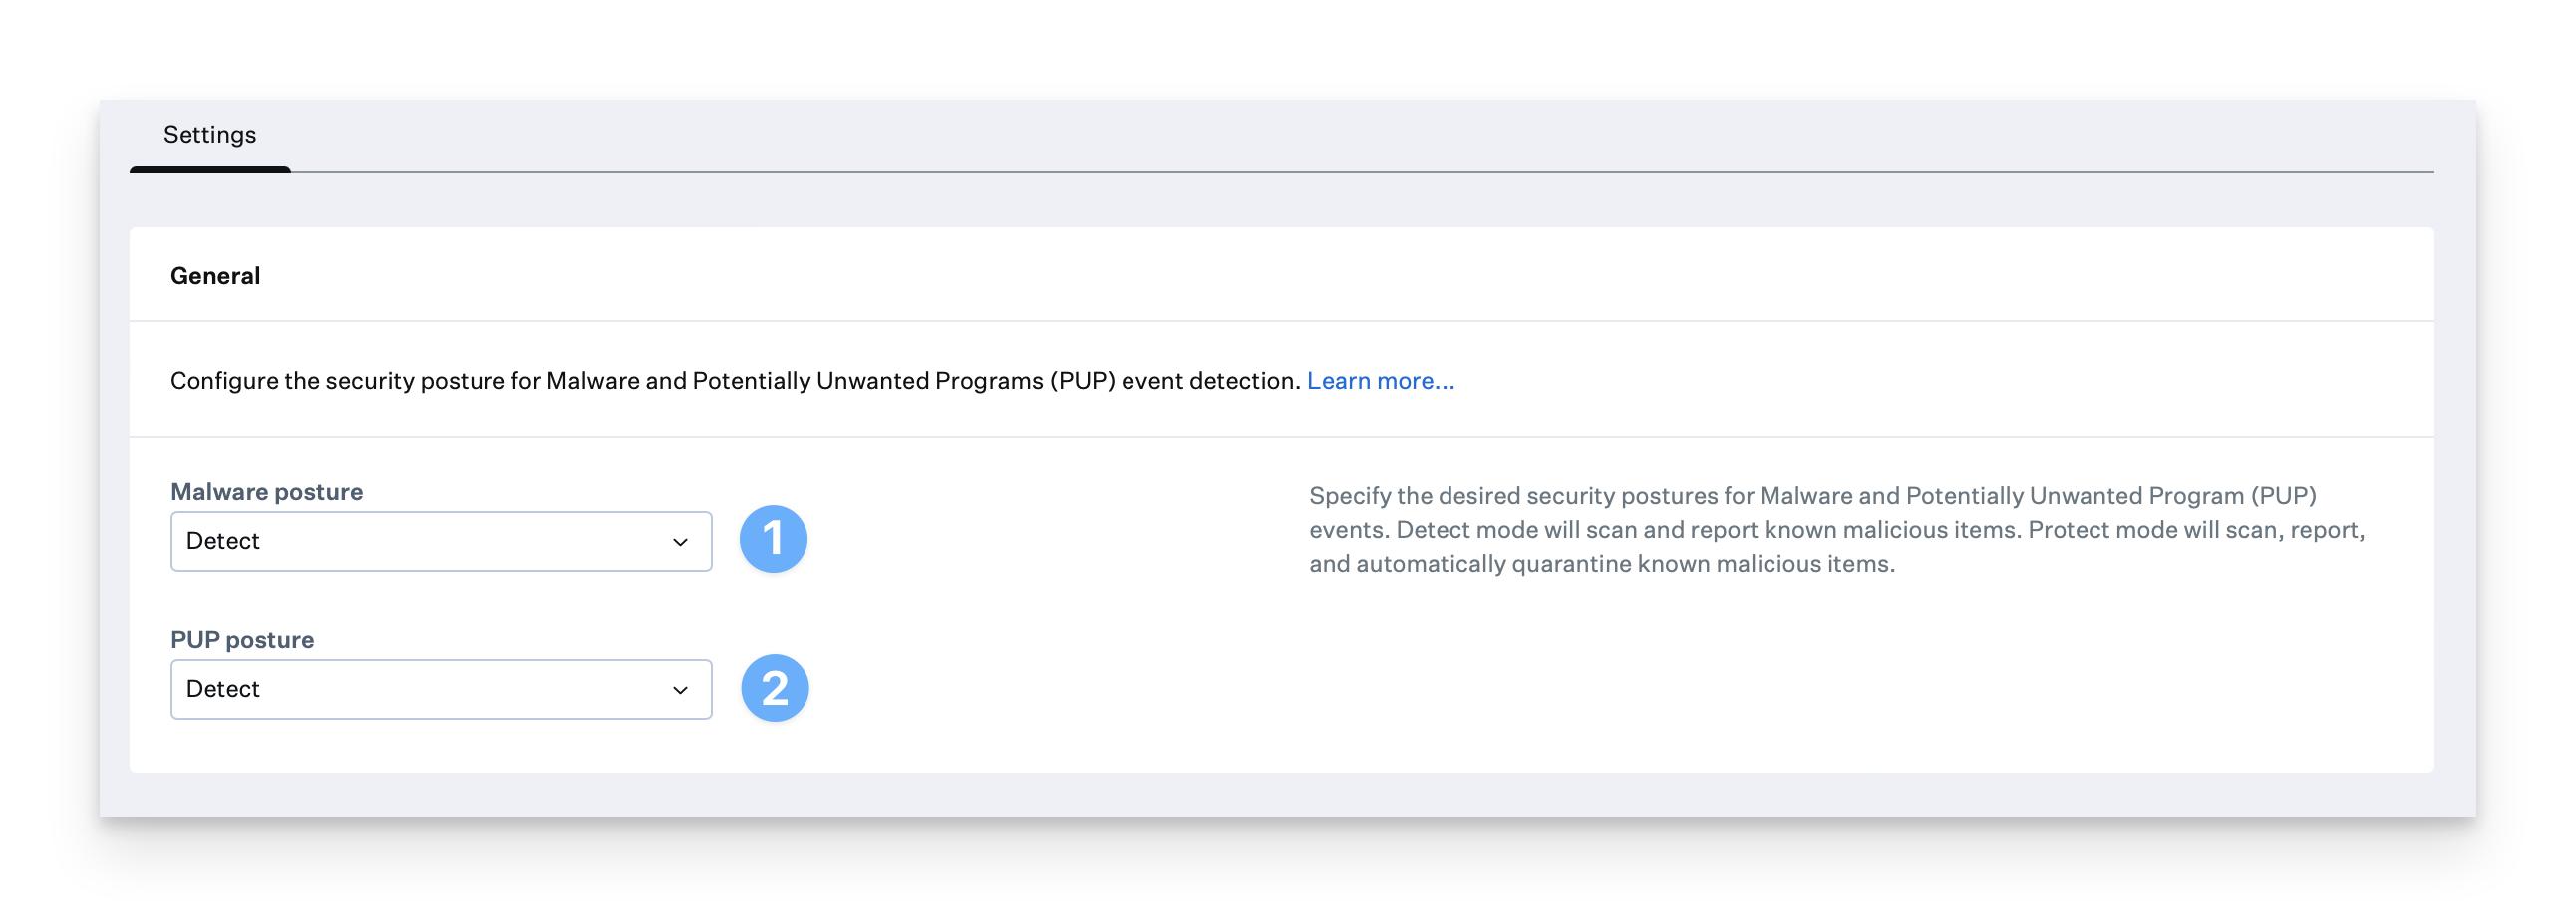
Configure the individual Malware and PUP posture mode preferences for your environment.
Specify the desired posture setting for Malware.
Specify the desired posture setting for PUP.
Detect mode will scan and report known malicious items. Protect mode will scan, report and automatically quarantine known malicious items.
Configuring Behavioral Detections
Behavioral detections are turned on by default when creating and adding a new Avert Library Item to your Library, but can be turned off to suit certain workflows. For existing Avert Library Items, behavioral detections will manually need to be turned on to monitor behavioral activities.
Suspicious behavioral detections are automatically listed in the Threats table with an informational status to highlight unusual activities that may warrant attention. These detections are designed to provide visibility and cannot have their posture mode configured.
Toggle the switch to enable Behavioral detections
Under Malicious behavior posture, select either Detect or Protect
Detect mode identifies and reports malicious behavioral detections.
Protect mode identifies, reports, and blocks malicious behavioral detections.

User Alerts
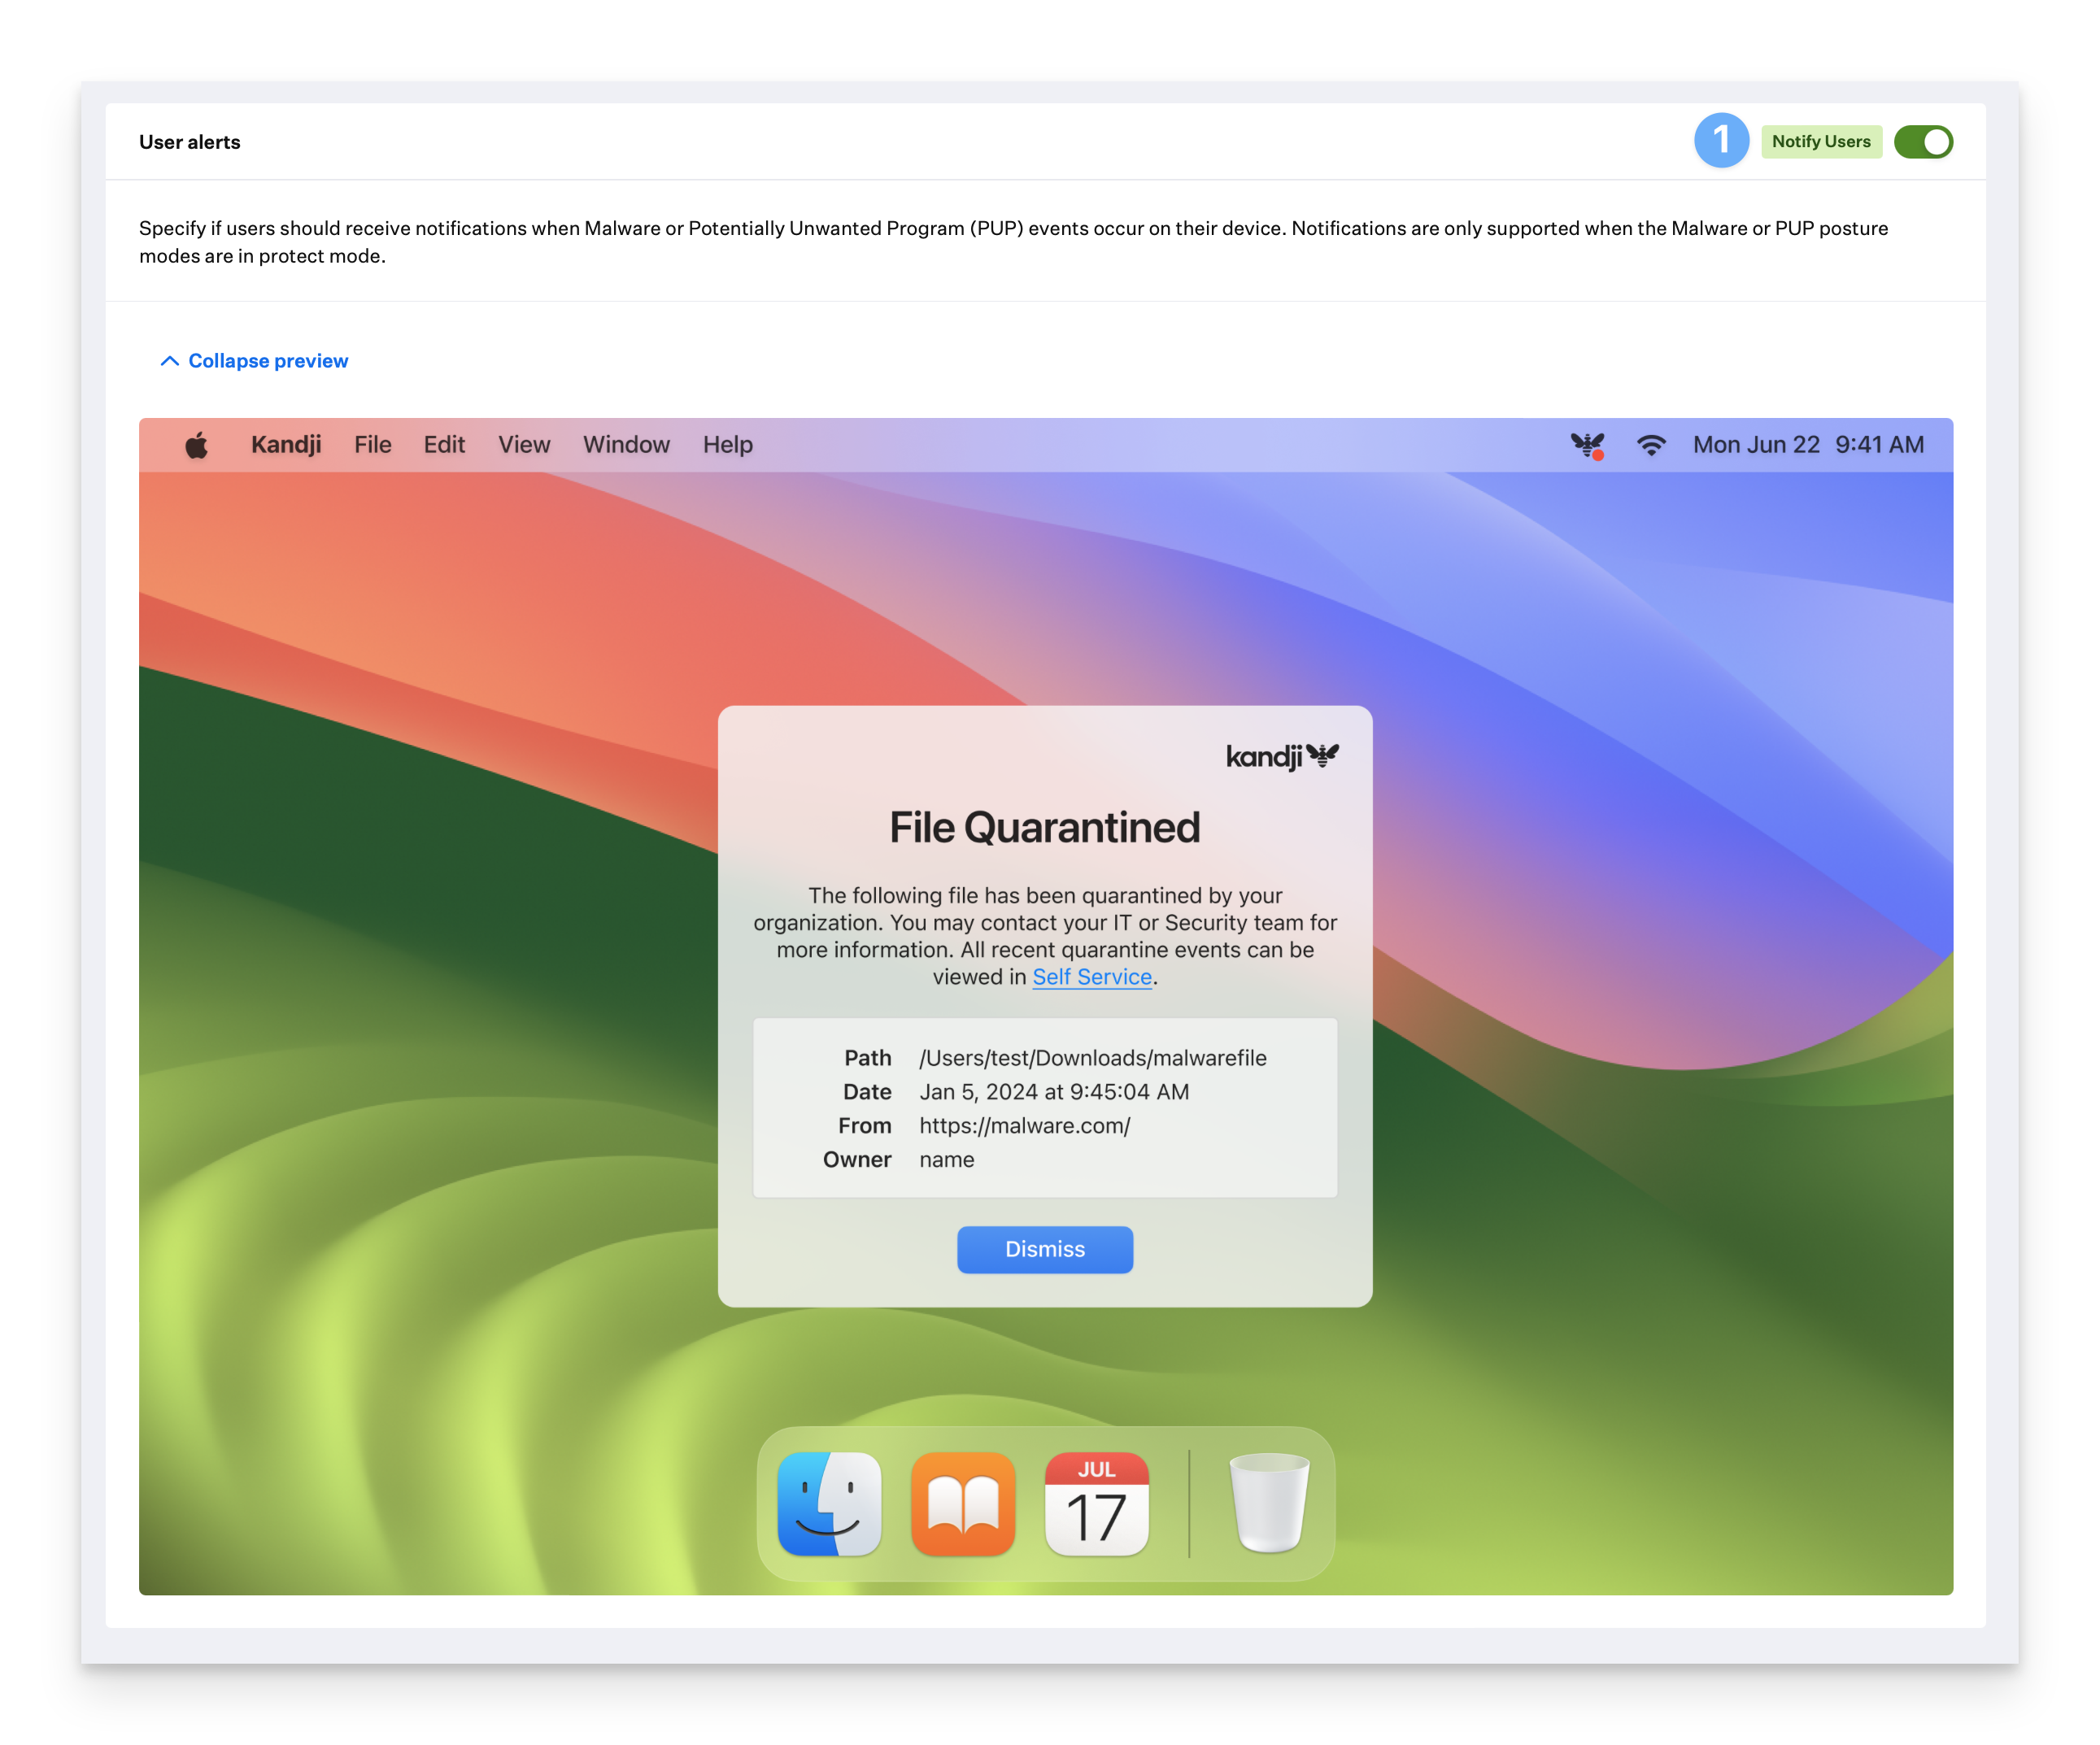
When turned on, user alerts will notify end users when EDR has quarantined Malware or PUPs on their Mac computers. User alerts are turned on by default but can be turned off to suit certain workflows.
Click the toggle switch next to Notify Users to turn user alerts on or off.
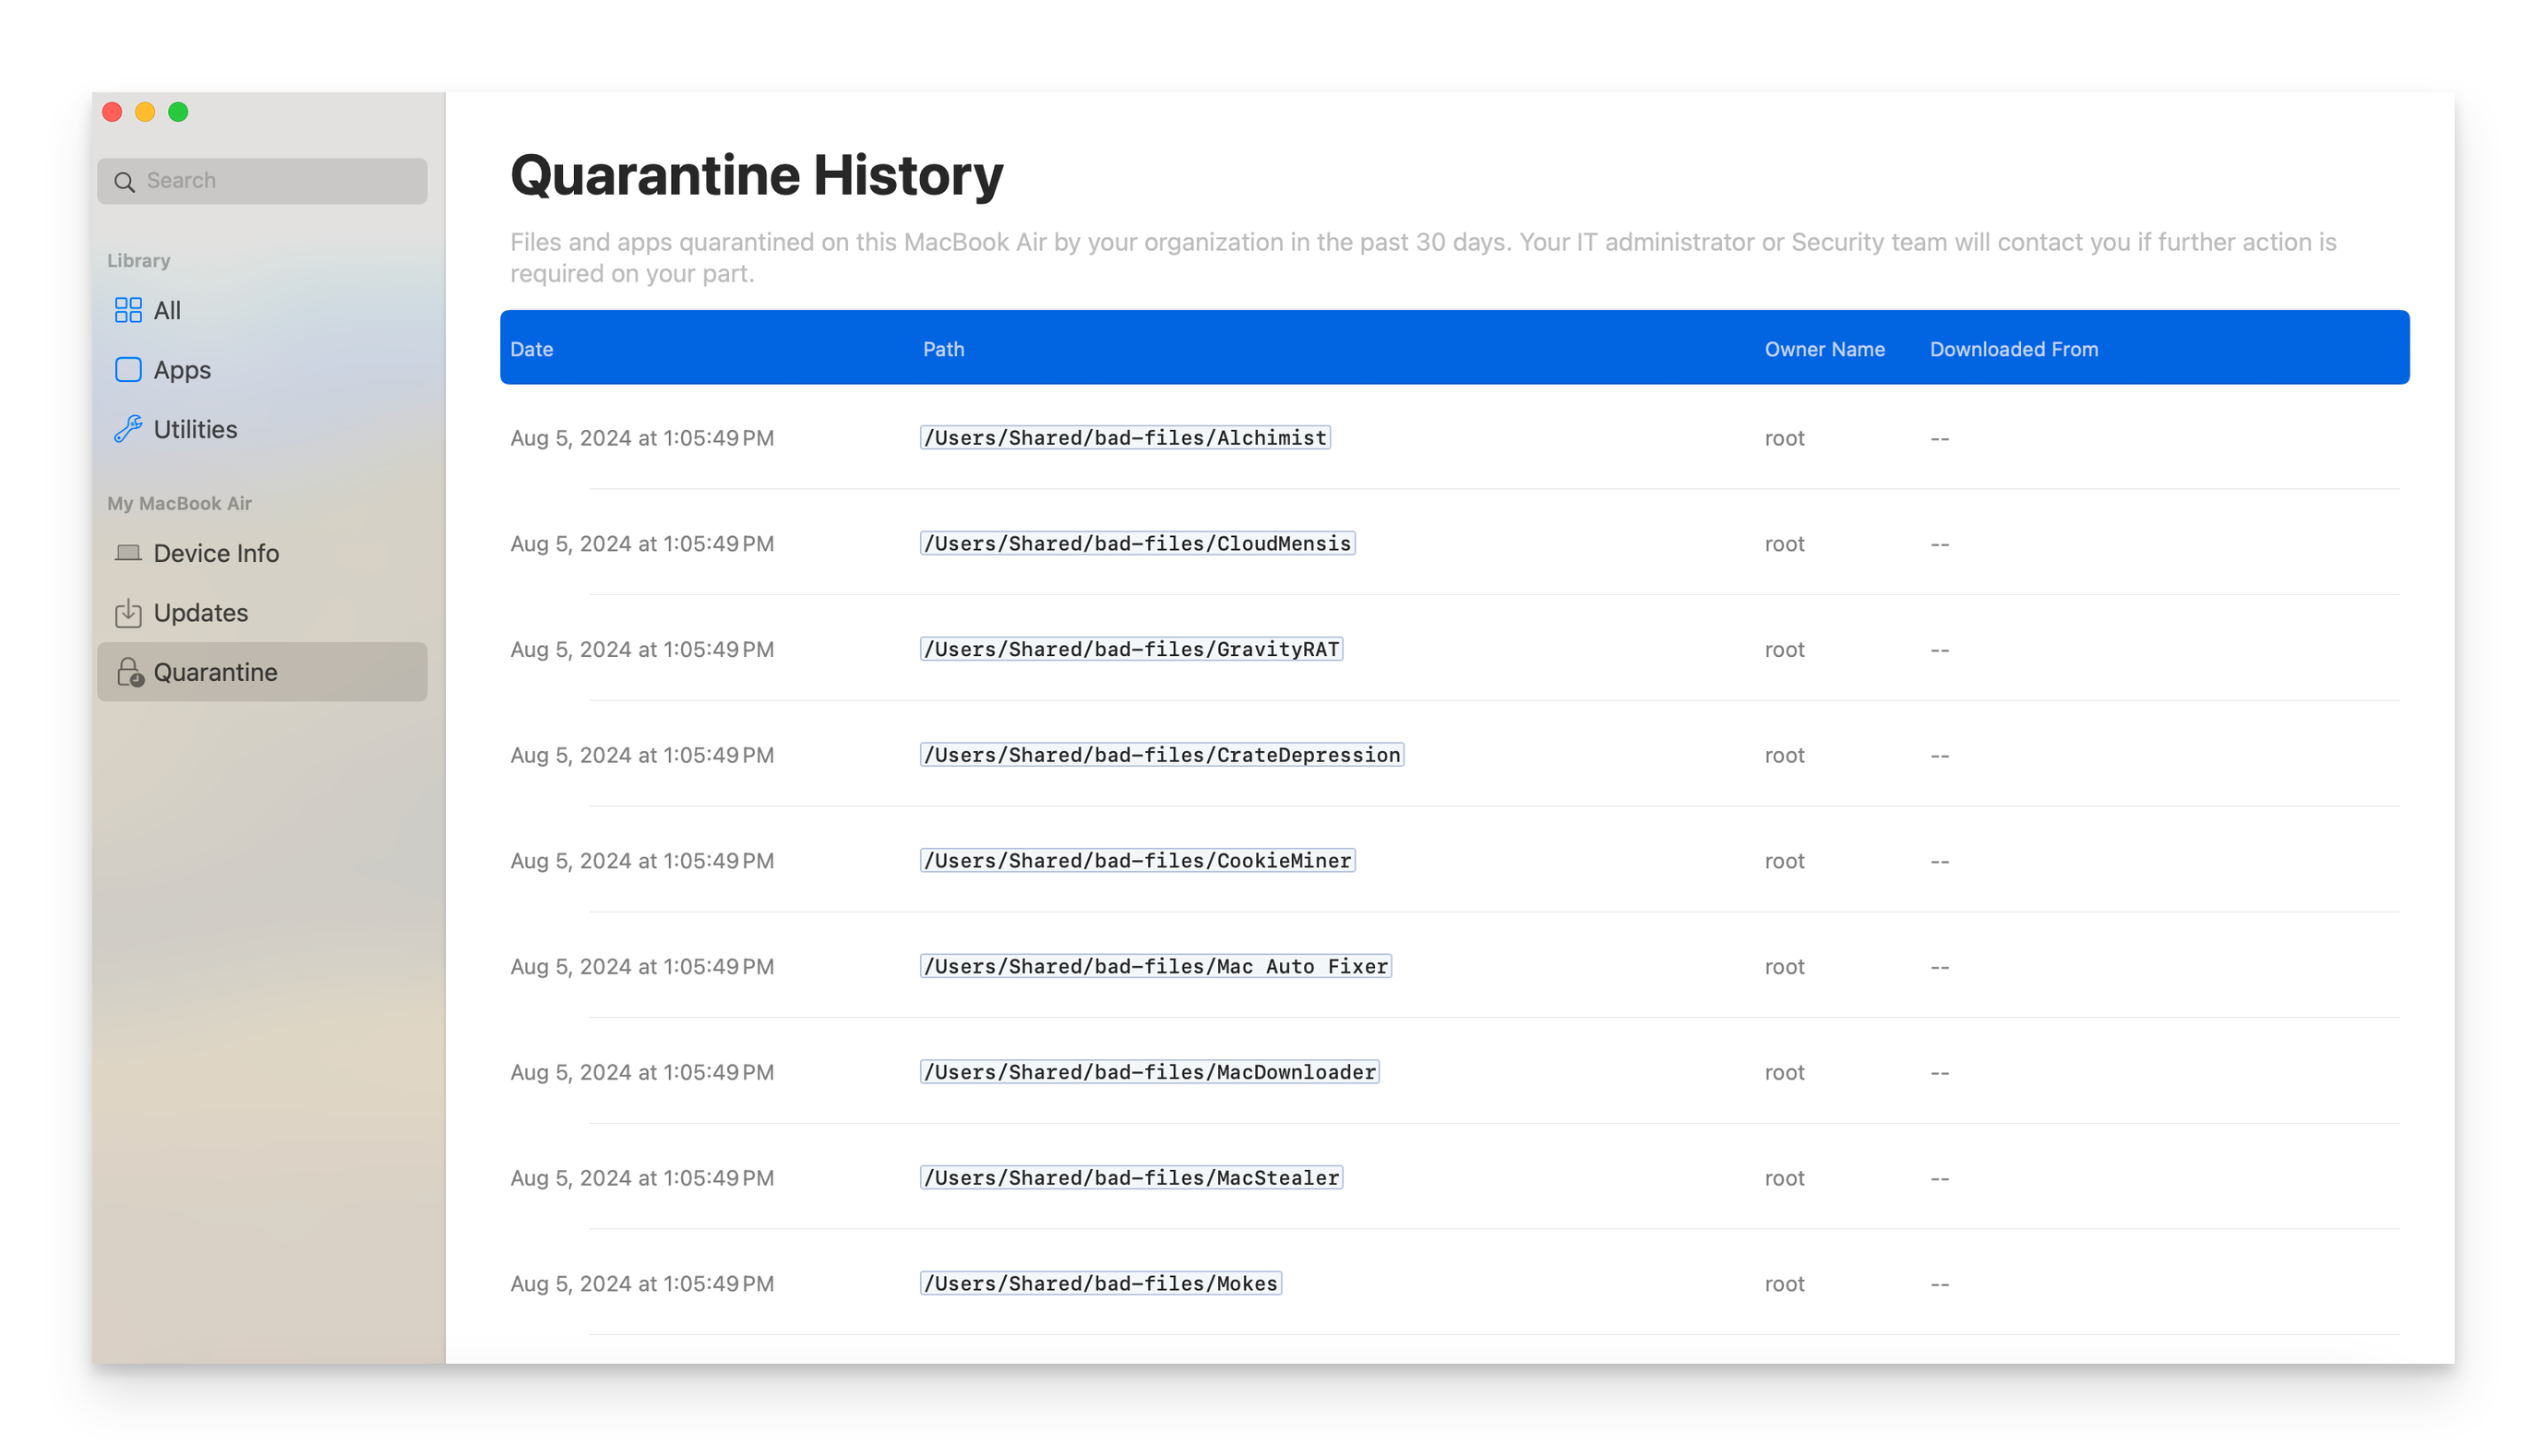
End users can view a list of files quarantined on their Mac computers by opening Self Service and clicking on Quarantine from the left-hand navigation menu.
Configure Allow and Block lists
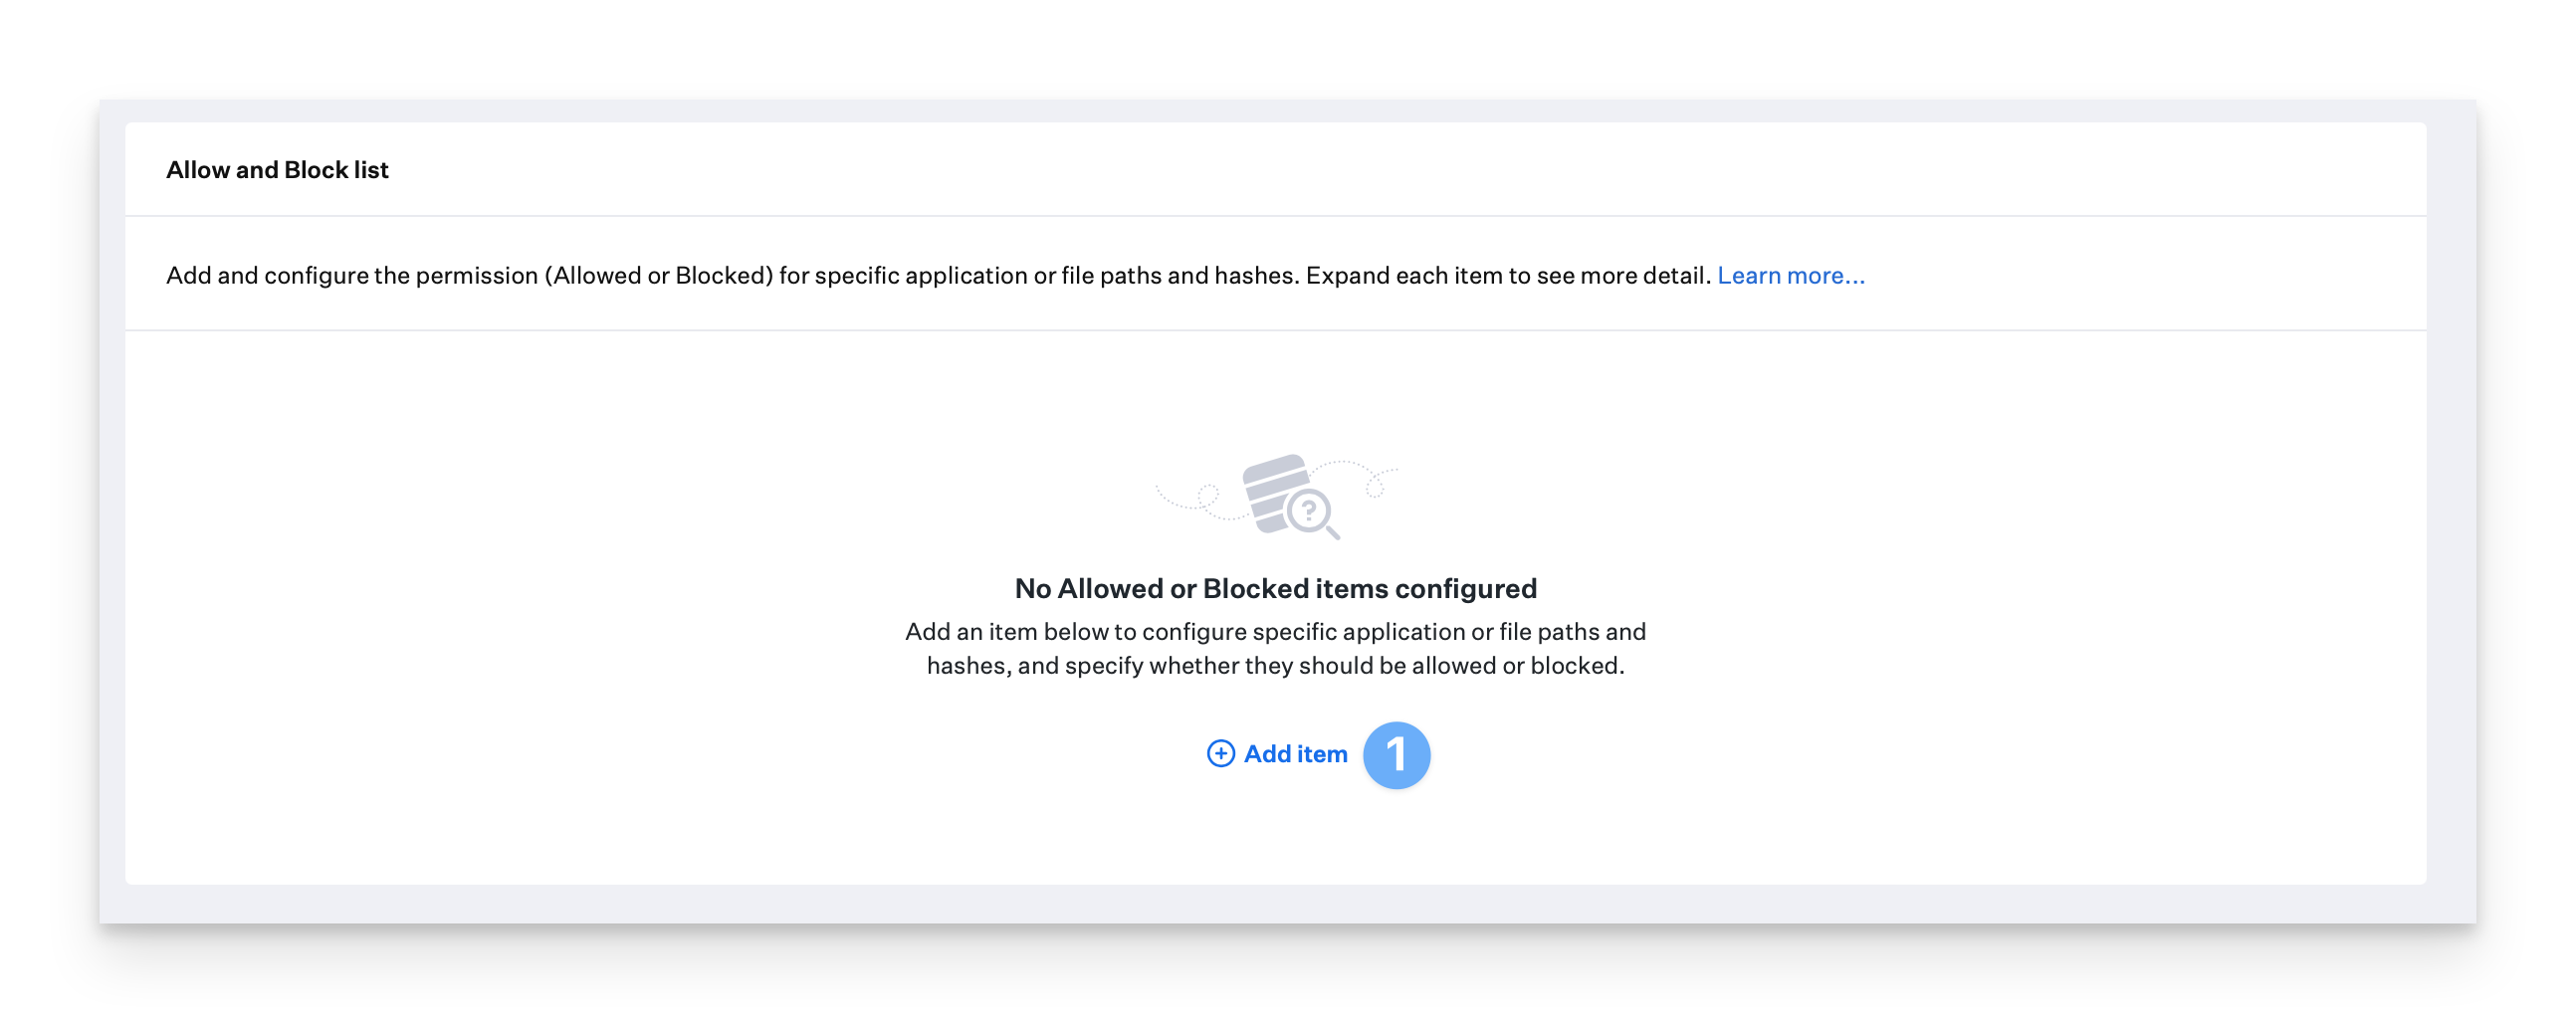
Allow and Block lists can be used to ensure that specific files or applications are always allowed or blocked in your environment regardless of whether or not a file or application is known to be malicious in Kandji Avert’s threat feeds.
Block items are considered Malware and require the Malware posture to be in Protect mode to be blocked on the device.
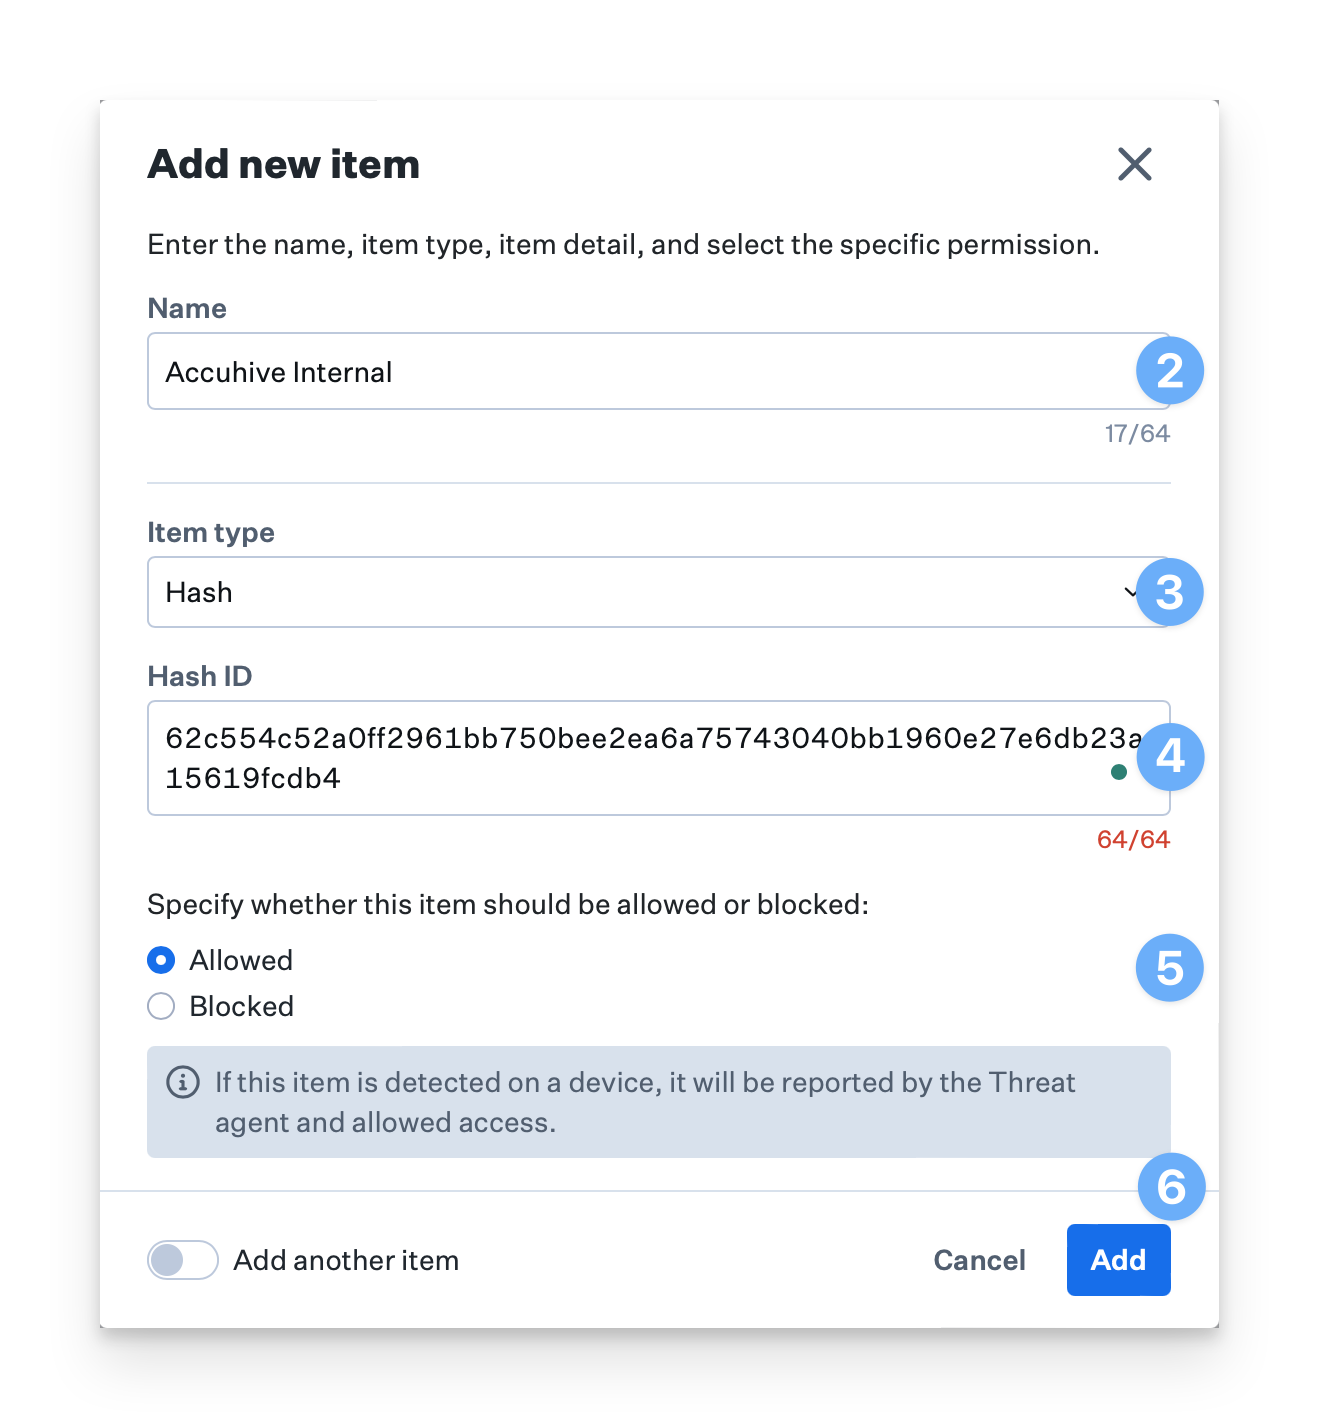
Click the "+ Add item" button.
Give the item a Name.
Specify the item type Hash or Path for the file or application.
If Path was selected, enter the application or file path. If Hash was selected, enter the file hash.
Select Allow to allow a file or application. Select Block to block the file or application.
Click Add to add the item to the Allow and Block list. Optionally, select the "Add another item" checkbox in the lower-left corner prior to clicking the Add button to add additional items.
Click the Save button to save the Avert Library Item.
Determine Hash Value
The Hash item type is only supported for files. The Path item type is supported for both files and applications.
The following command can be used in Terminal to determine the SHA256 hash value of a file.
shasum -a 256 /path/to/fileView Edit Details in the Avert Library Item
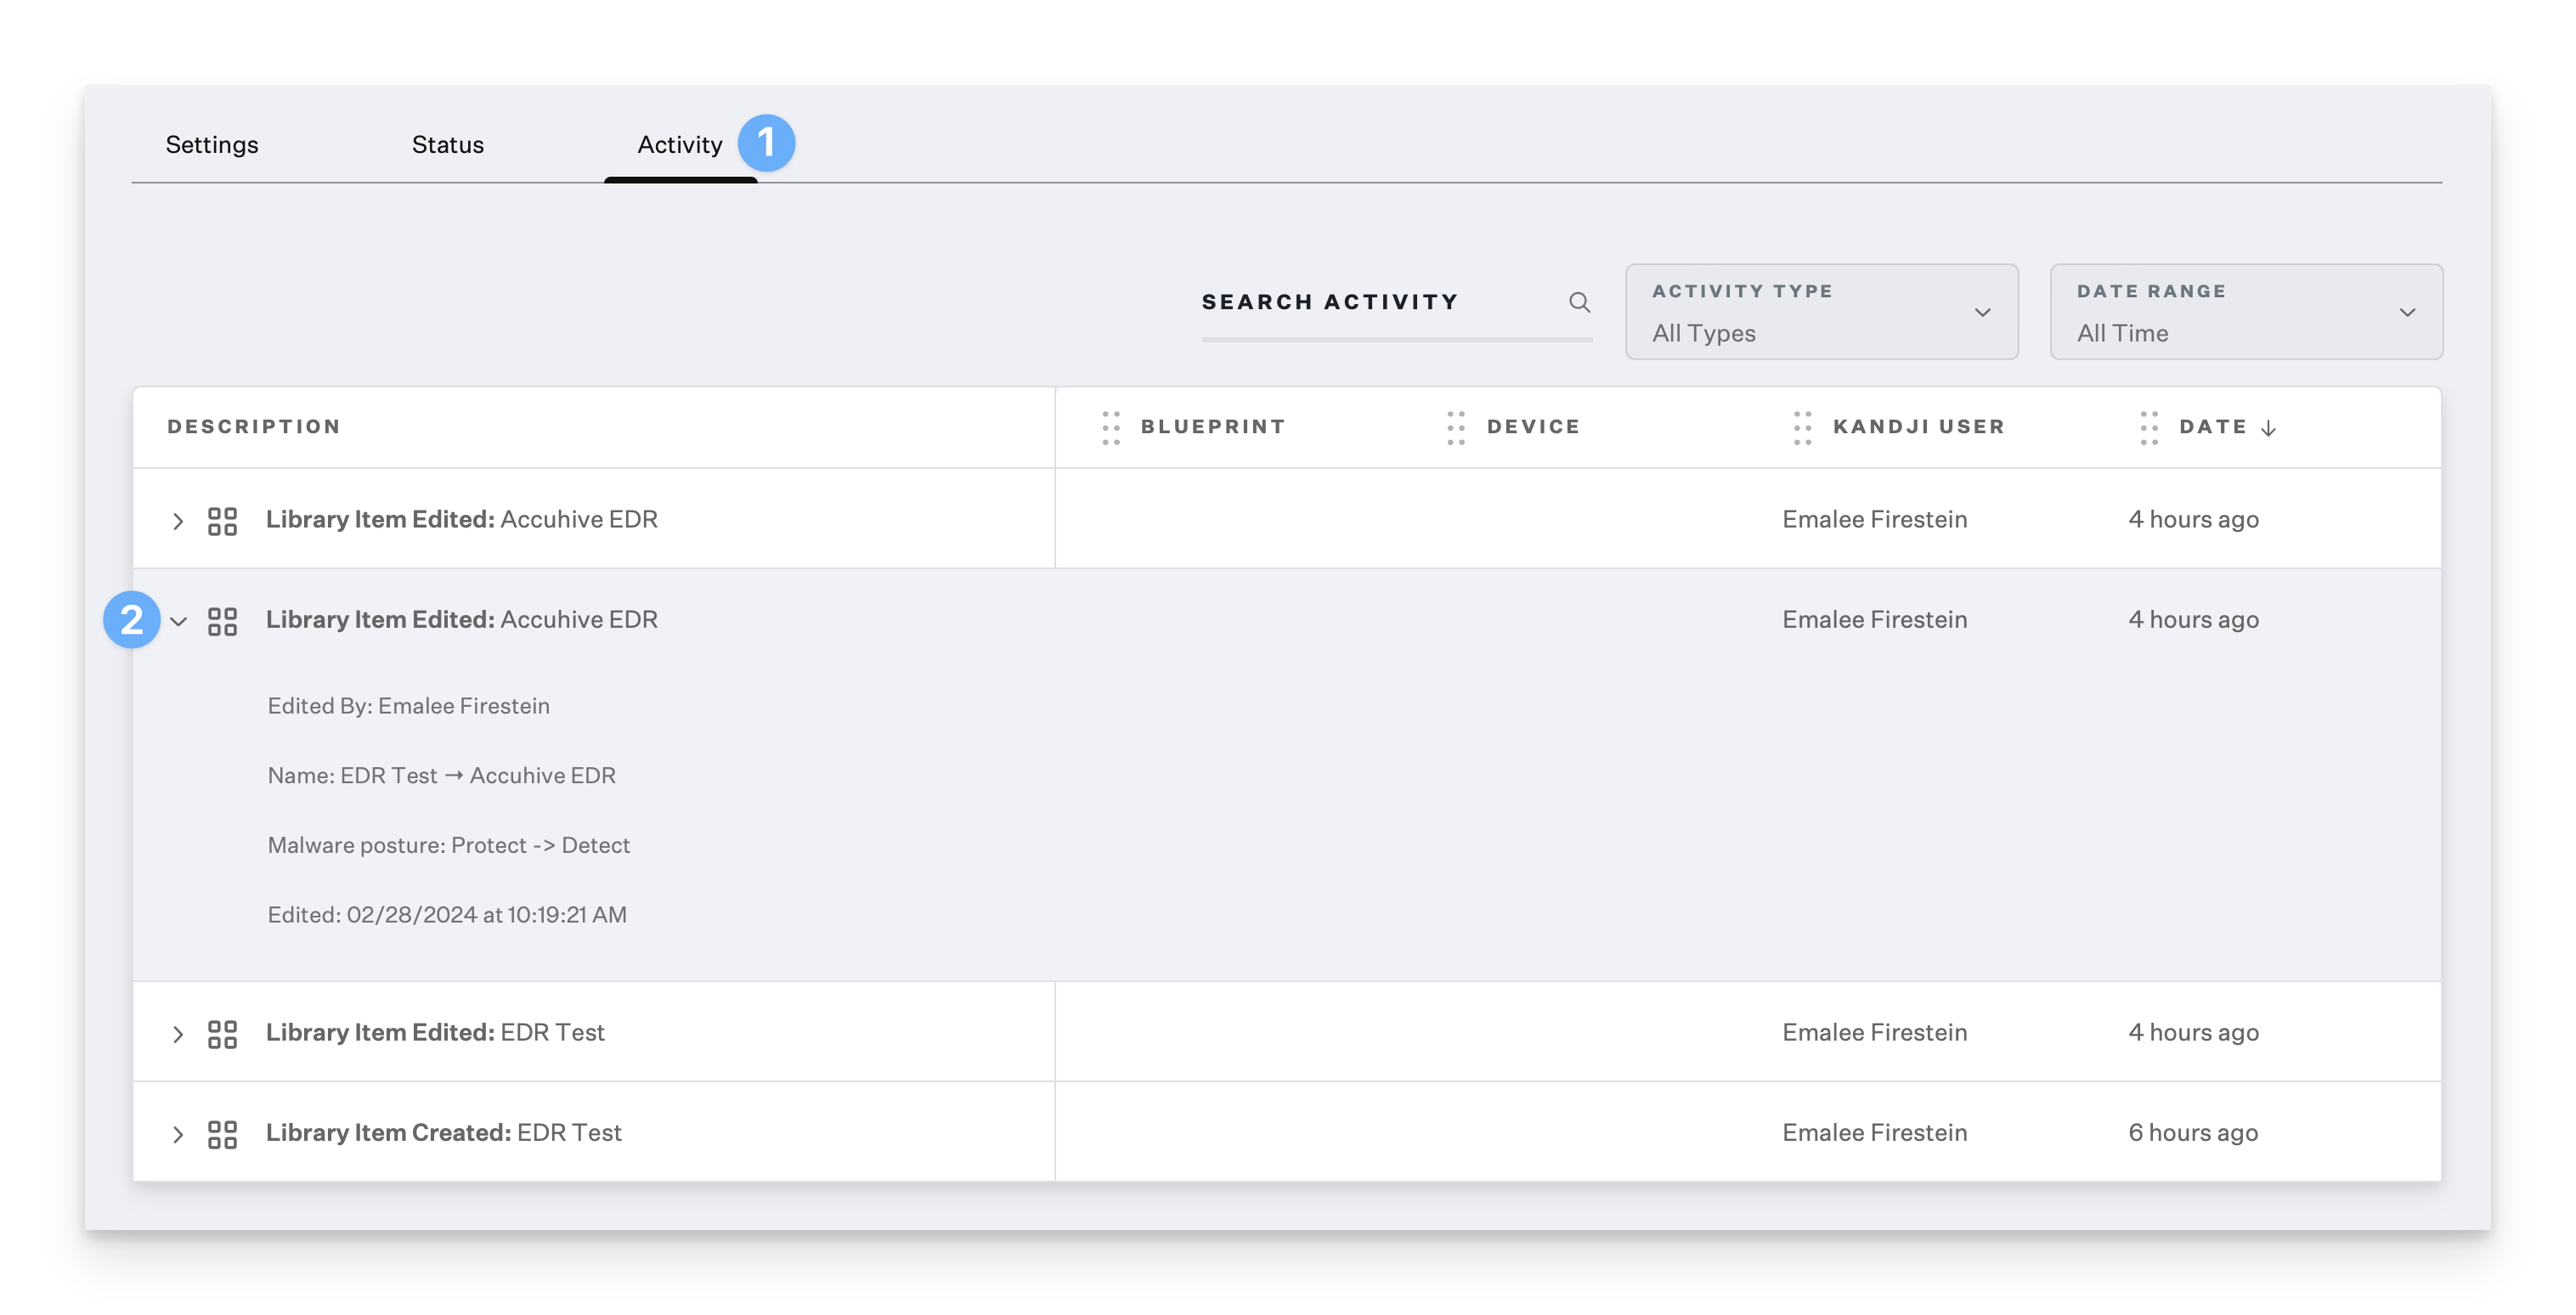
You can audit changes to the Avert Library Item in the Activity tab of the Library Item or the Global Activity section of the Kandji Web App. This will show what configurations were changed, what the previous state was, and who made the change.
Click on Activity in your Avert Library item or the left navigation menu.
Select the disclosure triangle next to Library Item Edited for the entry you'd like to review.
Next Steps
Please see the Endpoint Detection and Response - Testing Malware Detection support article to see EDR in action.