Create a SAML Connection
In Kandji, navigate to the Settings page
Click the Access tab
Find the Authentication section and click the Add button on the bottom left of the authentication section (If that section does not appear, SSO is not enabled for your tenant)
.png)
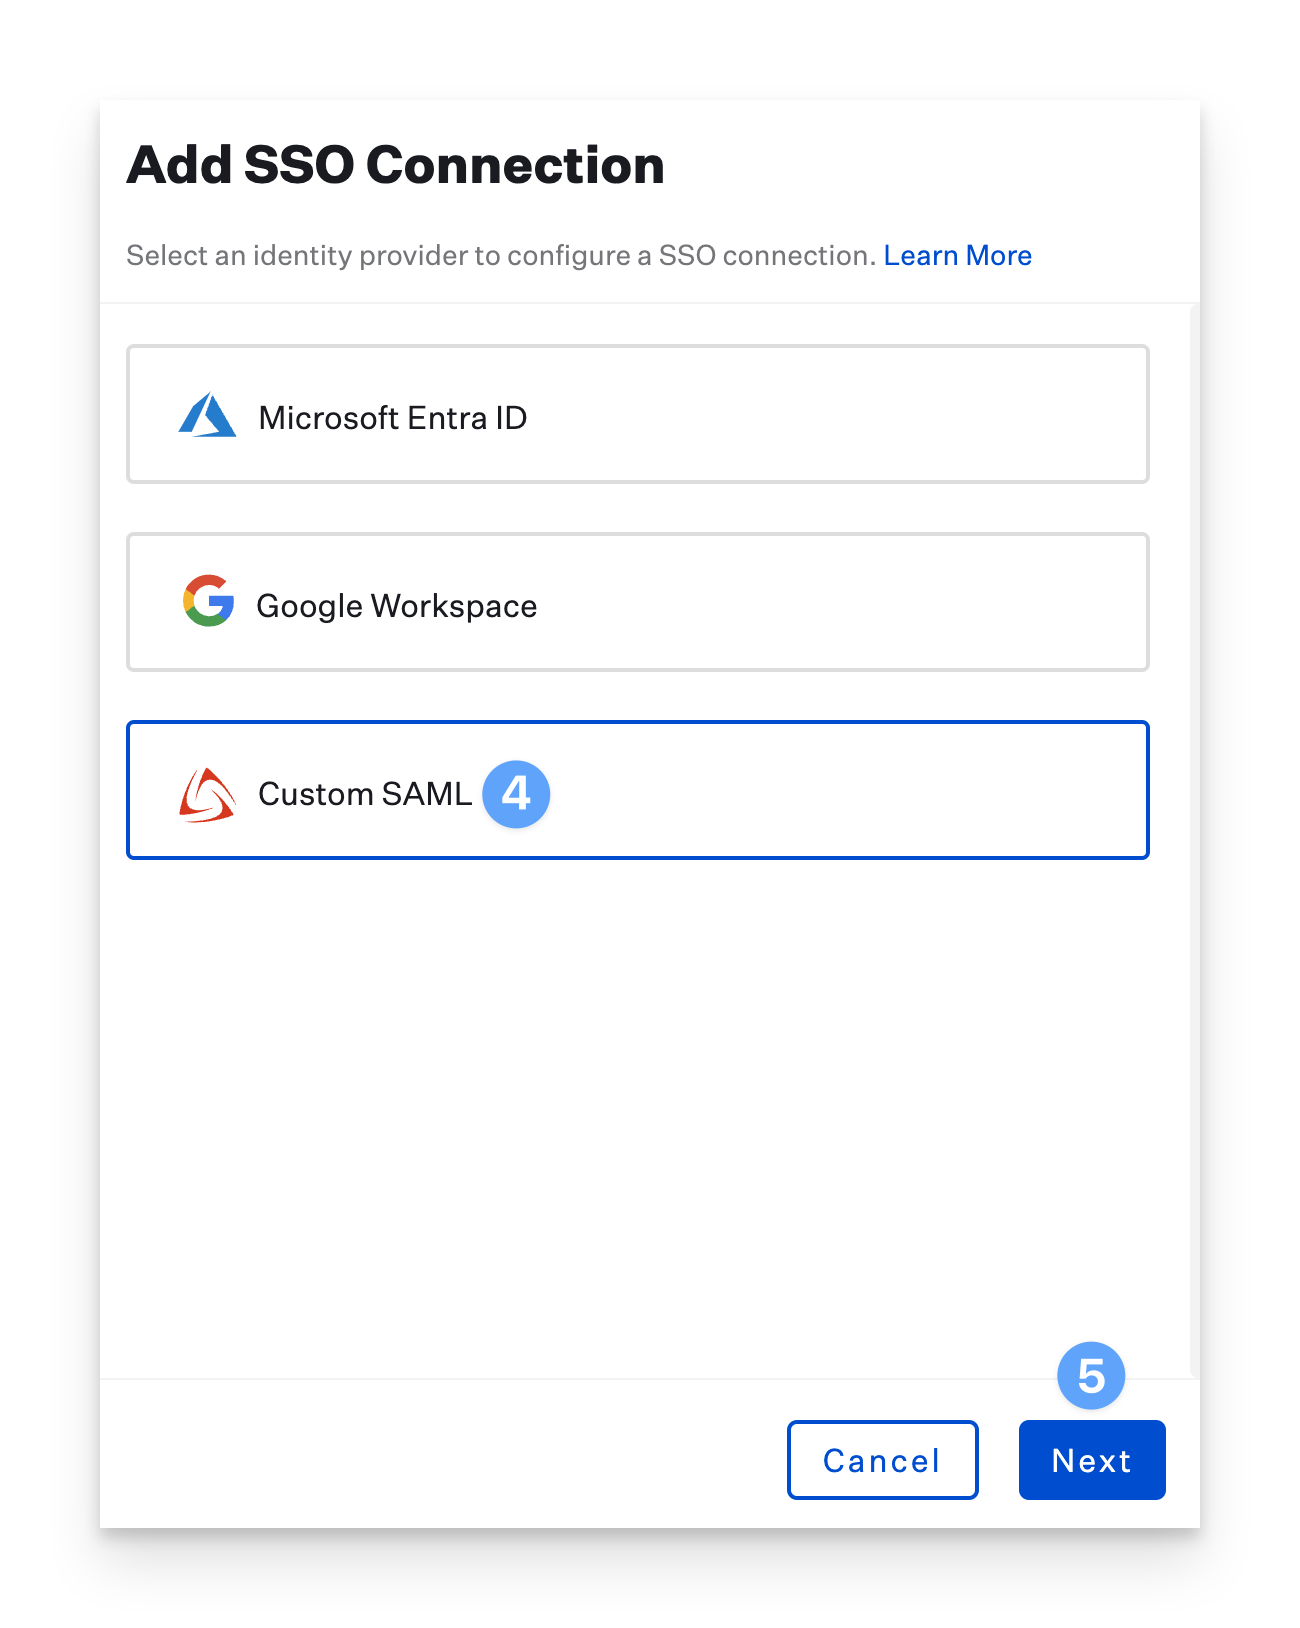
In the Add SSO Connection pane, select the Custom SAML option
Click Next
Select Show Advanced Details
Copy the Assertion Consumer Service URL and save it in a text document for later use
Copy the Entity ID and save it too

Leave this browser tab open as you proceed with the instructions below
Configure the Kandji App in Okta
In a new browser tab, log in to your Okta tenant
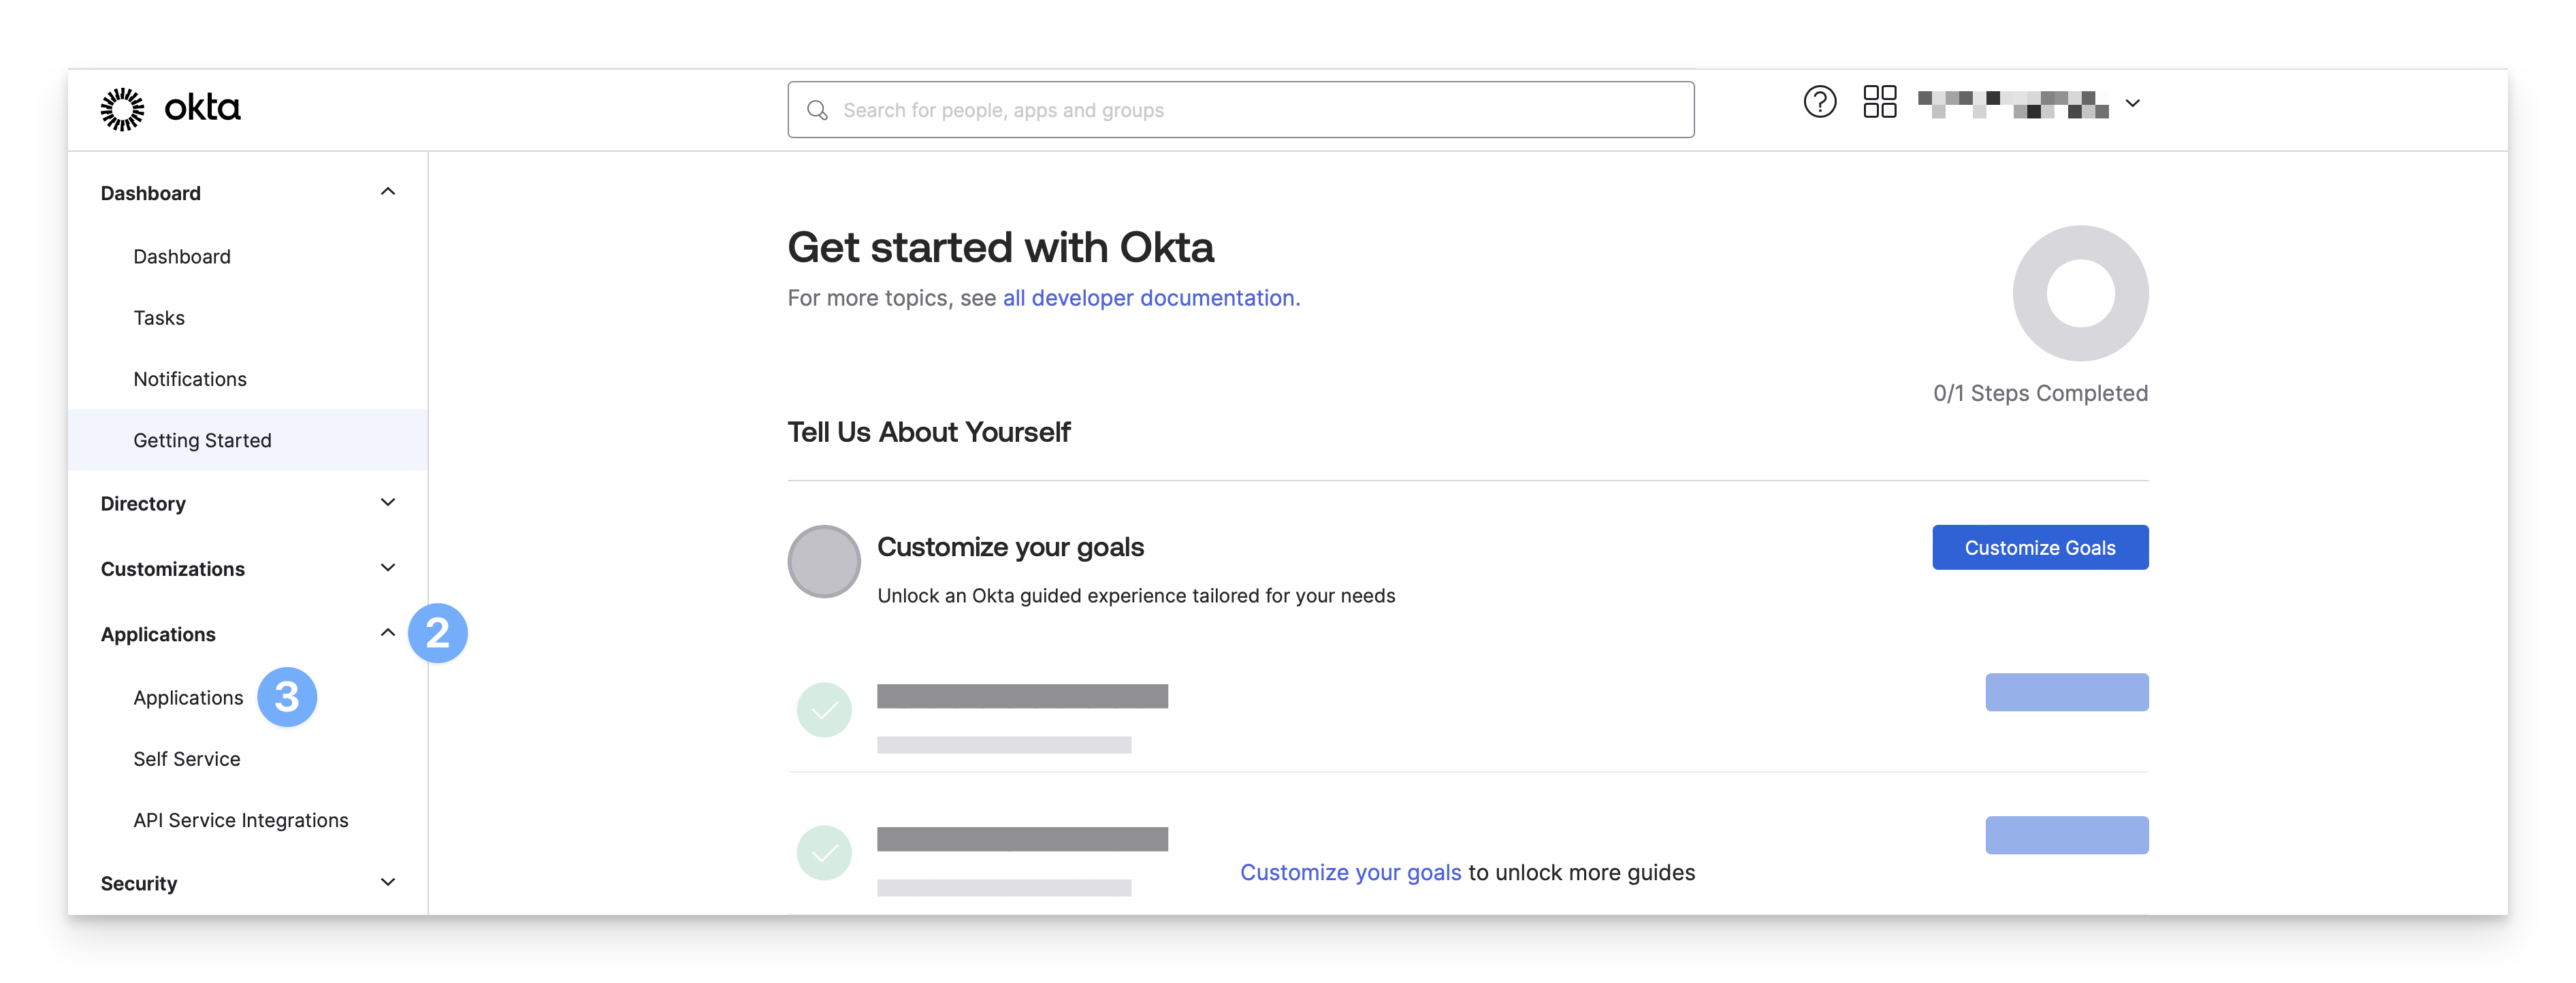
On the left-hand side, click the reveal triangle next to Applications
Click Applications
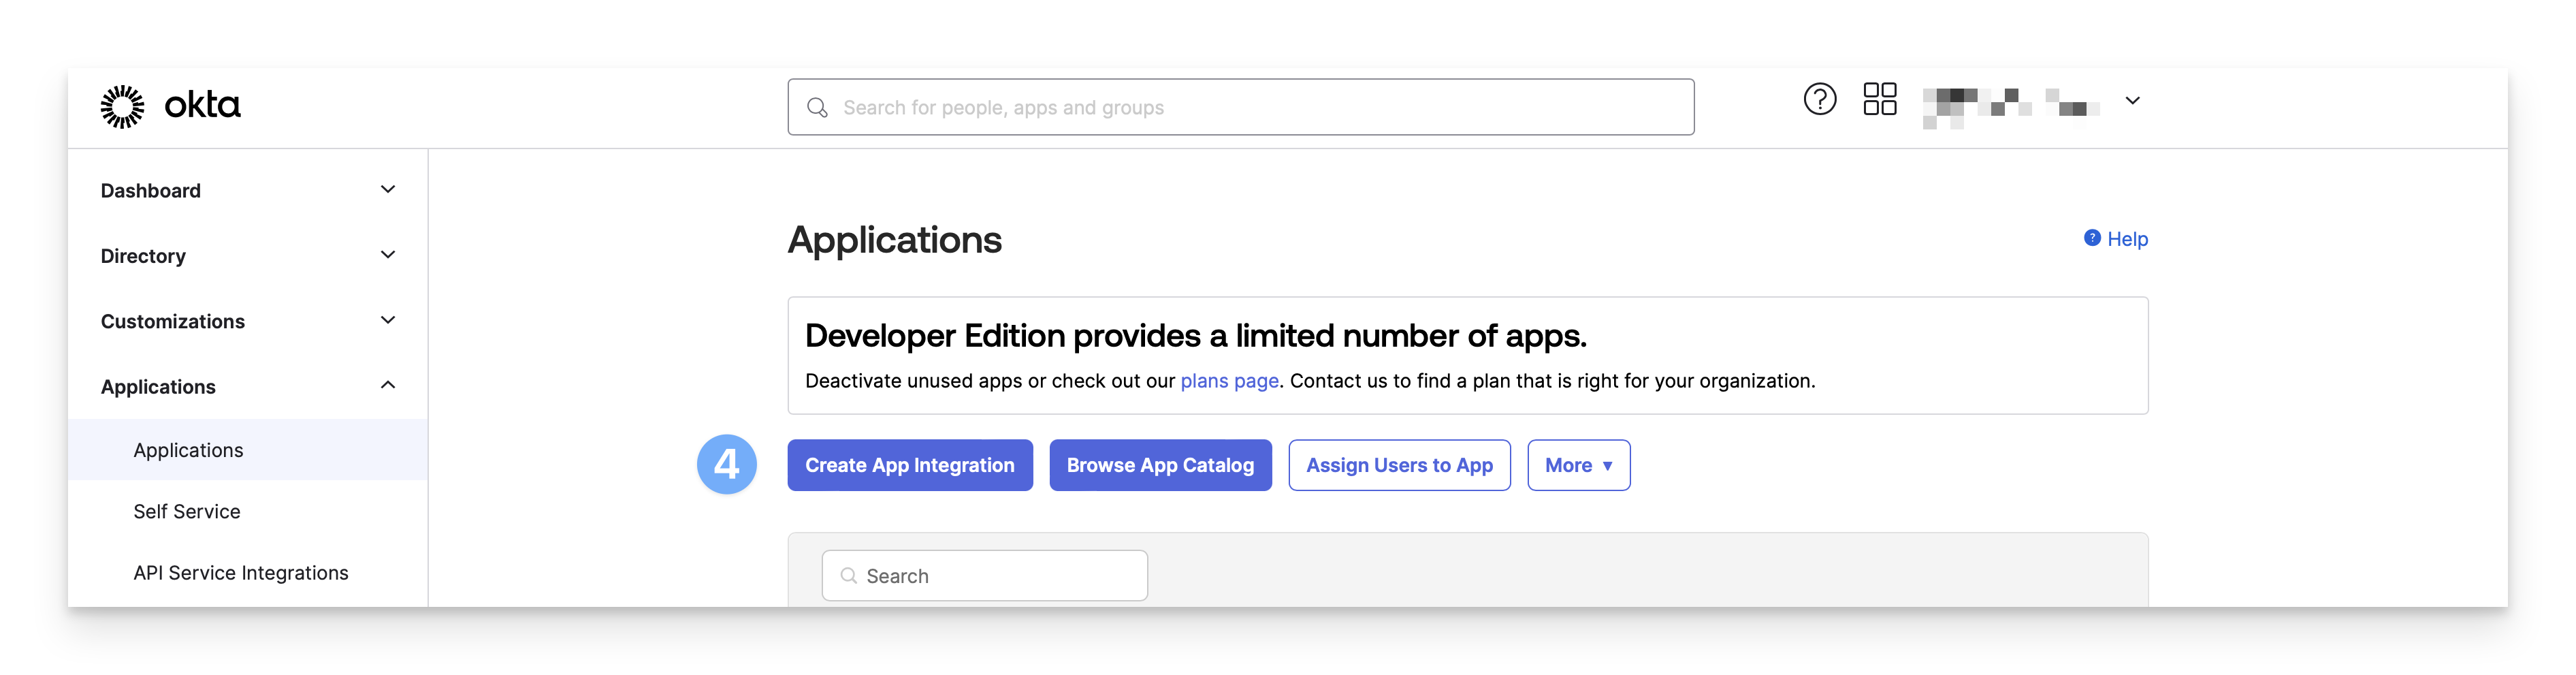
Click Create App Integration
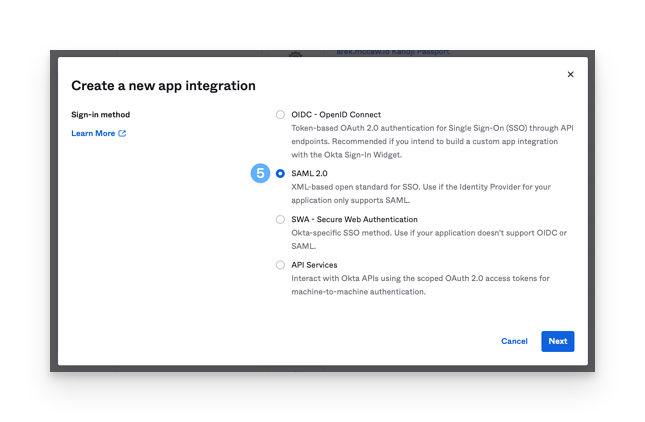
Select SAML 2.0 as the app integration type and click Next
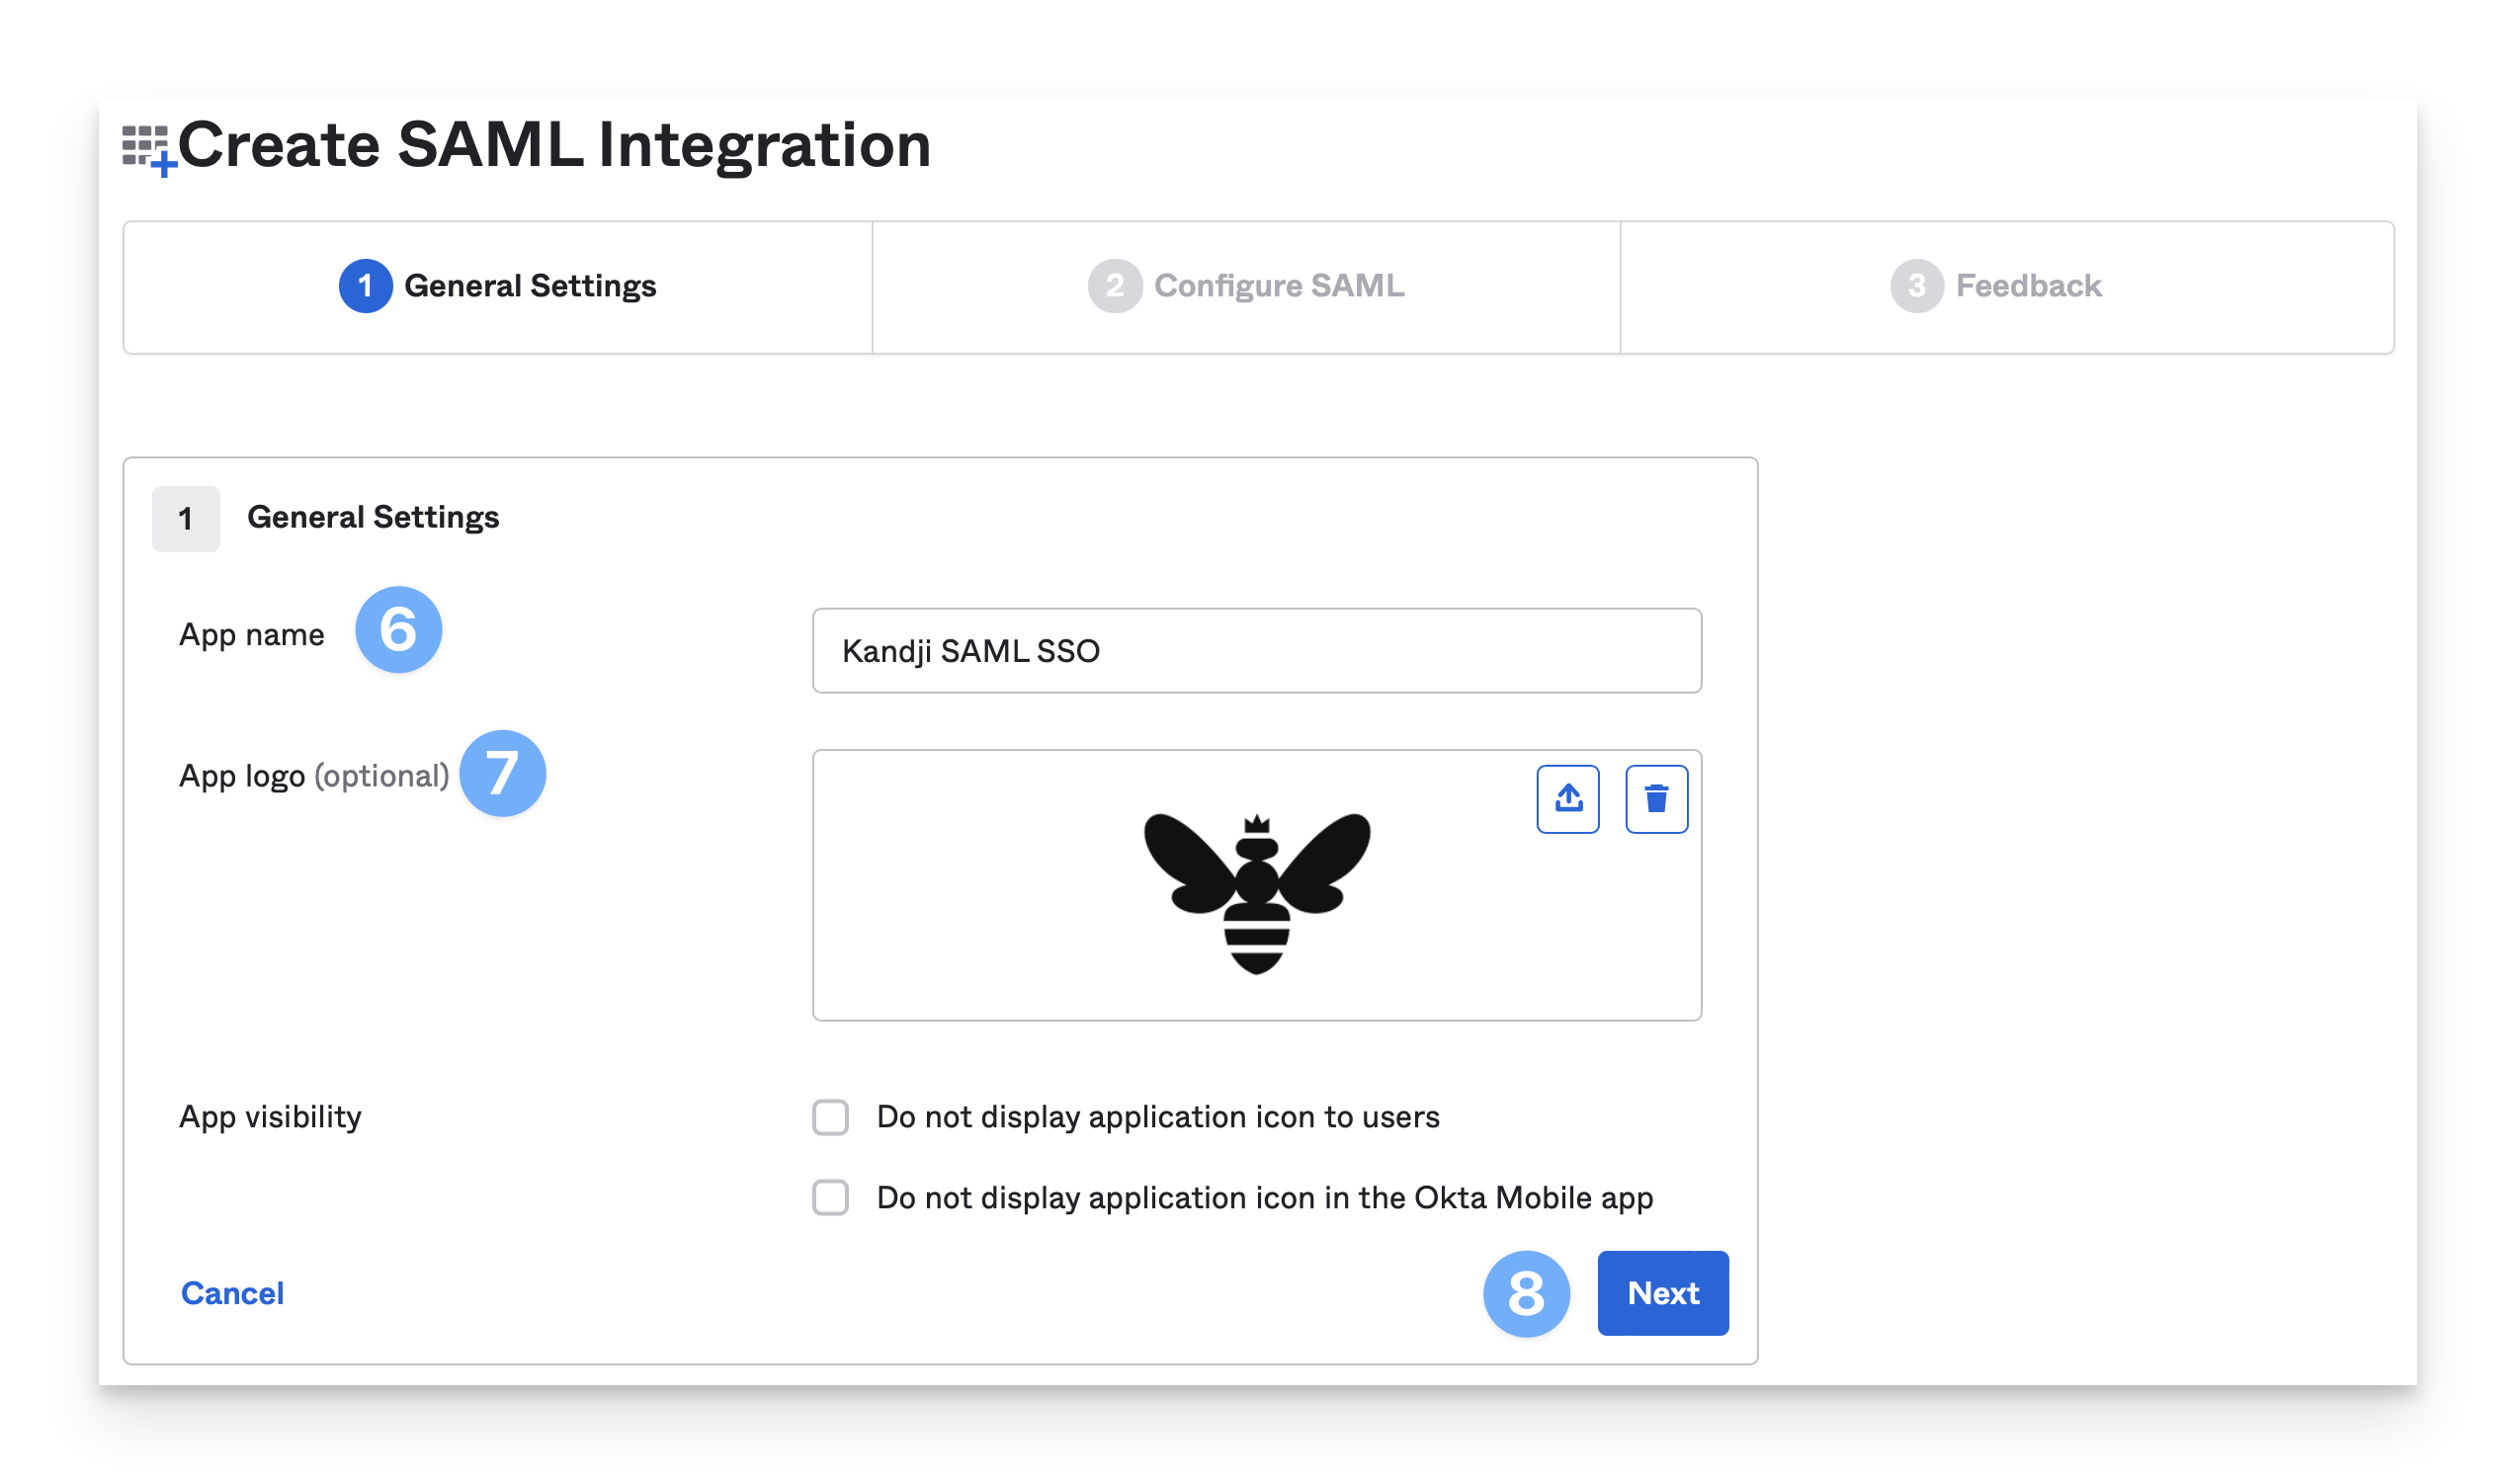
Enter an App name
Upload an optional App logo
Click Next
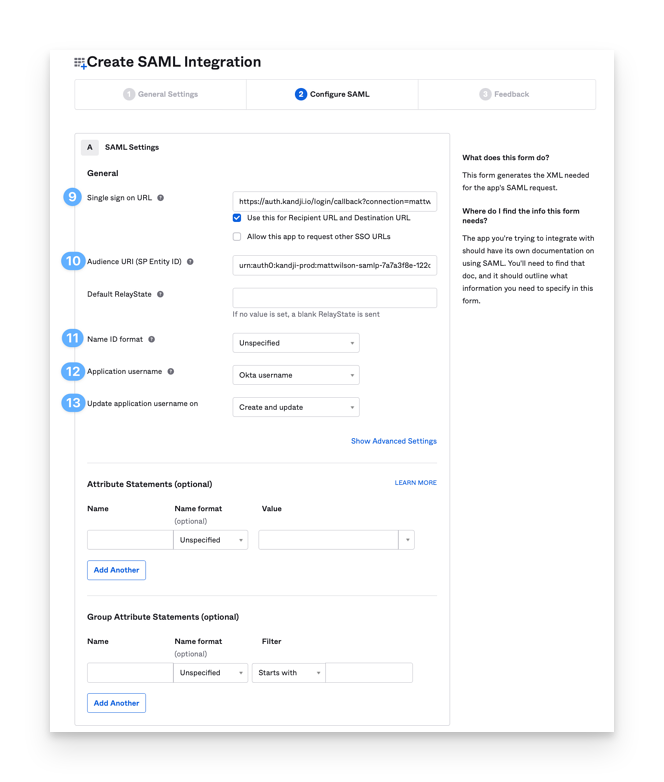
In the Single sign-on URL field, paste the Kandji Assertion Consumer Service URL that was copied earlier
In the Audience URI (SP Entity ID) field, paste the Kandji Entity ID that was copied earlier
Ensure that the Name ID format is set to Unspecified
Ensure that the Application username is set to Okta username
Ensure that the Update application username on is set to Create and update
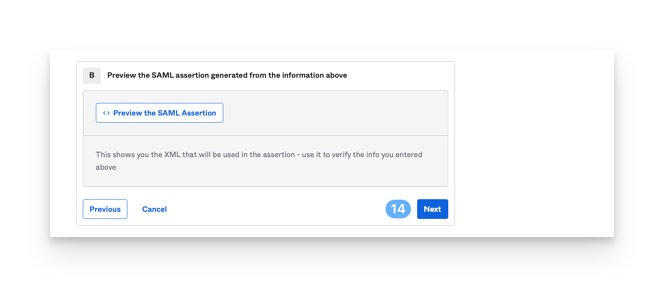
Select Next
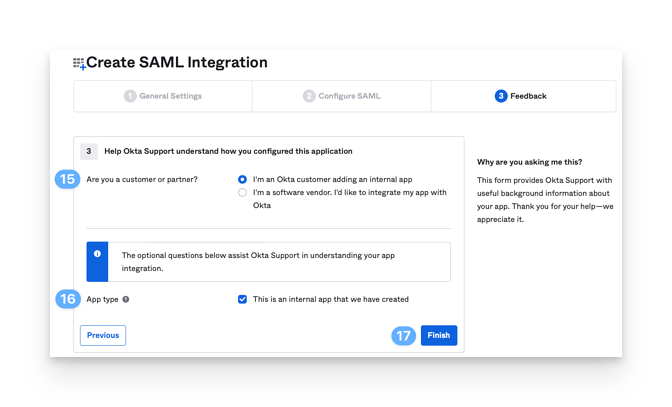
Select I'm an Okta customer adding an internal app
Select This is an internal app that we have created
Click Finish.
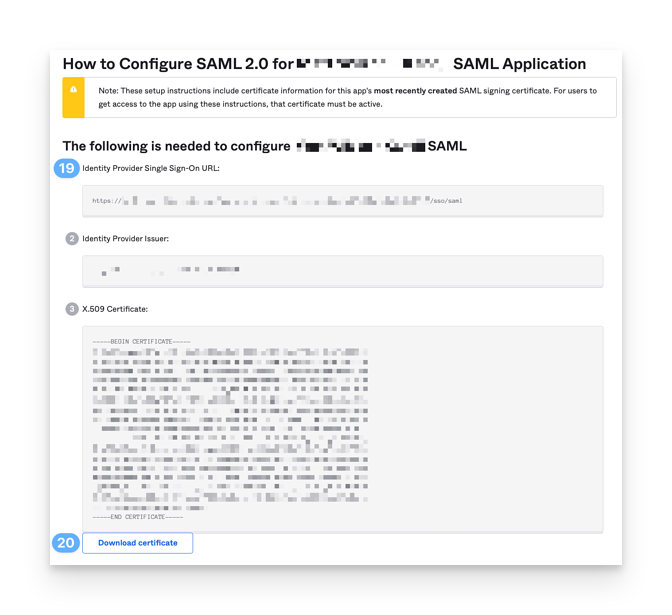
Back at the Sign On tab, find the link to View SAML setup instructions and open it in a new browser tab
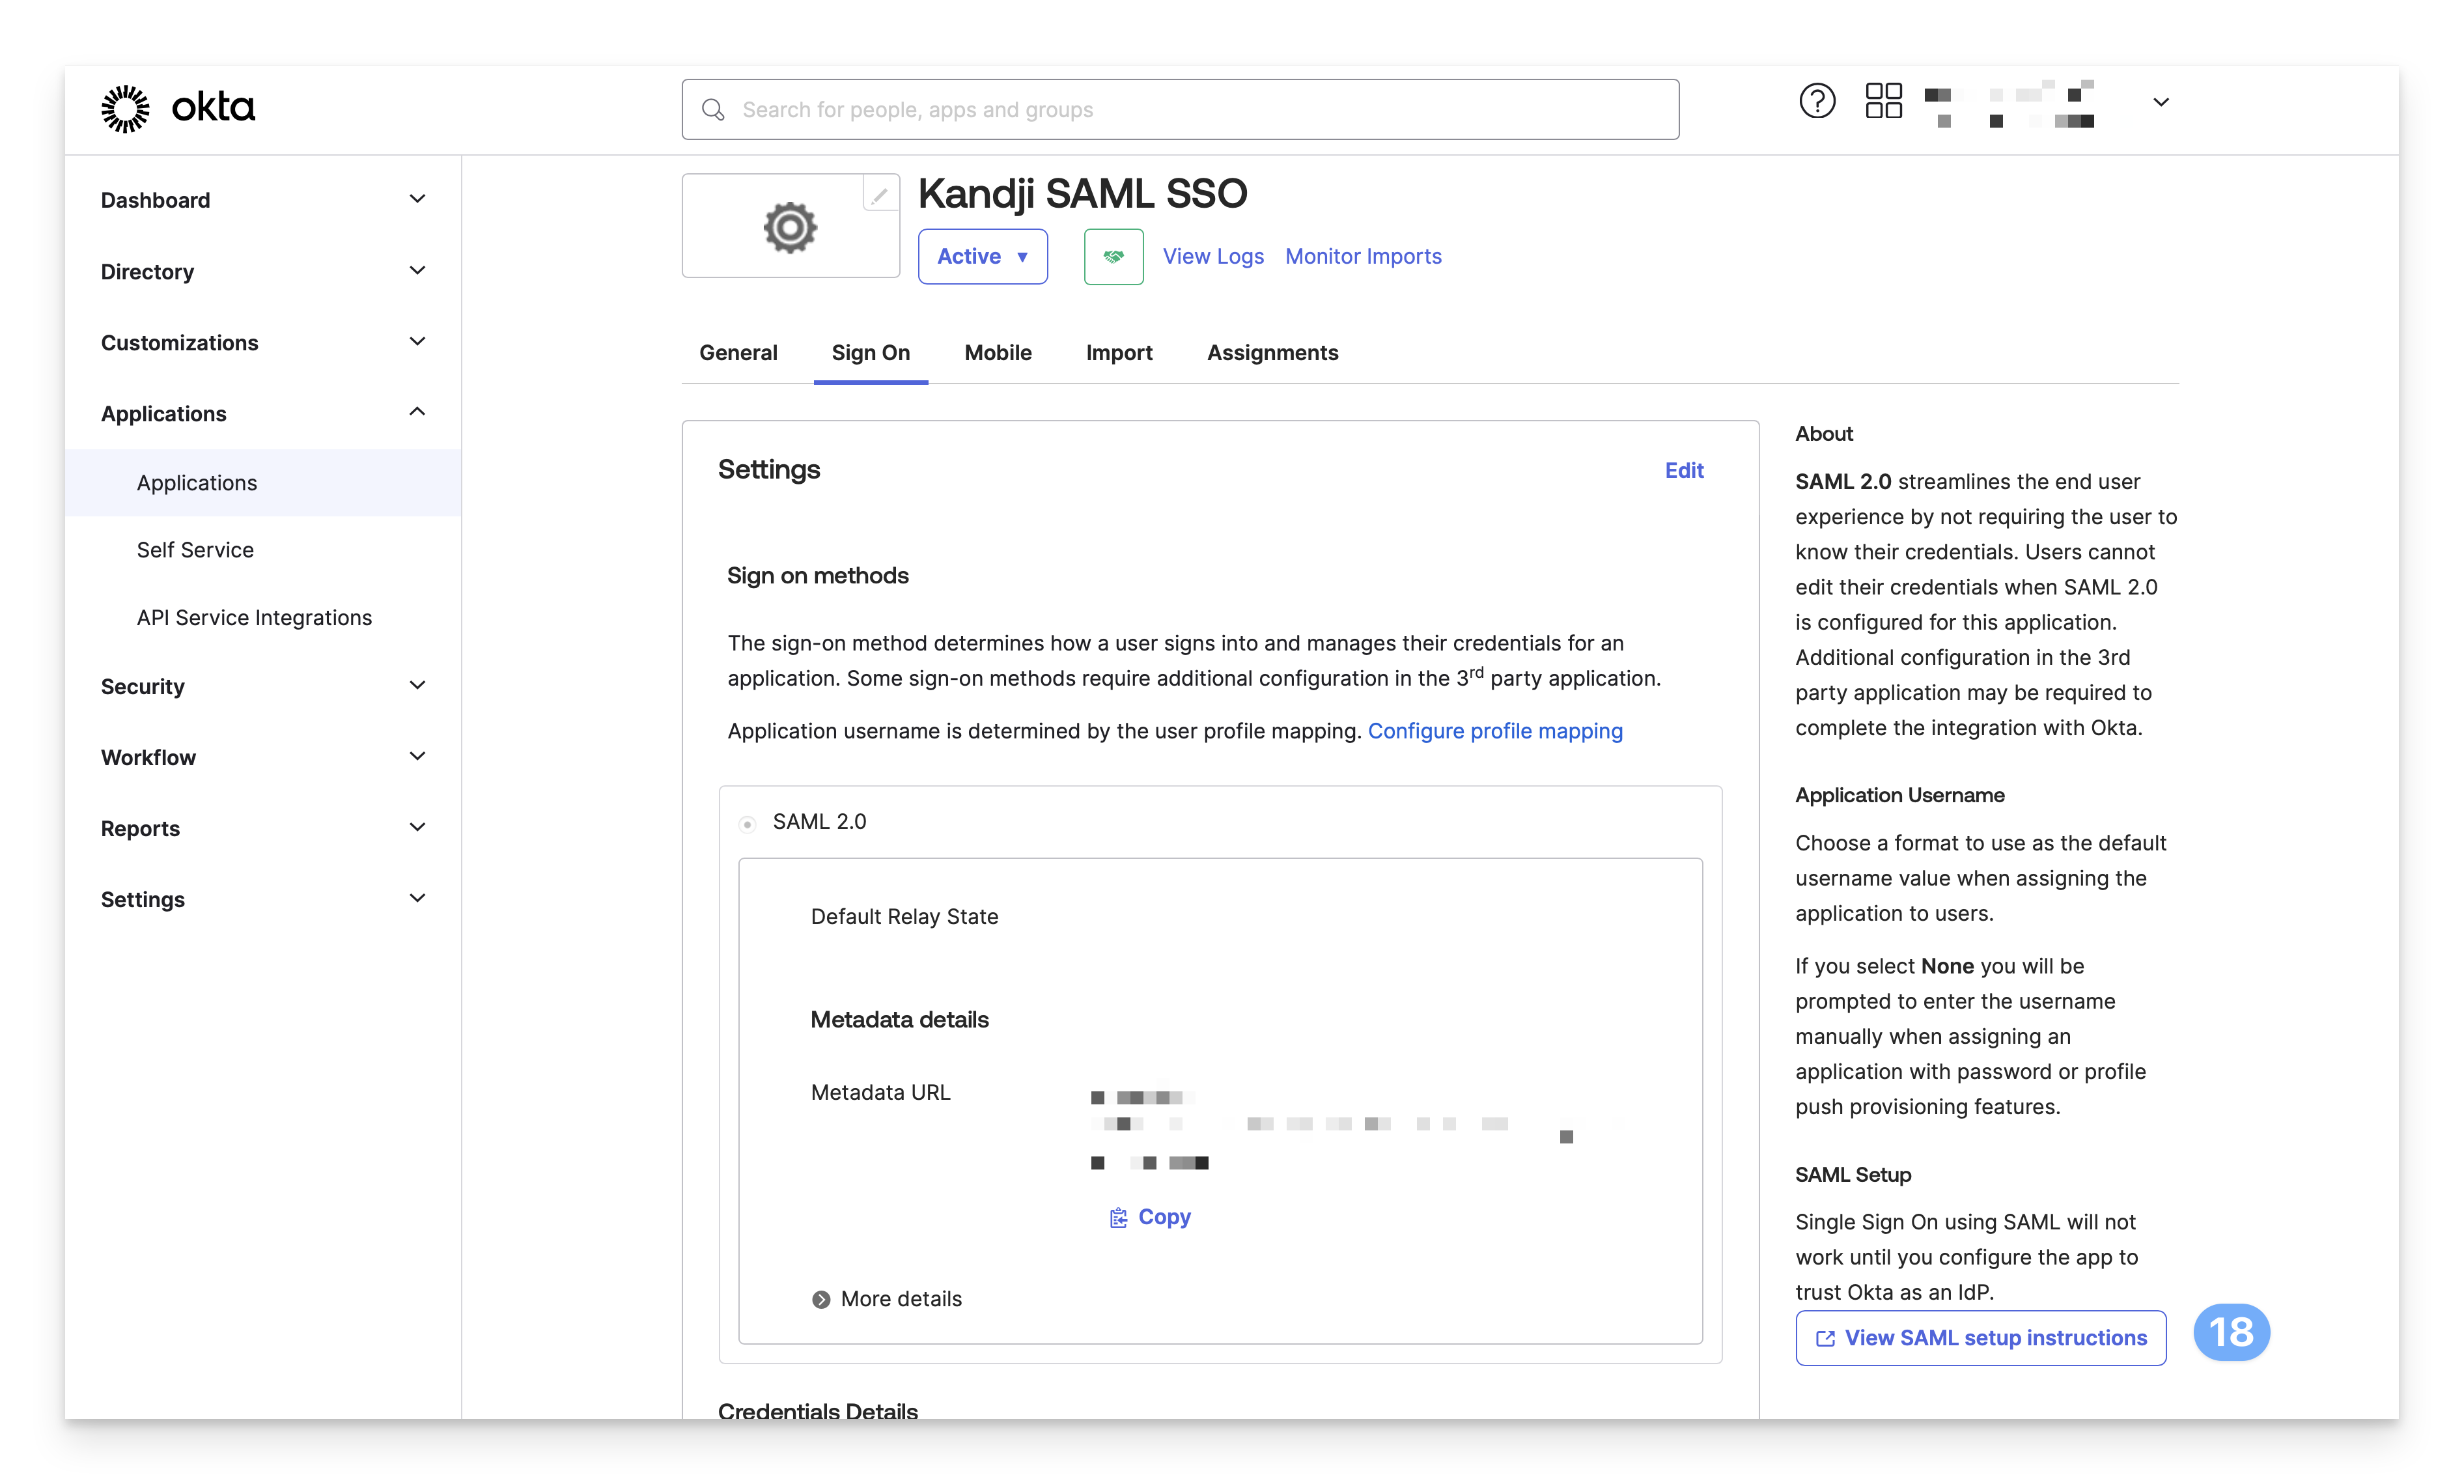
Copy the Single Sign-On URL and save it in a text document for later use in Kandji
Download the certificate file and save it for use in Kandji
Add a test user to the Okta app
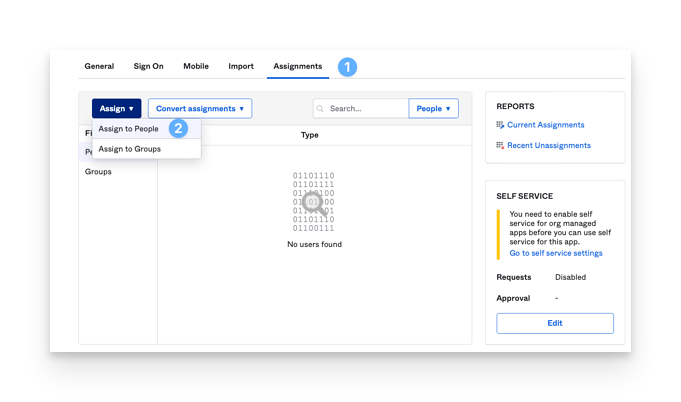
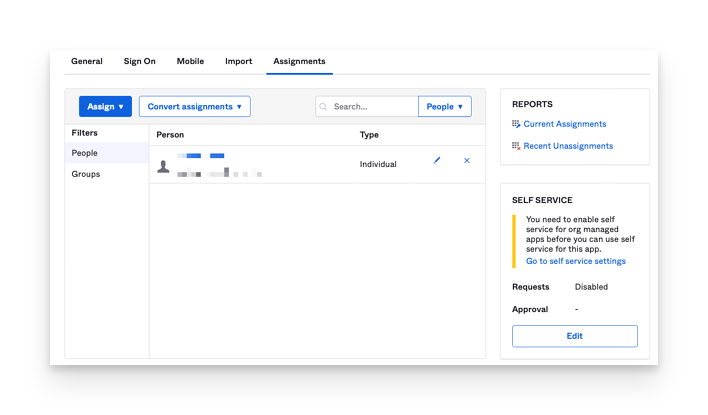
Go back to the Okta app and click the Assignments tab
Click the Assign dropdown menu and click Assign to People
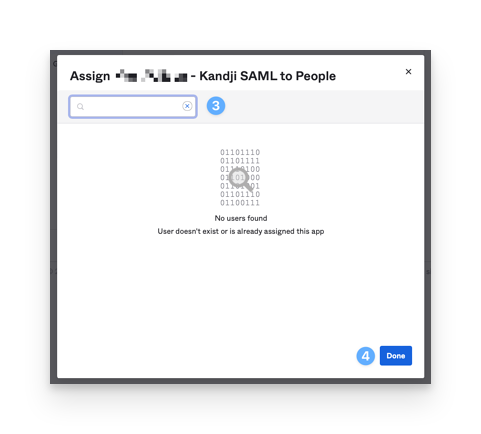
Search for a test user to Assign
Once the user is assigned, click Done
You should see the user that you have selected in the list
Configure the SAML connection in Kandji
Go back to the Custom SAML integration in Kandji
Give the connection a Name
Paste the Single Sign-On URL you copied from Okta into the Sign In URL text field

Upload the Okta certificate you downloaded earlier
Ensure that the User ID Attribute is set to the default value of
http://schemas.xmlsoap.org/ws/2005/05/identity/claims/nameidentifier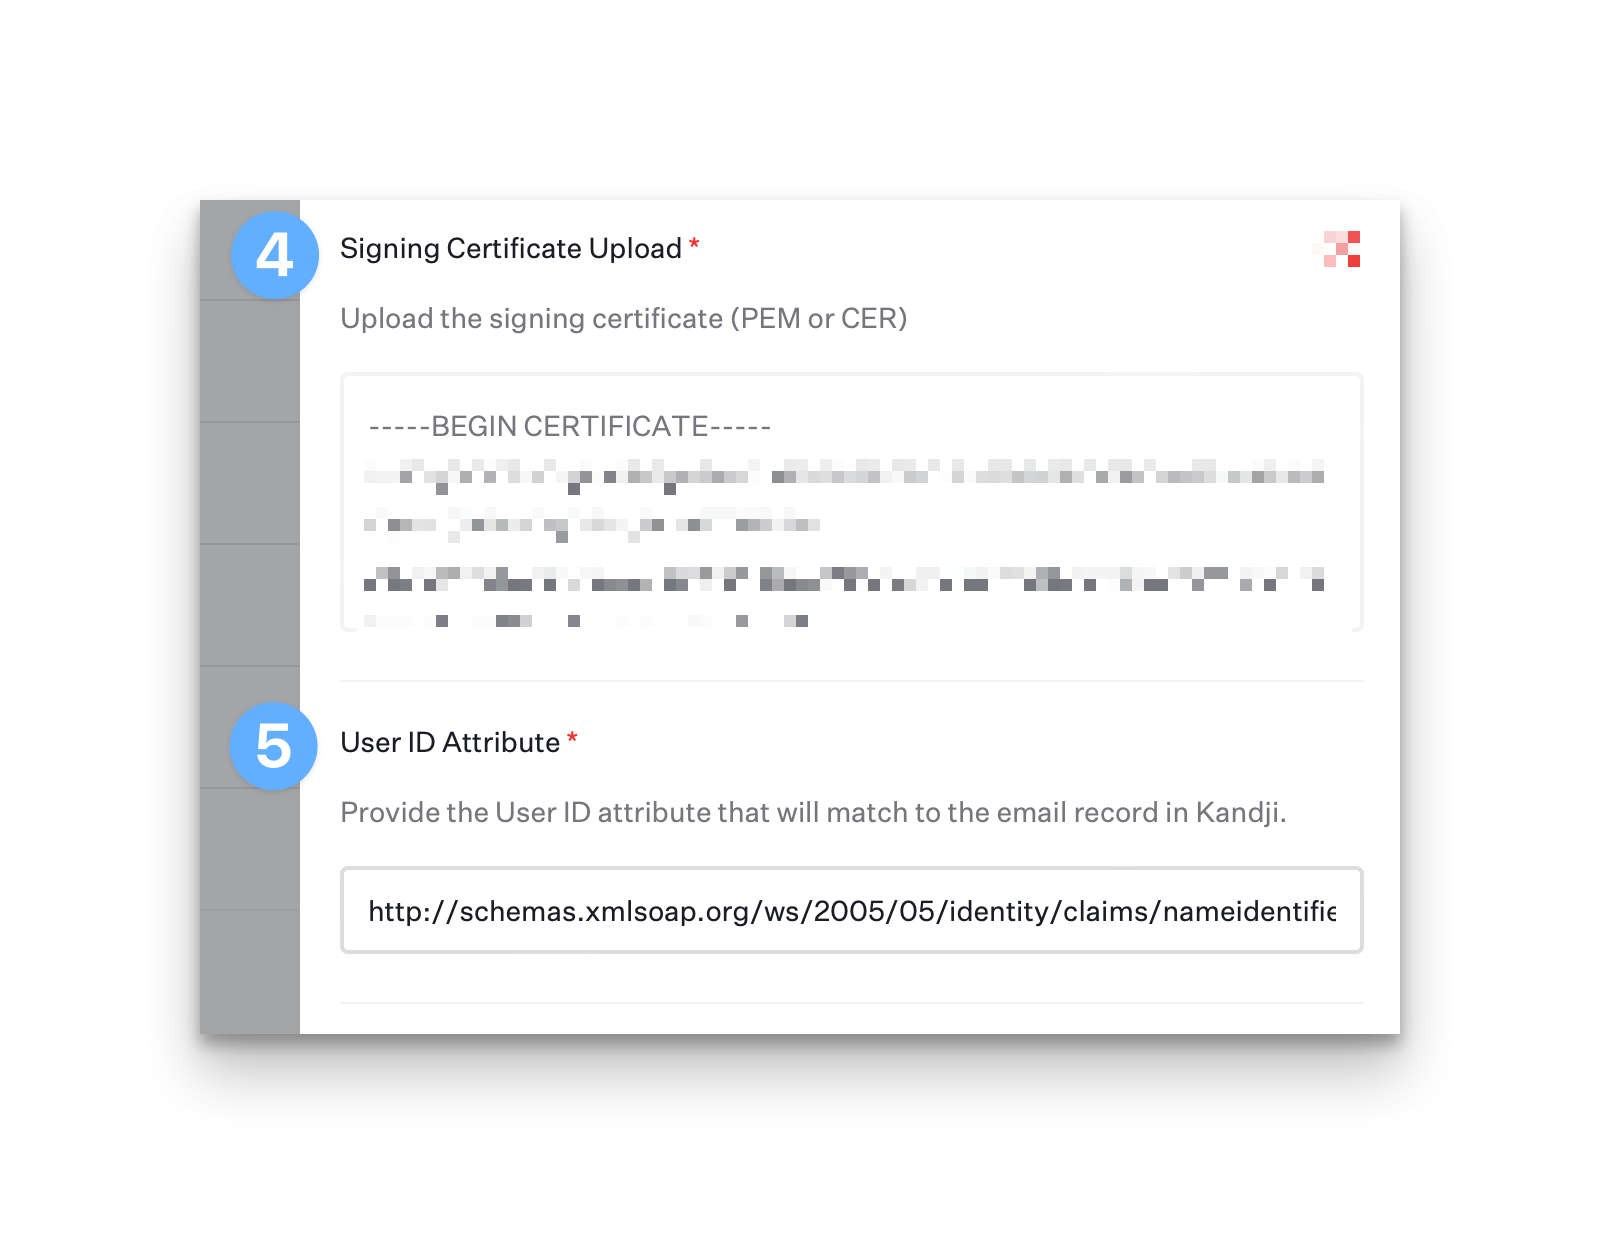
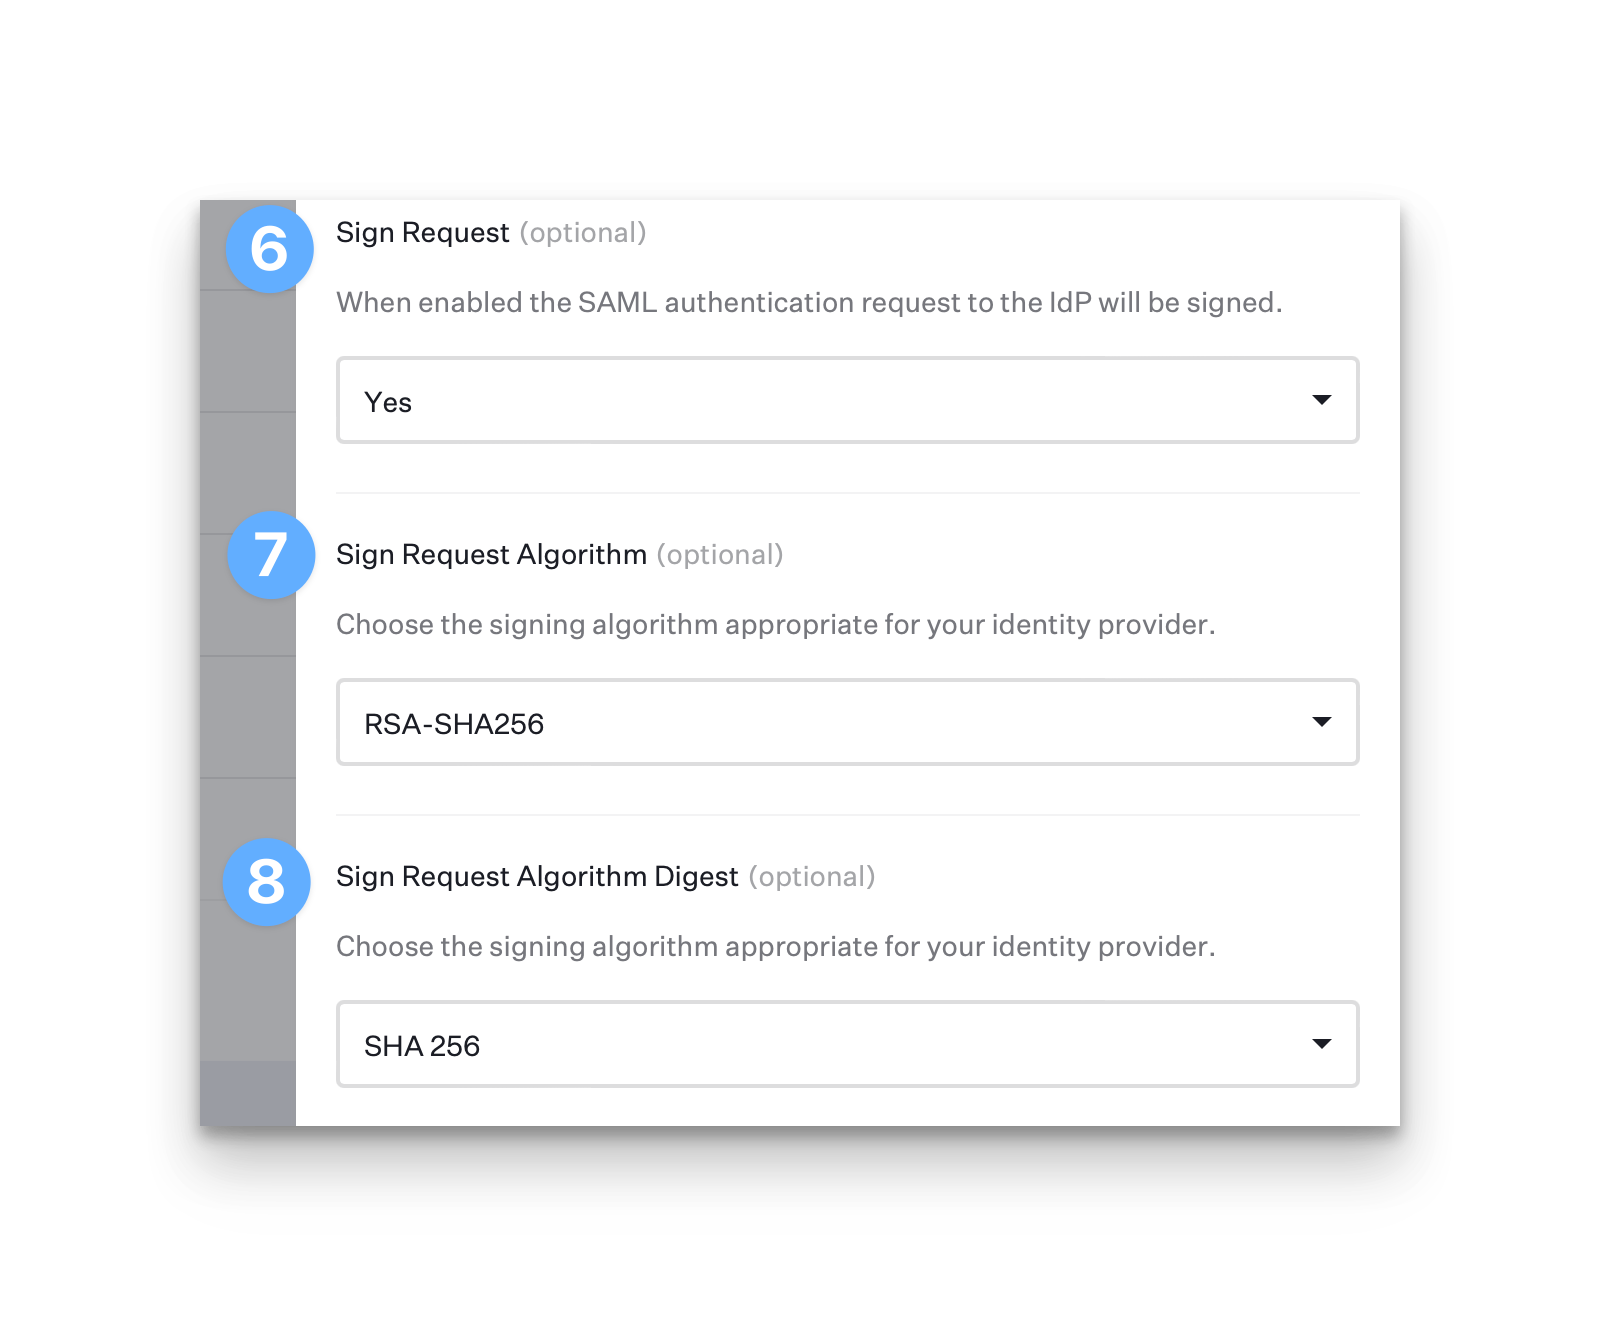
Ensure Sign Request is set to Yes
Ensure Request Algorithm is set to RSA-SHA256
Ensure Sign Request Algorithm Digest is set to SHA 256
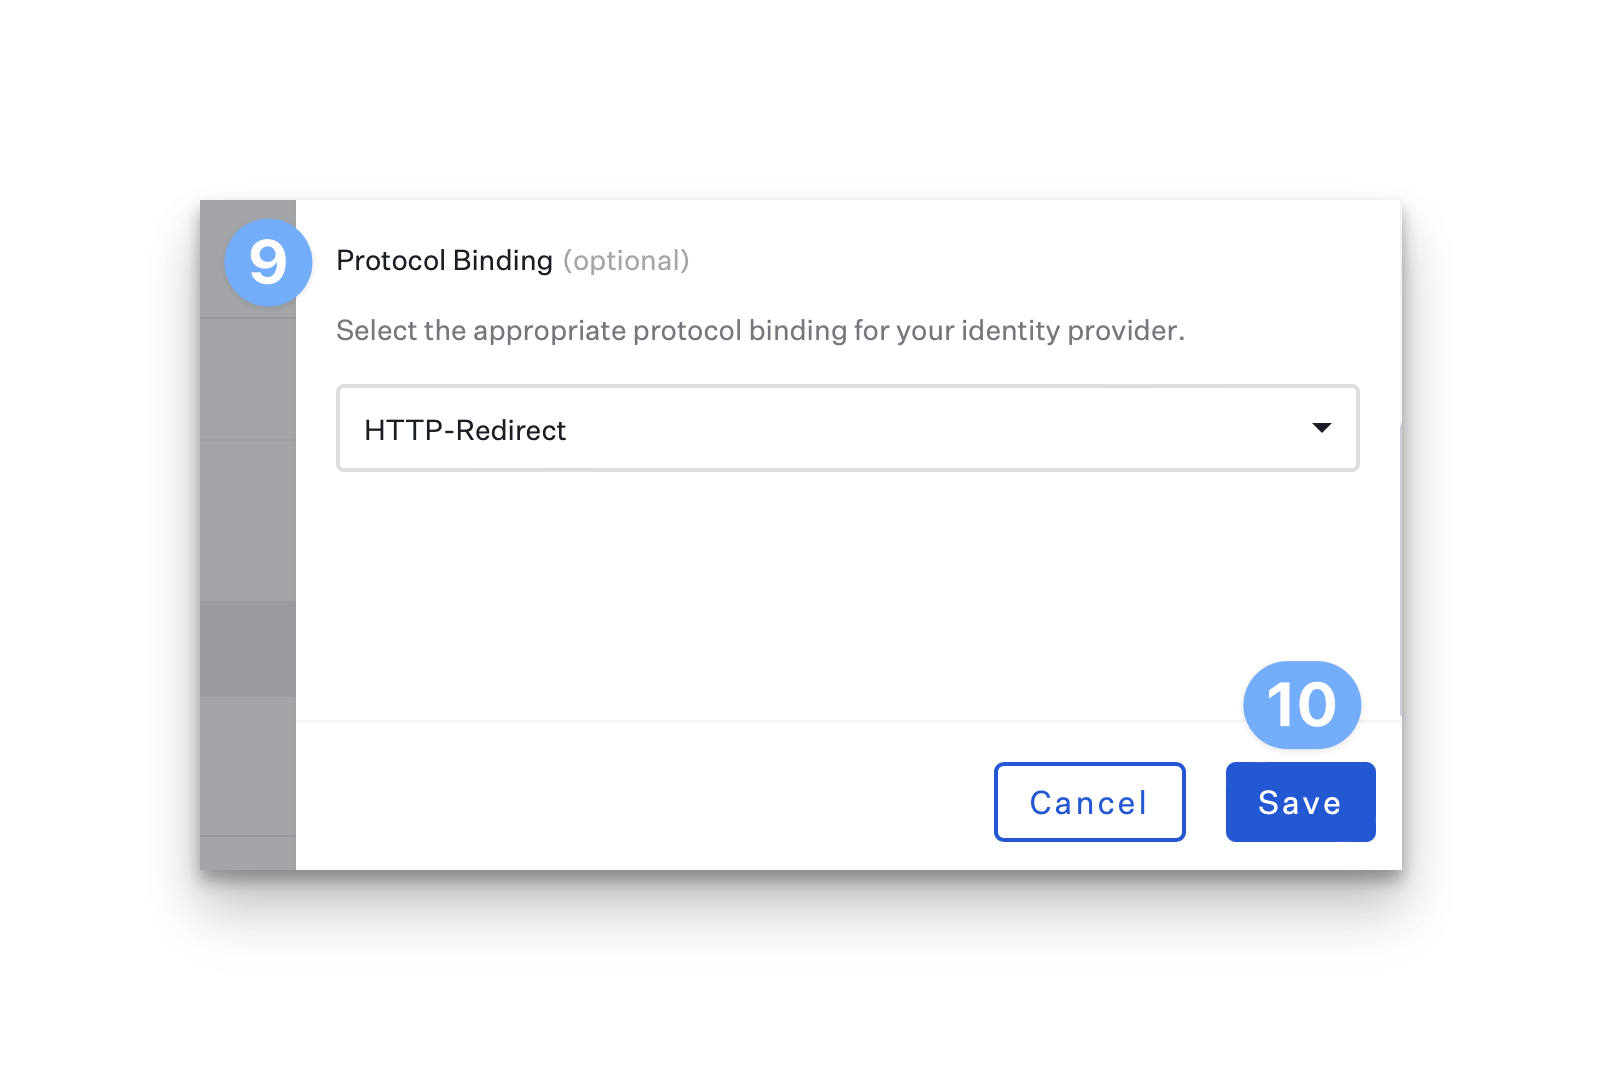
Set the Protocol Binding to HTTP-Redirect
Save the connection and click Cancel to close the configuration pane
Enable the SAML Connection
Once you have configured the SAML connection in both Kandji and your identity provider, you can now enable the connection. Please refer to the Enable and Manage a Connection section in our Single Sign-on support article for step-by-step instructions.
Enforcing Single Sign-on
Once you have configured at least one Single Sign-on connection, you can disable the standard authentication connection. Disabling Kandji standard authentication will disable the ability for Kandji administrators in your tenant to authenticate via email/password, Google Sign in, or Office 365 Sign in. Please refer to our Single Sign-on support article for step-by-step instructions.
Add a Test User to Kandji
Add a test user to the Admin Team in Kandji by clicking New User.
Fill in all of the corresponding user information. This user must exist in Okta and must be assigned to the Okta SSO app in your Okta tenant.
Click Submit.
Once the invite is submitted, close the Invite User window.
Refresh the Access page in Kandji. You should see the user who was just added.
Go to the user’s email to accept the invite and log in with the new SAML SSO connection.