The Login Window profile allows you to customize options for the login window and lock screen, including Login Window & Lock Screen messages, available buttons, and user account visibility.
Creating a Login Window Profile
To add this Library Item to your Kandji Library, follow the steps outlined in the Library Overview article.
Give your profile a name such as Login Window.
Select the desired Blueprints.
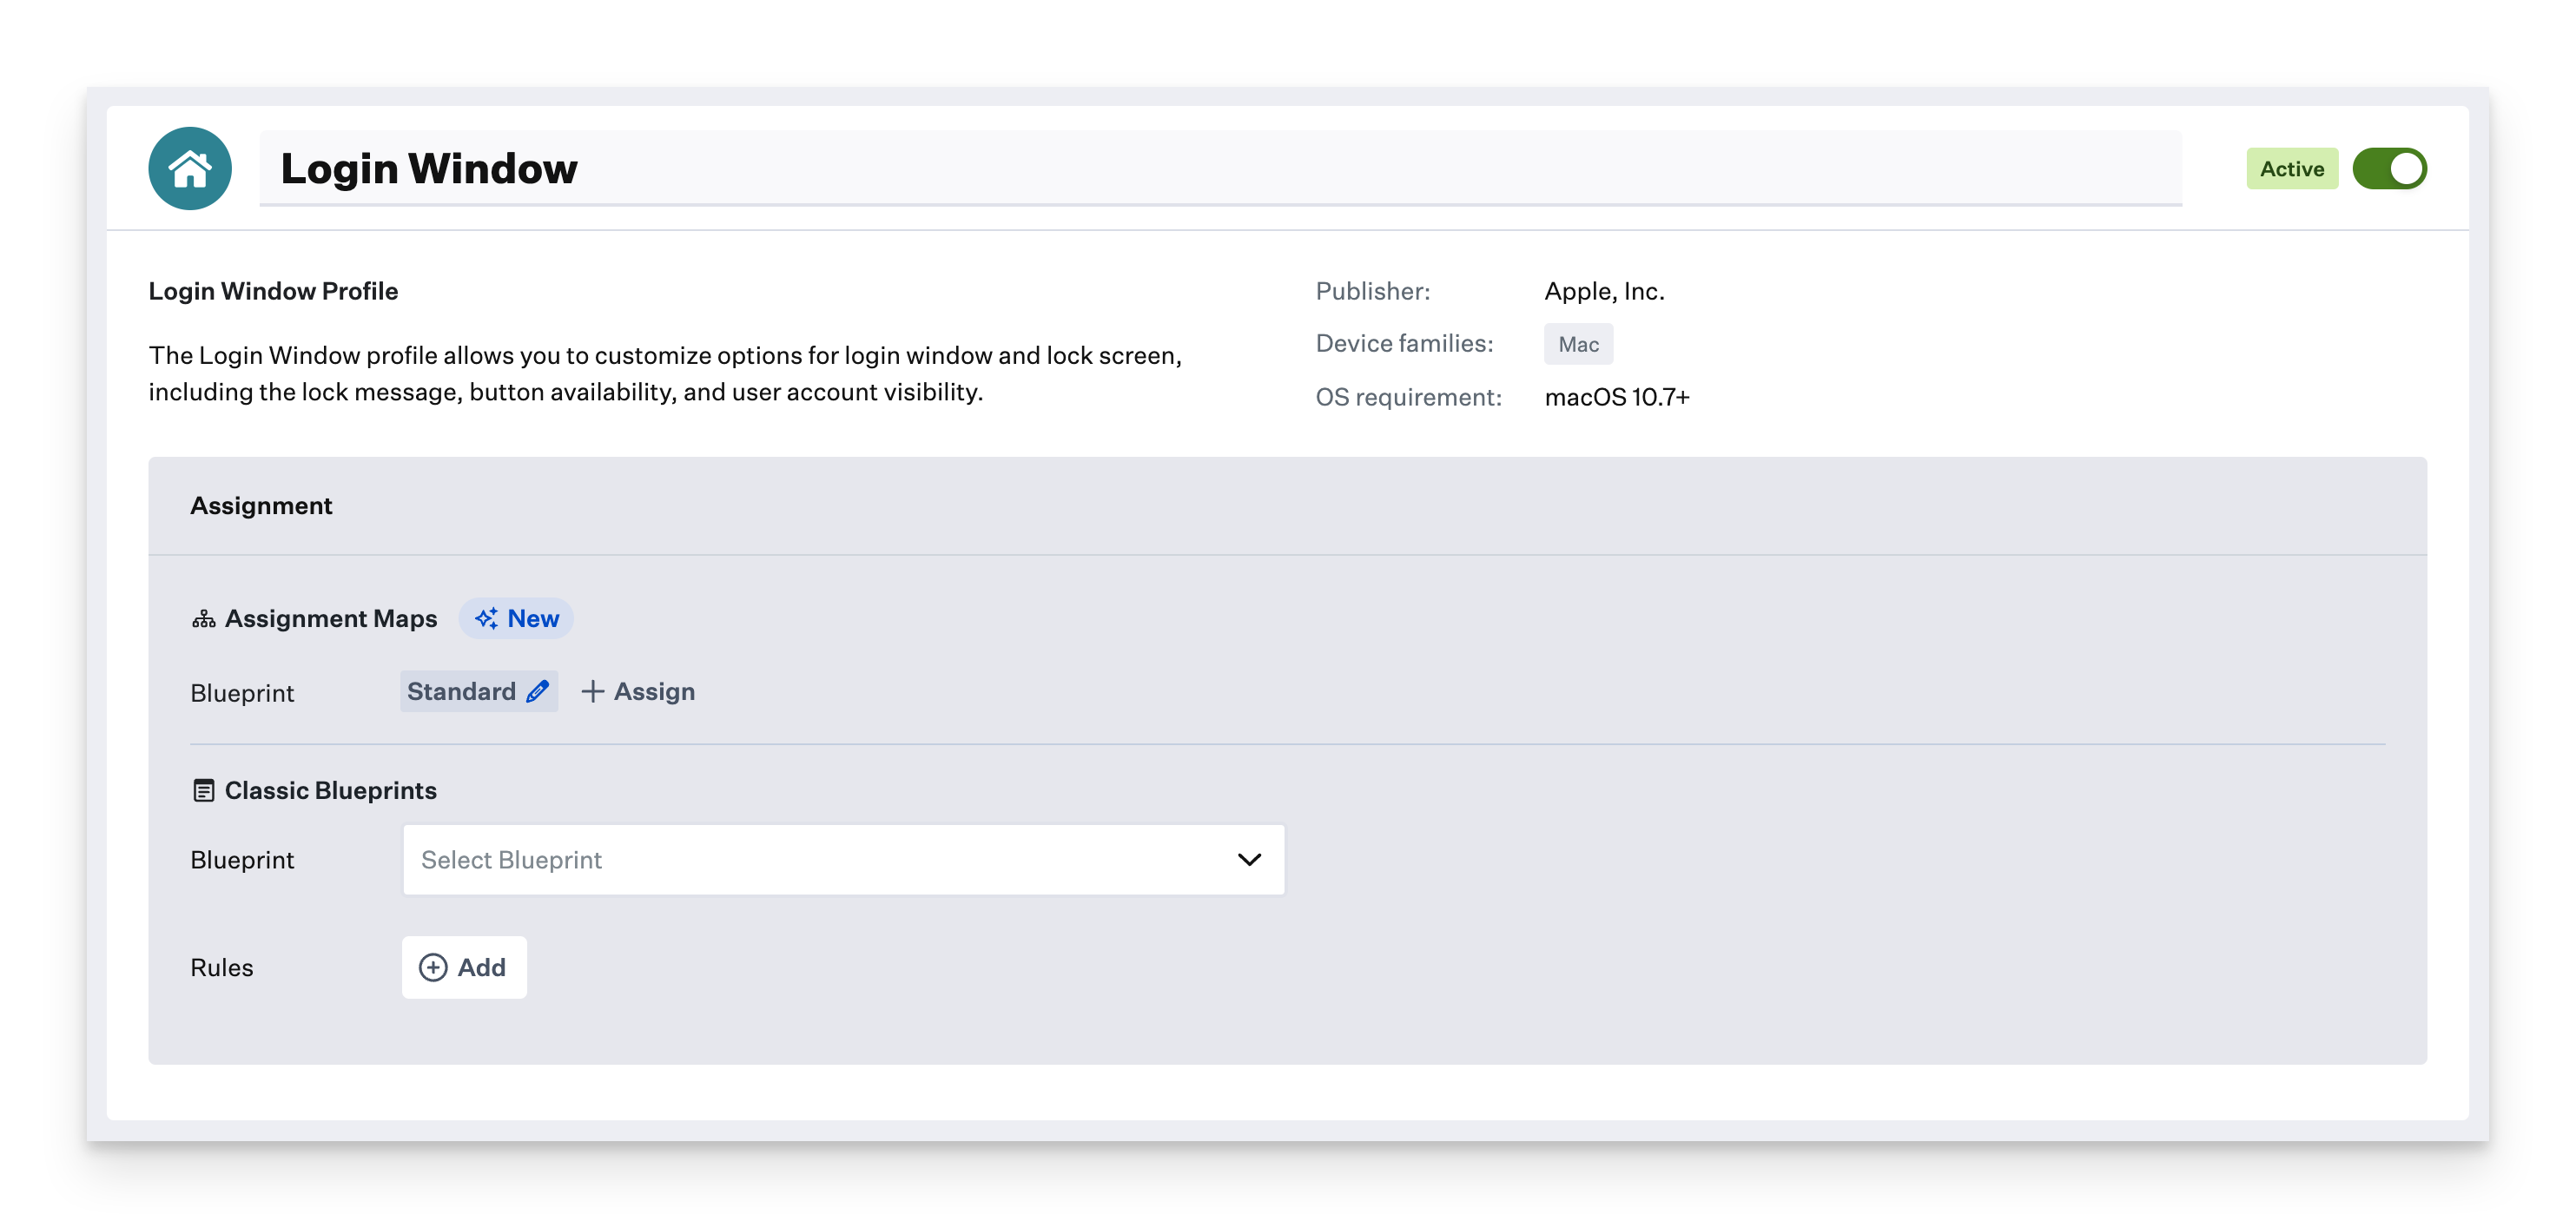
Select applicable options and Save your profile.
Optional Details
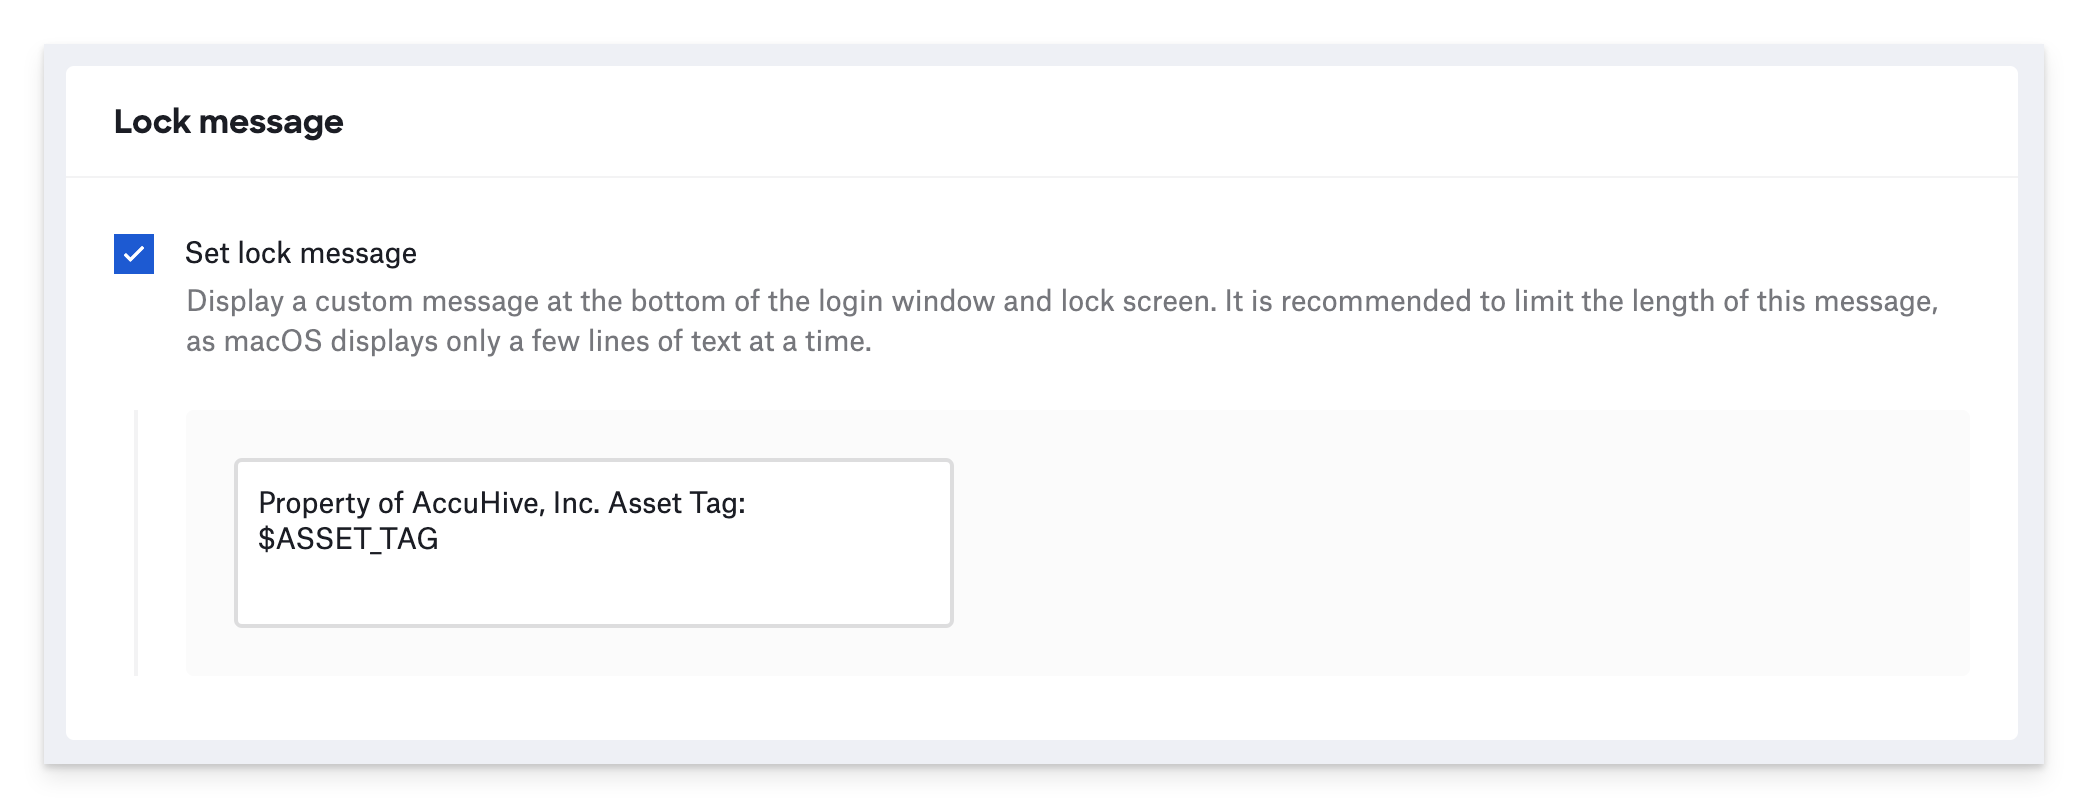
Lock Message
The lock message option allows you to set a custom message at the bottom of the login window. Global Profile Variables such as $ASSET_TAG can be used here.
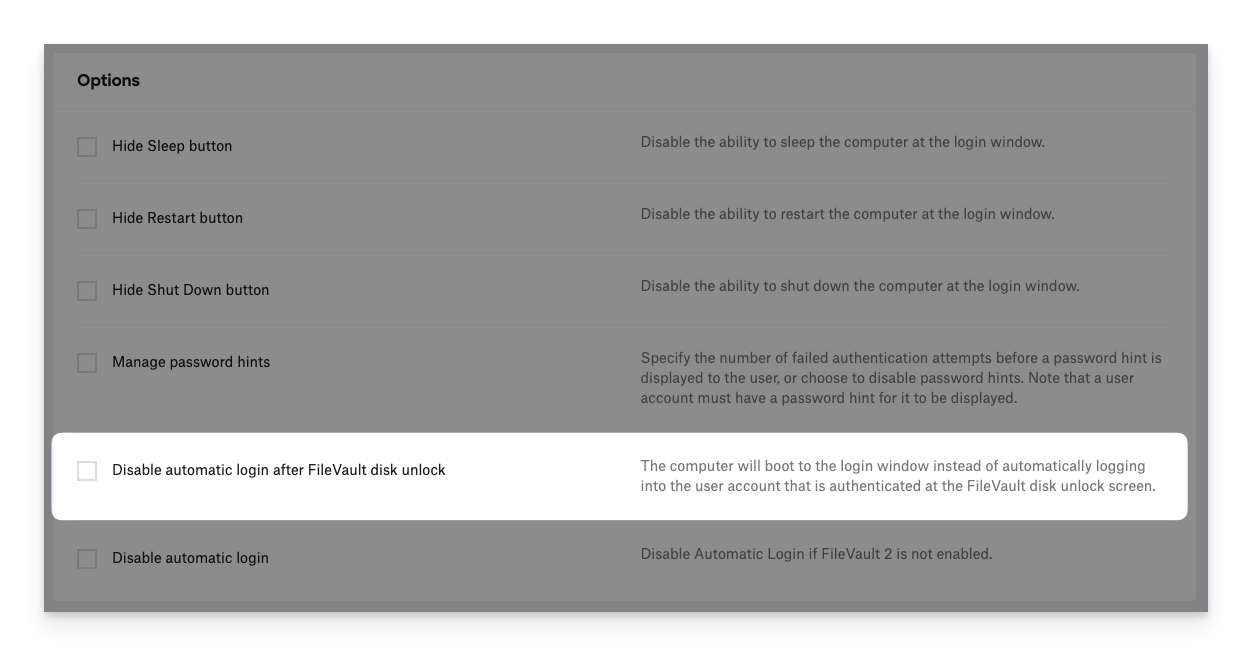
Disable automatic login after FileVault disk unlock
This option disables the FileVault Auto Login feature; enabling this option will require the end user to authenticate a second time at the Login Window after authenticating at the FileVault pre-boot authentication window.
This option can be incredibly useful for environments that leverage smart cards or Yubico PAM authentication and want to ensure the user additionally authenticates with a smart card.
Logged-In Users - Hide "Lock Screen" option in the Apple menu
Enabling this option will prevent users from locking the Mac screen. This option can be critical in multi-user macOS environments, as once a screen is locked by a user, it can only be unlocked by that user unless a restart is forced.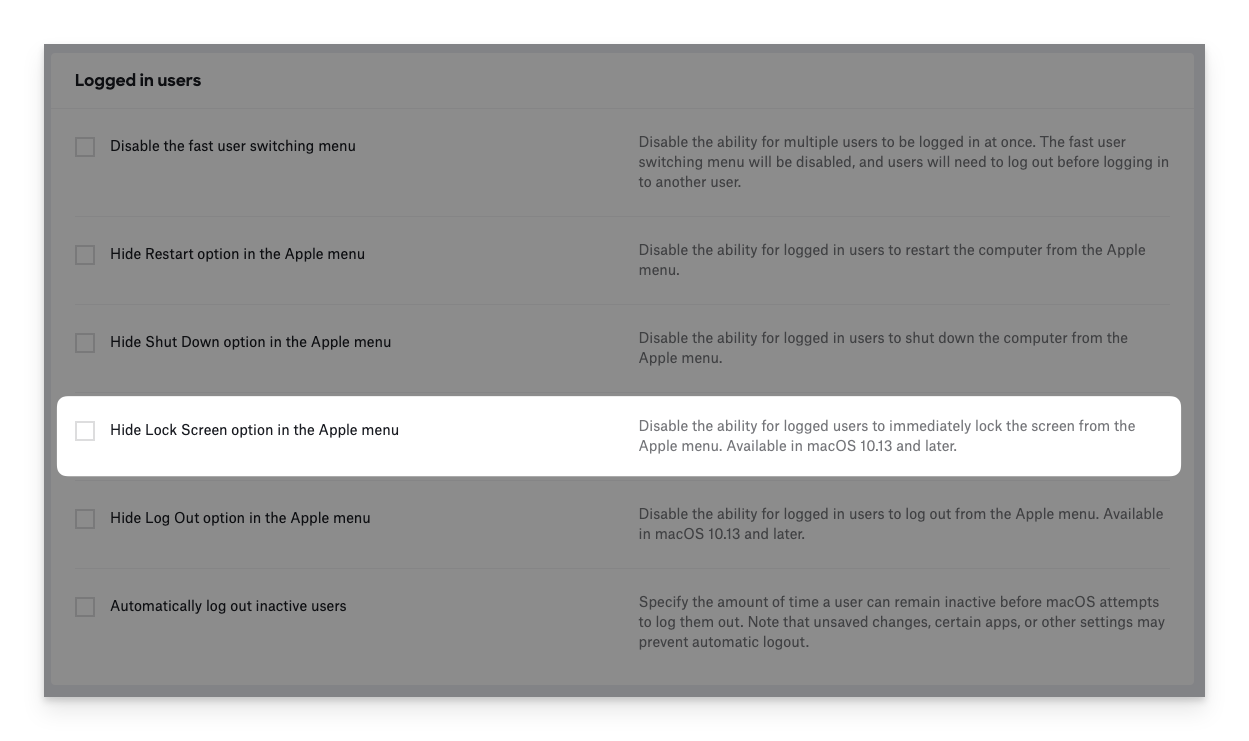
Auto Login for macOS 14 and Later
Kandji supports allowing the configuration of auto login in the Login Window Library Item for devices running macOS 14 Sonoma and later. To configure auto login for a local user, enter the username and password in the Auto Login section of the Library Item. This user must already exist on the Mac, or the profile installation will fail. FileVault must also be disabled for Auto Login to function.
