Learn how to configure JumpCloud as a SAML-based identity provider
Create a SAML Connection
In Kandji, navigate to the Settings page.
Click the Access tab.
Find the Authentication section and click the Add button on the bottom left of the authentication section. (If that section does not appear, SSO is not enabled for your tenant.)
In the Add SSO Connection pane, select the Custom SAML option.
Click Next.

Select Show Advanced Details.
Copy the Assertion Consumer Service URL and save it in a text document for later use.
Copy the Entity ID and save it too.

Leave this browser tab open as you proceed with the instructions below.
Add the Kandji Application to JumpCloud
Log in to console.jumpcloud.com/login/admin and, in the lefthand nav bar's User Authentication section, select SSO.
Click on the circular + button.
At the bottom of the screen, click Custom SAML App.

On the General Info tab:
Add a name for the Display Label.
For the Display Option, choose either a Color Indicator or upload a Logo (optional).

On the SSO tab:
Copy the Entity ID from Kandji that you saved earlier and paste it into the IdP Entity ID and SP Entity ID fields in JumpCloud.
Copy the Assertion Consumer Service URL from Kandji that you saved earlier and paste it into the ACS URL field.
Leave the SAML Subject NameID set to email.
In the SAMLSubject NameID-Format field, select urn:oasis:names:tc:SAML:1.1:nameid-format:emailAddress from the dropdown menu.
Set the Signature Algorithm to RSA-SHA256.
Select Sign Assertion.
Set the IDP URL to https://sso.jumpcloud.com/saml2/kandji. Copy this URL and save it for use in Kandji later.
Click Activate.

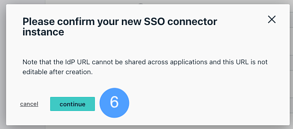
When prompted to confirm the SSO instance, click Continue.
Once activated, you should see a notification in JumpCloud letting you know that a public certificate has been created. Download this certificate; it will be used in Kandji later.

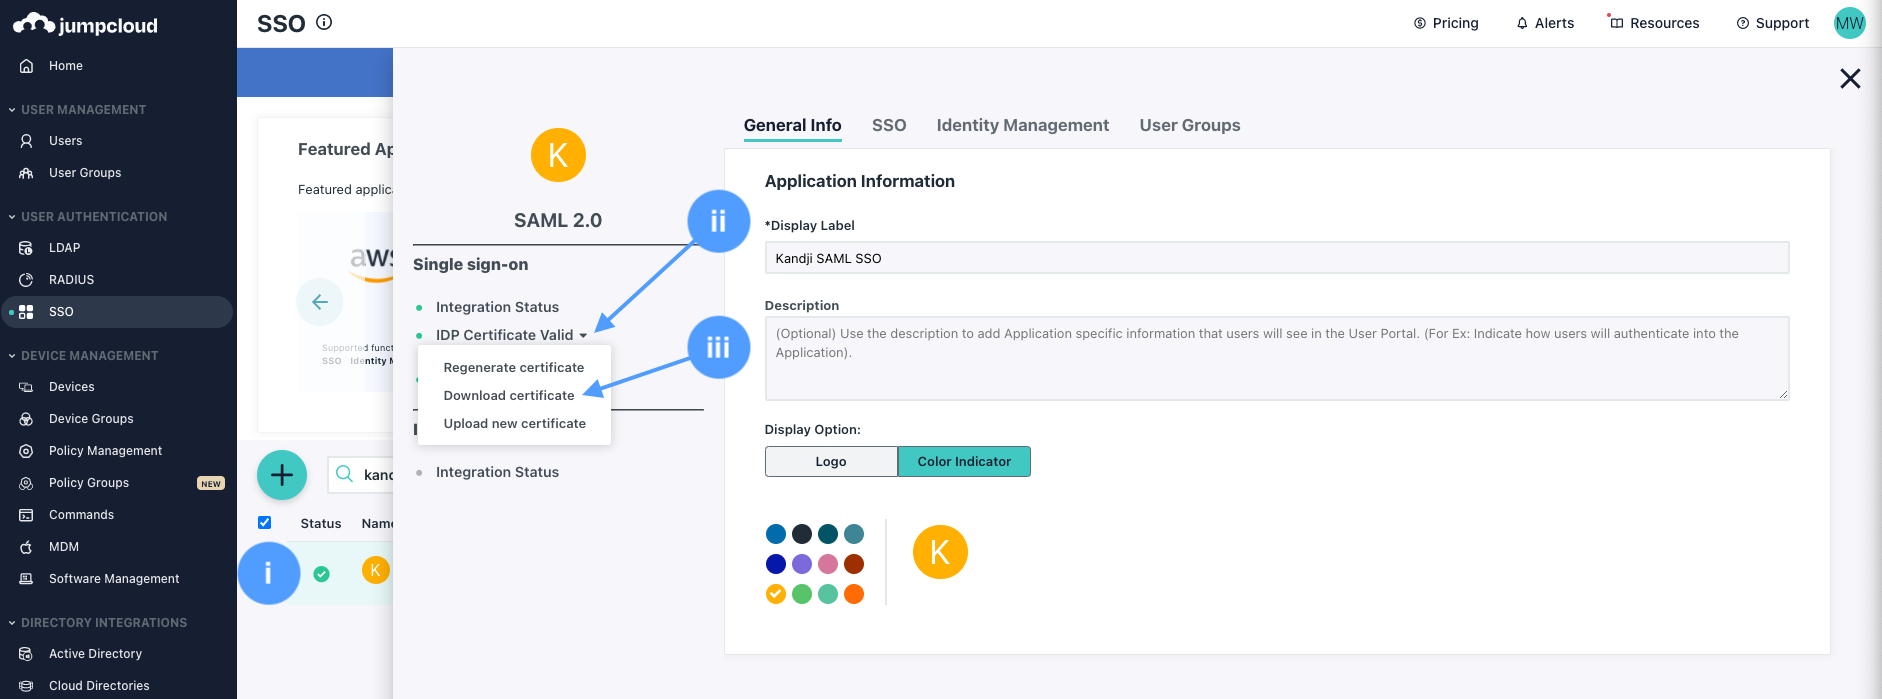
If this notification does not appear, you can grab the certificate as follows:
Select the custom app that you just created.
On the left side of the panel that appears, click on IDP Certificate Valid.
Select Download Certificate.
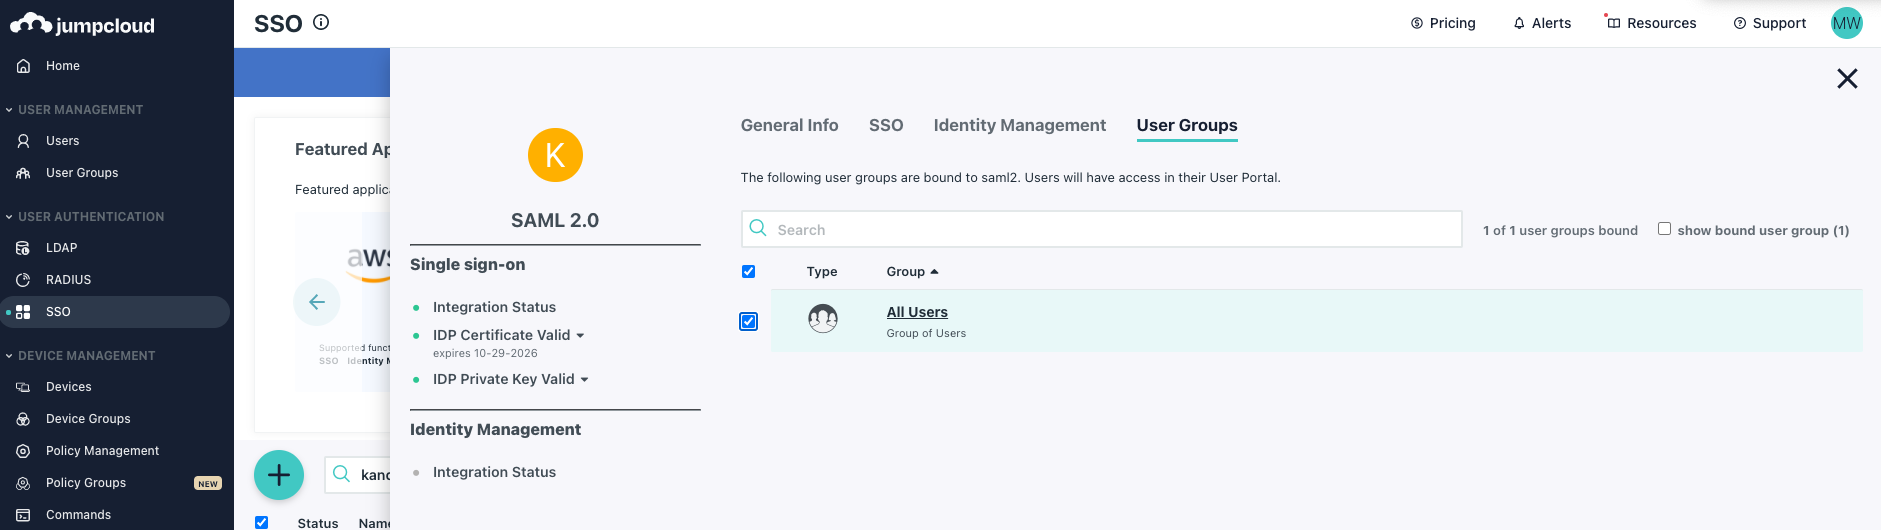
On the User Groups tab:
Add a user group to the SSO application. If you want to narrow the scope of who is able to access the SSO app, create another user group in your JumpCloud console then assign it to the SSO app.
Configure the SAML Connection in Kandji
Go back to the Custom SAML integration in Kandji.
Give the connection a Name.
Paste in the Sign In URL you copied from JumpCloud: https://sso.jumpcloud.com/saml2/kandji .
Upload the certificate you downloaded from JumpCloud.
Ensure that the User ID Attribute is set to the default value of
http://schemas.xmlsoap.org/ws/2005/05/identity/claims/nameidentifier
Ensure that Sign Request is set to Yes.
Ensure that Request Algorithm is set to RSA-SHA256.
Ensure that Sign Request Algorithm Digest is set to SHA 256.
Set the Protocol Binding to HTTP-POST.
Click Save and then click Cancel to exit the configuration.

Enable the SAML Connection
Once you have configured the SAML connection in both Kandji and your identity provider, you can now enable the connection. Please refer to the Enable and Manage a Connection section in our Single Sign-on support article for step-by-step instructions.
Enforcing Single Sign-on
Once you have configured at least one Single Sign-on connection, you can disable the standard authentication connection. Disabling Kandji standard authentication will disable the ability for Kandji administrators in your tenant to authenticate via email/password, Google Sign in, or Office 365 Sign in. Please refer to our Single Sign-on support article for step-by-step instructions.
Add a Test User to Kandji
Add a test user to the Admin Team in Kandji by clicking New User
Fill in all of the corresponding user information. This user must exist in Okta and must be assigned to the Okta SSO app in your Okta tenant
Click Submit

Once the invite is submitted, close the Invite User window
Refresh the Access page in Kandji. You should see the user who was just added
Go to the user’s email to accept the invite and log in with the new SAML SSO connection